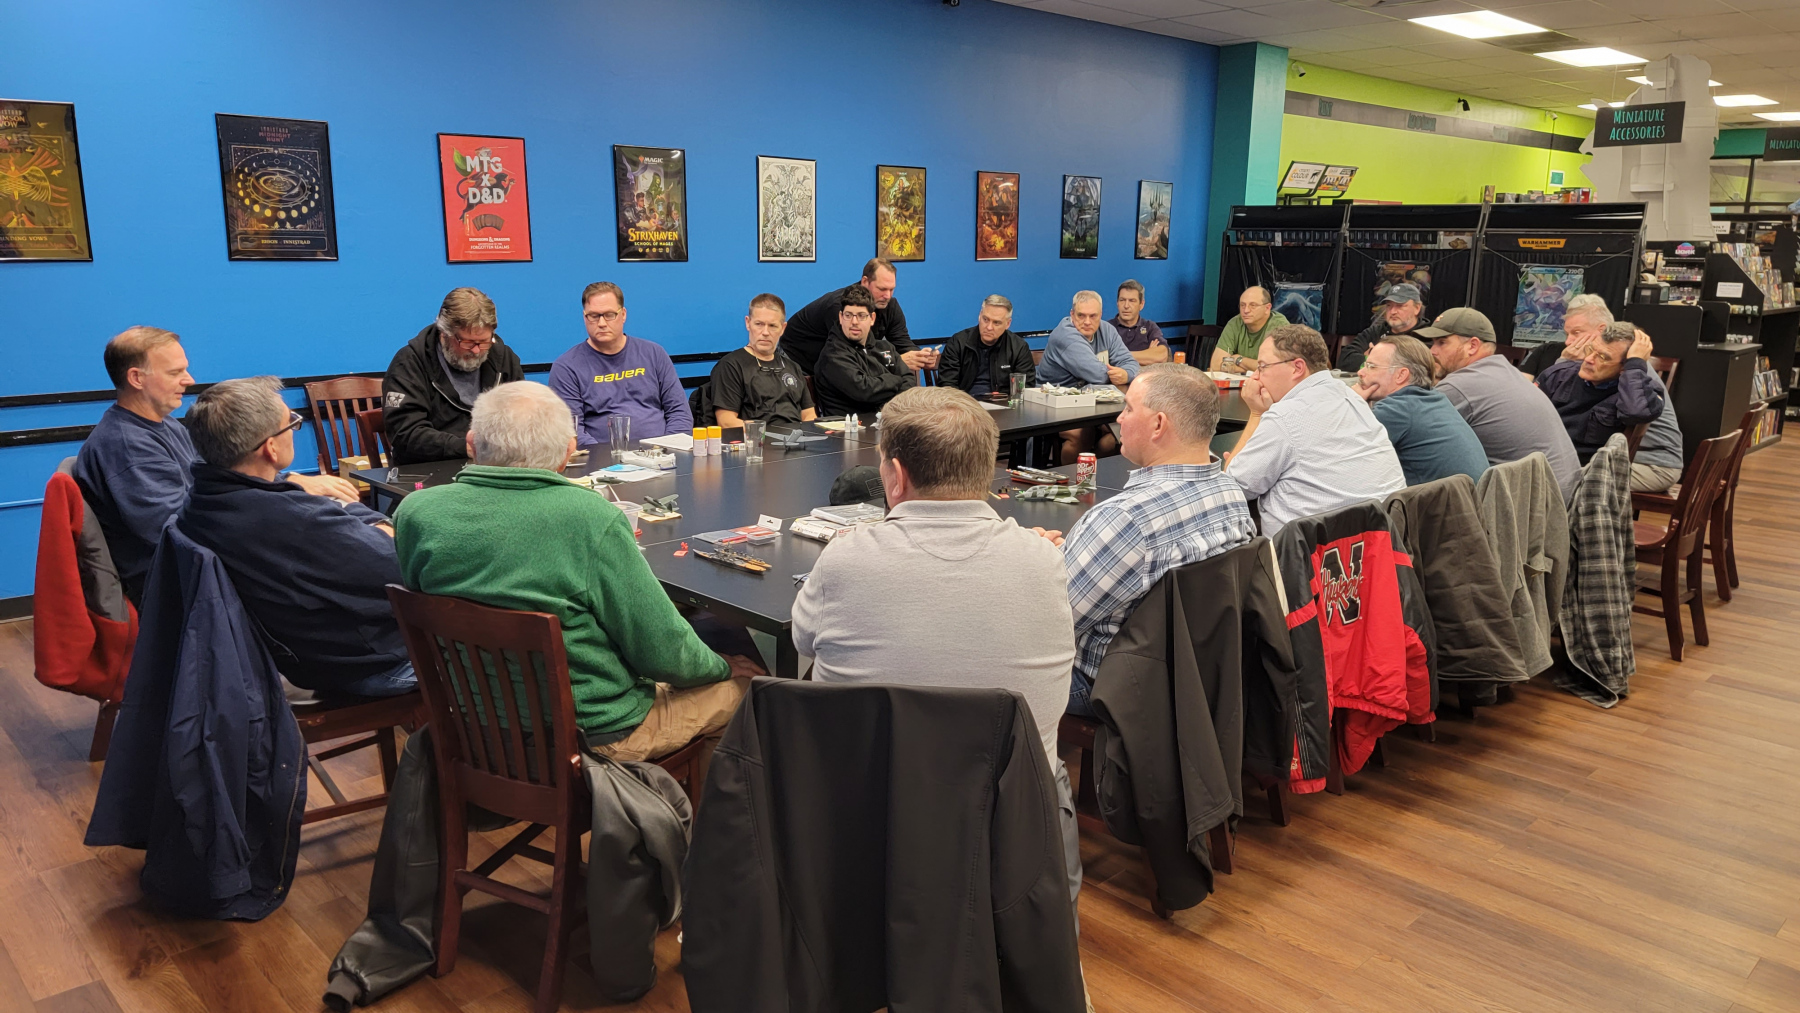
Notes from our latest meeting plus photo from the Show-n-Tell. 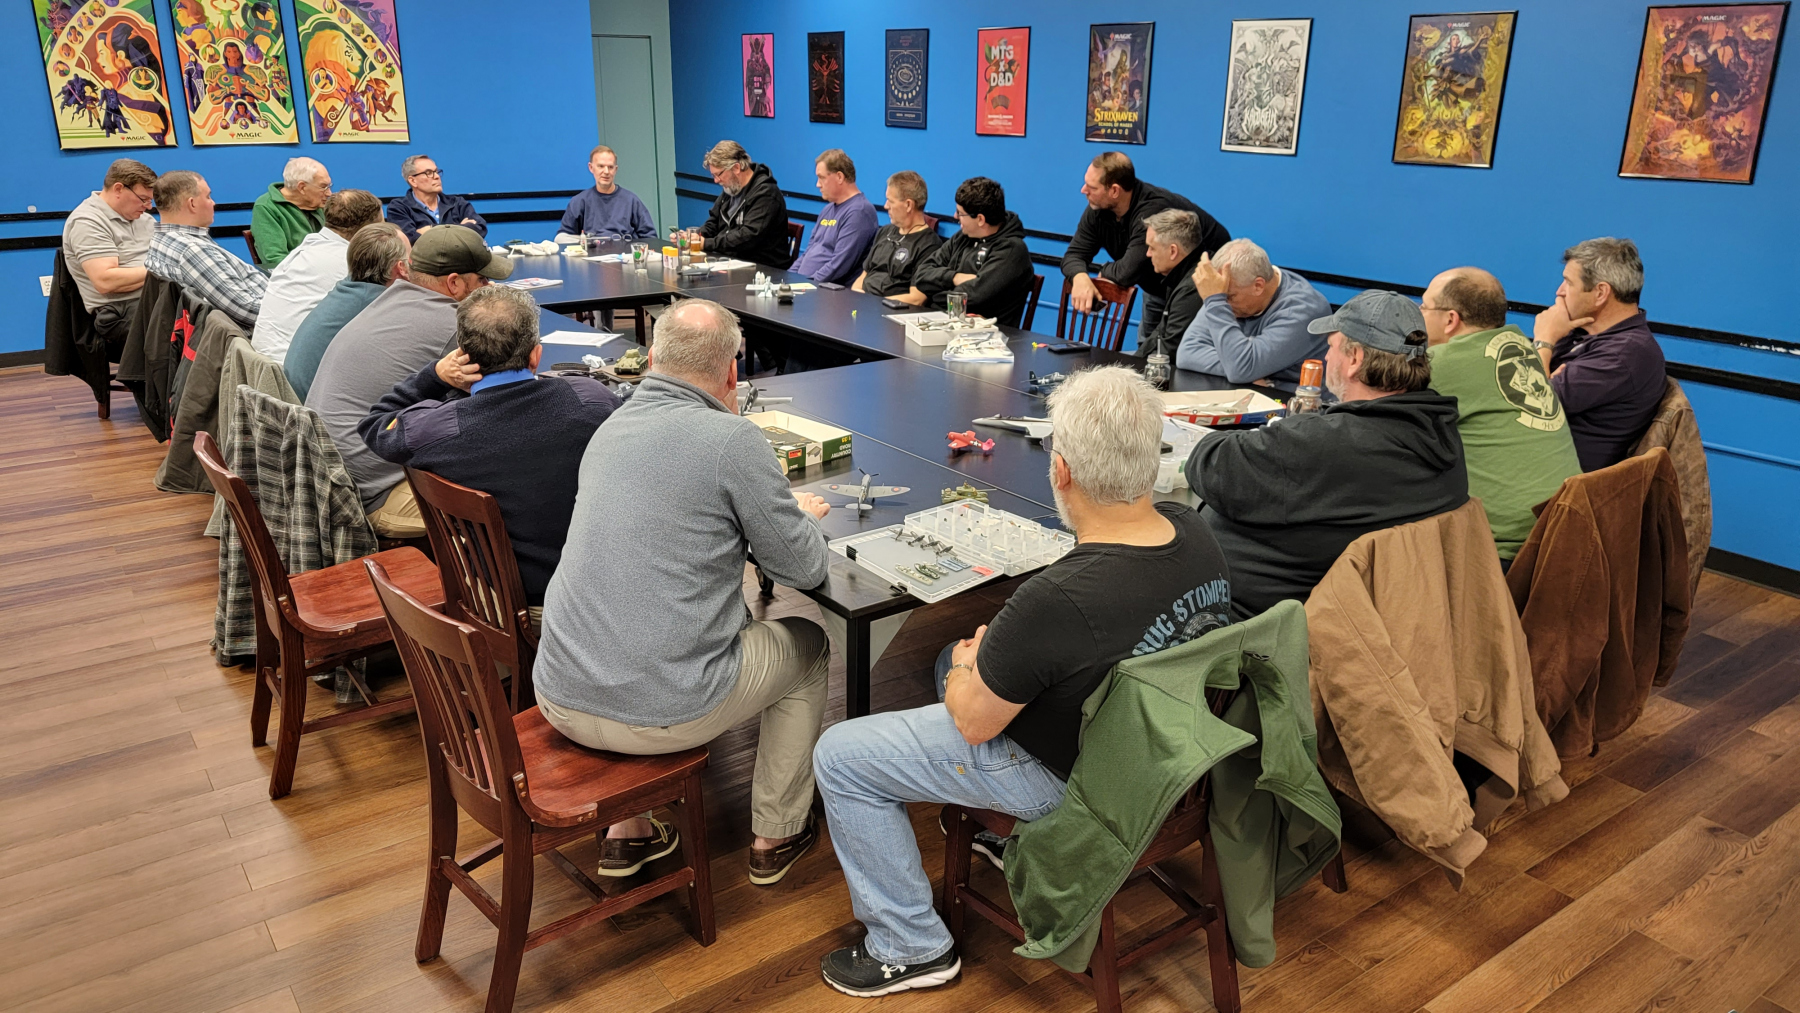
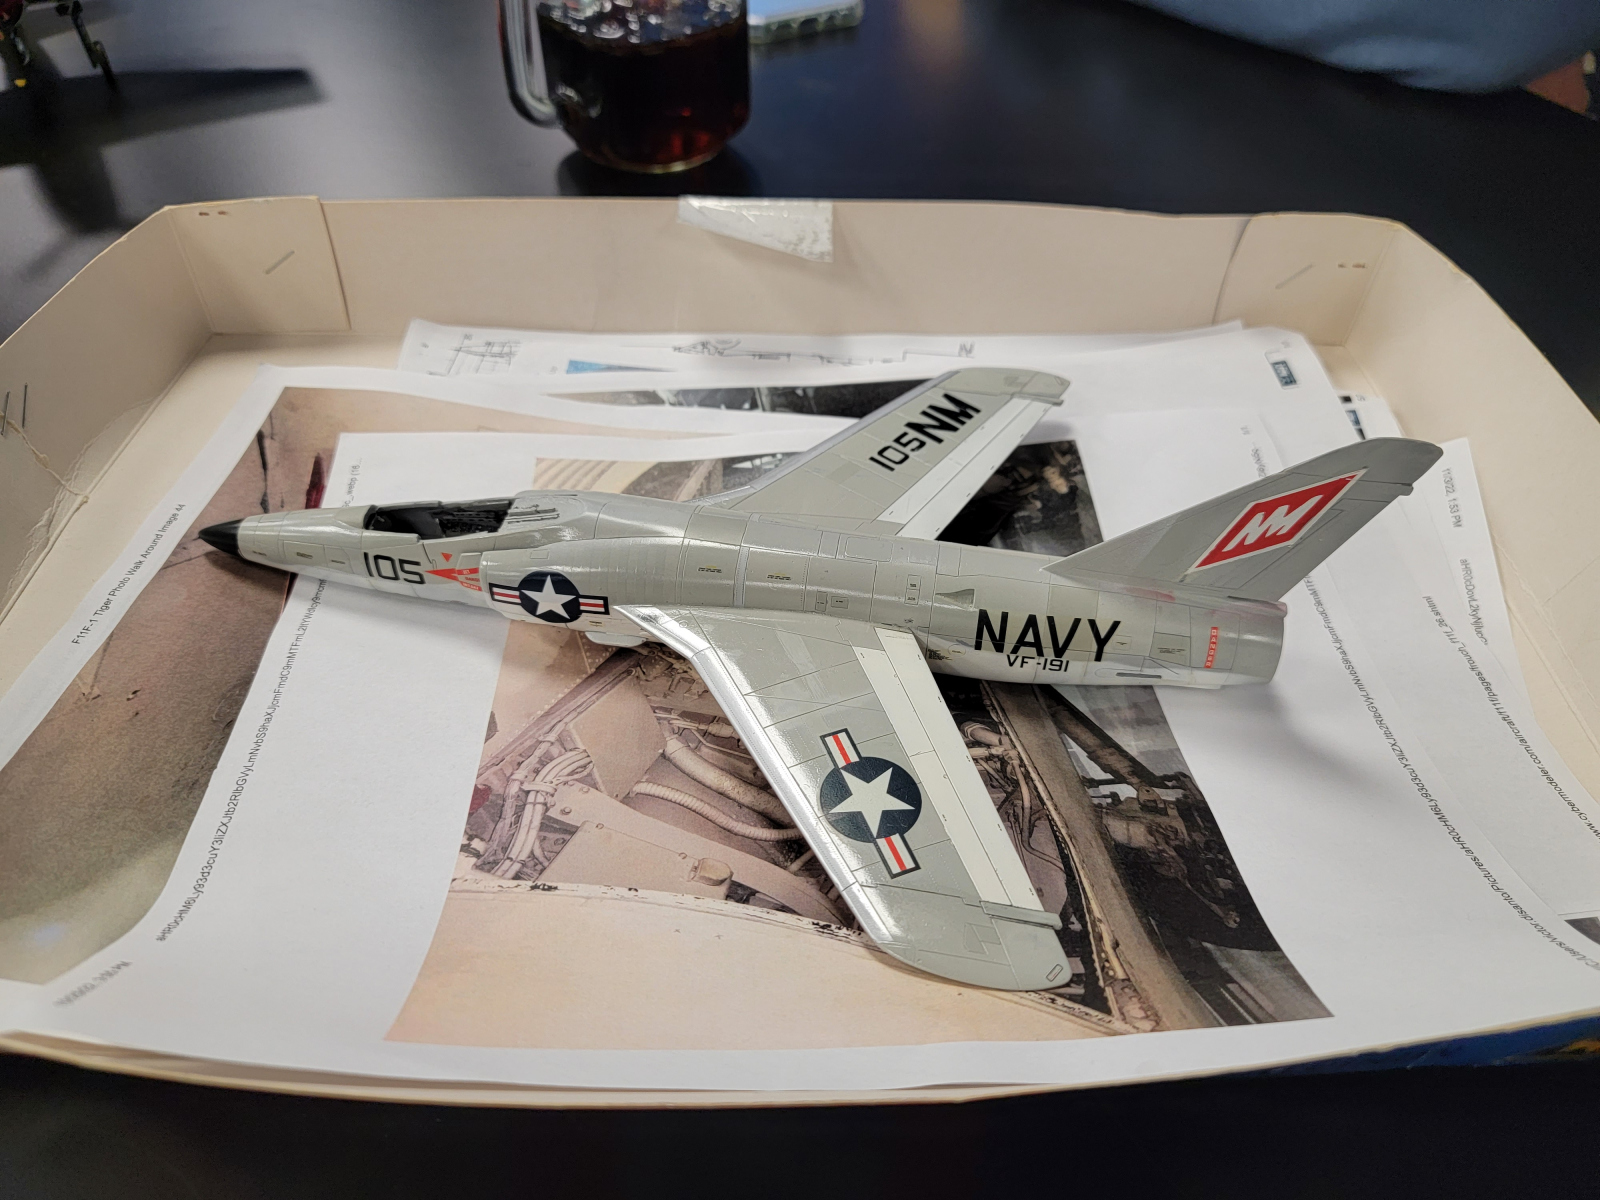 Vic DiSanto – FM 1/48 F11F Tiger on hold for decals on the tail. Vic wishes he could buy another one for all the lessons learned.
 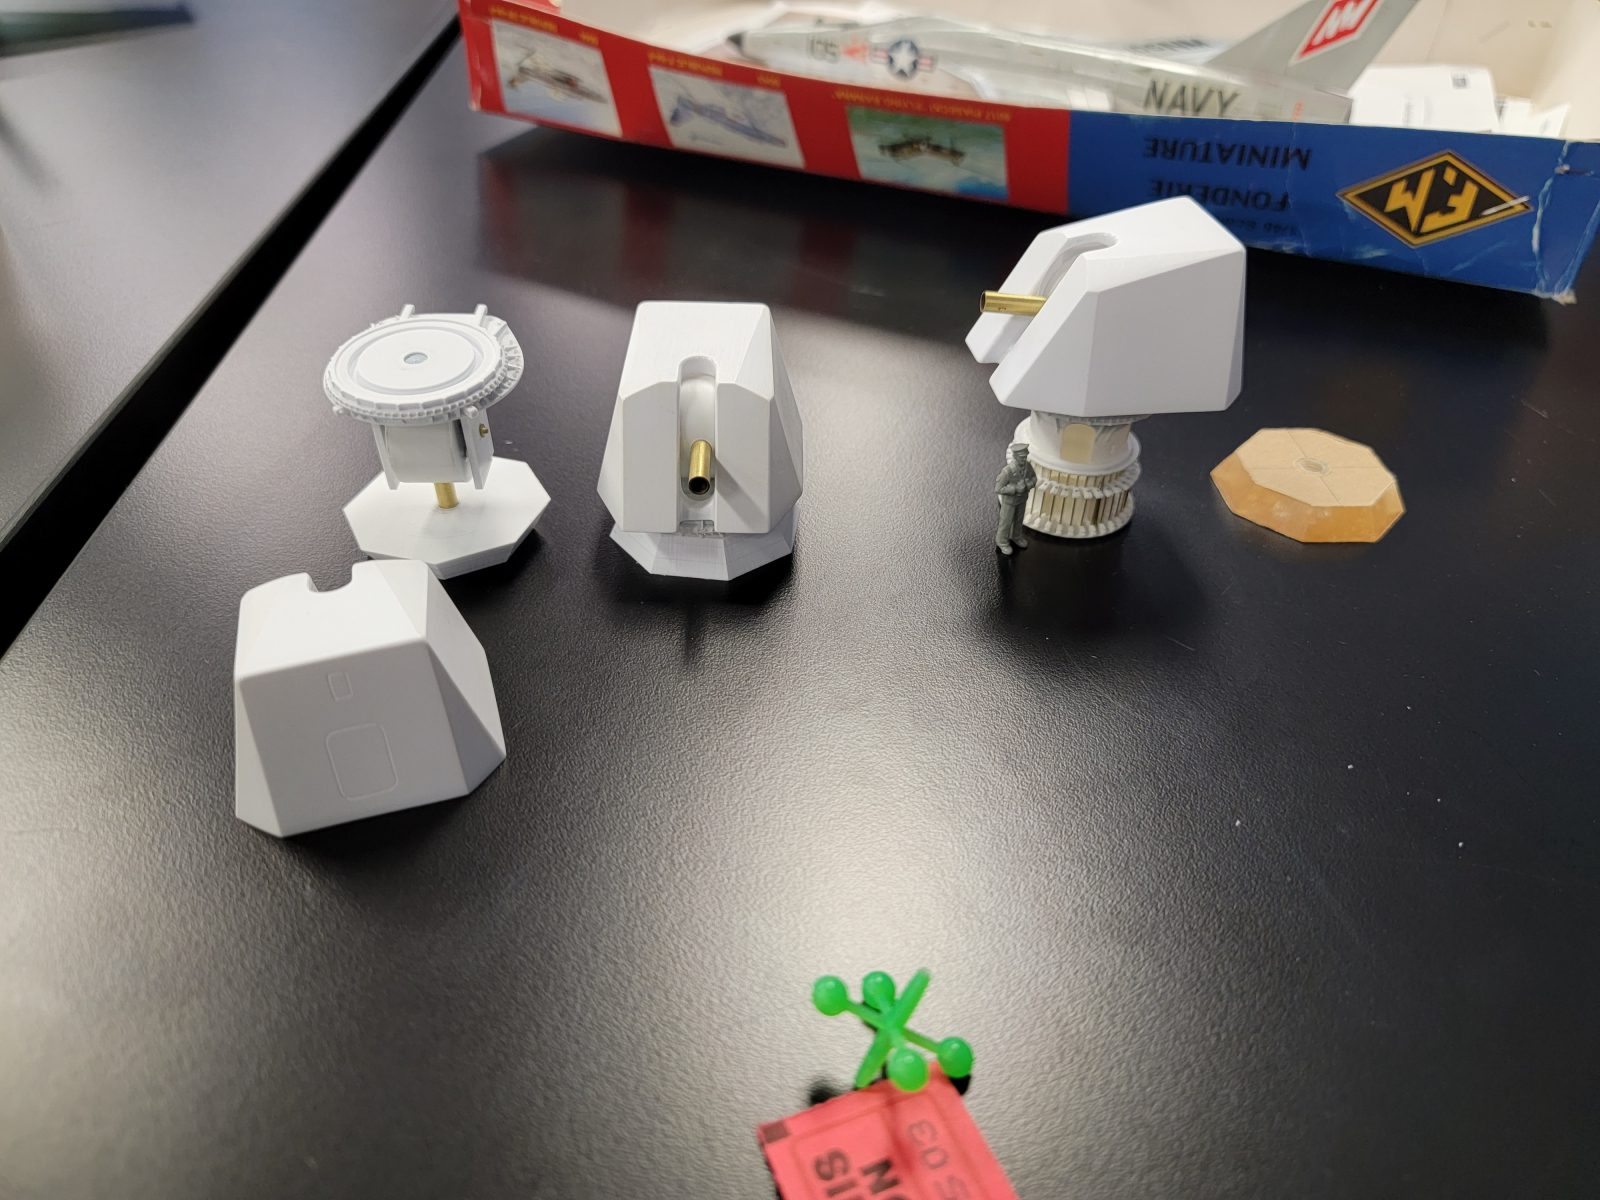 Phil Allen – various parts for the ship he’s been building. All scratch built.
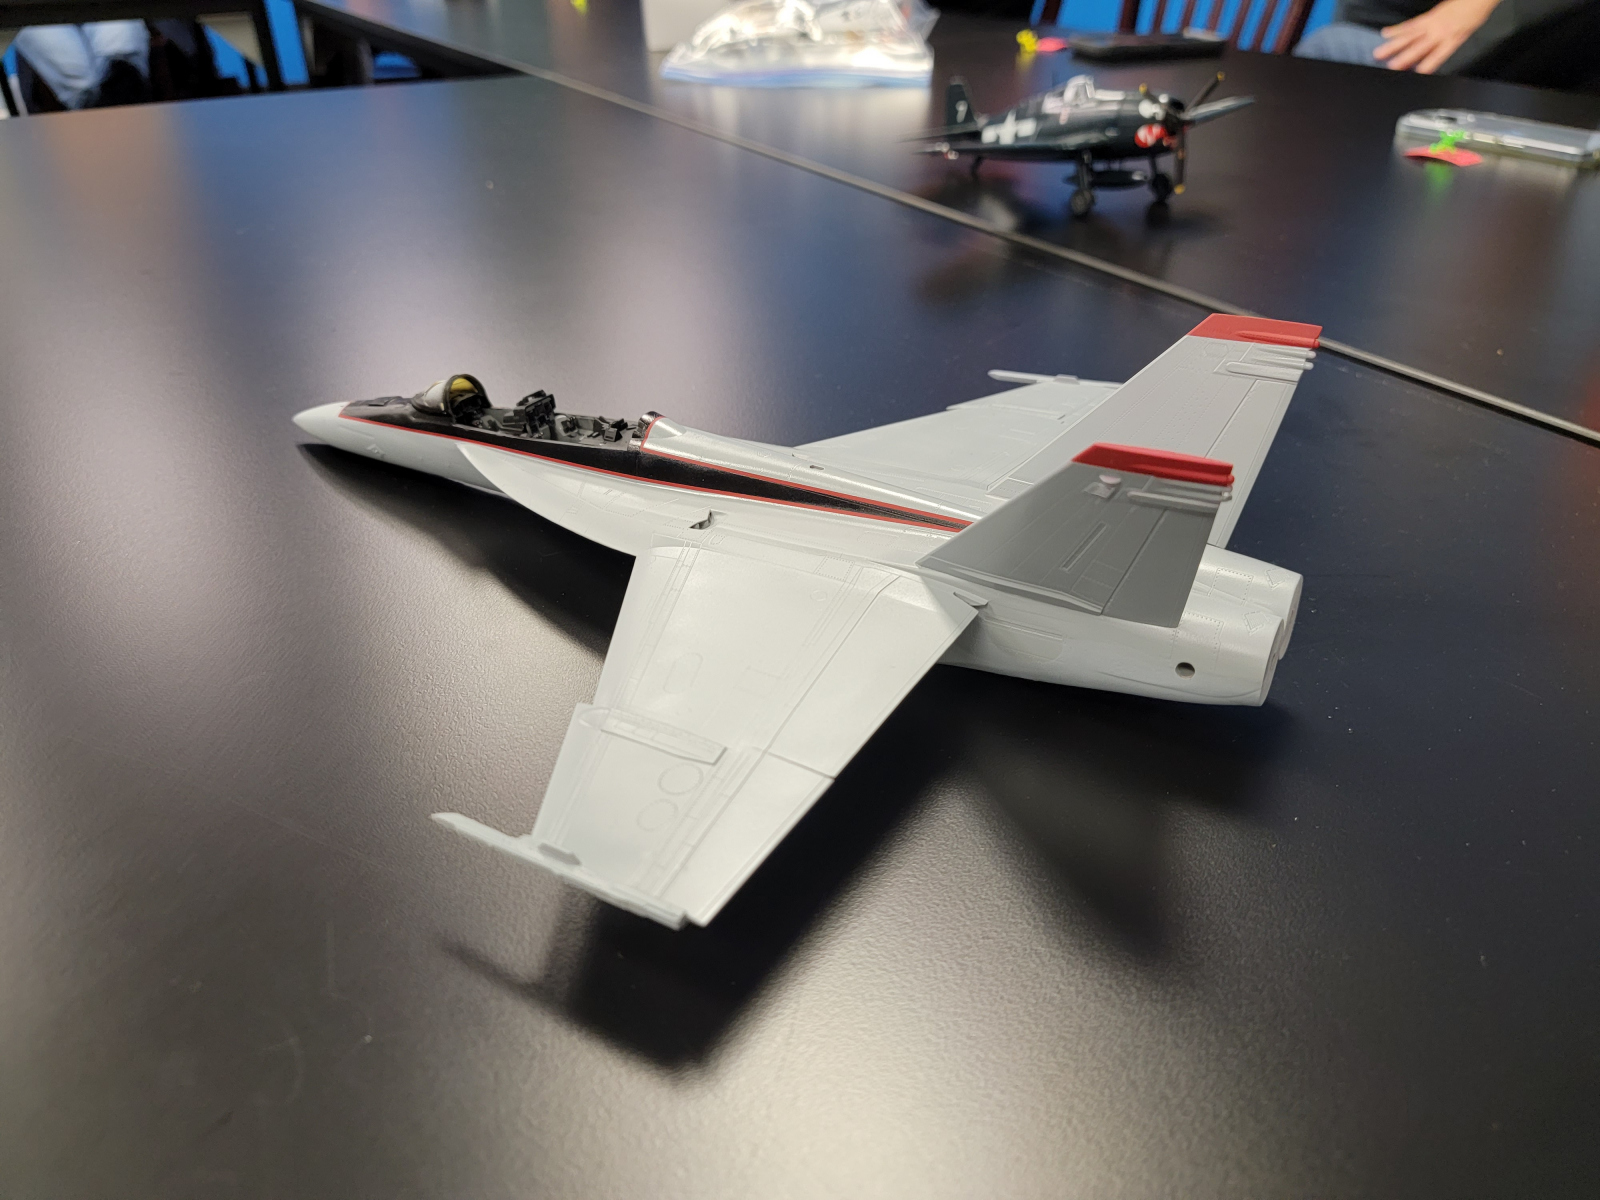
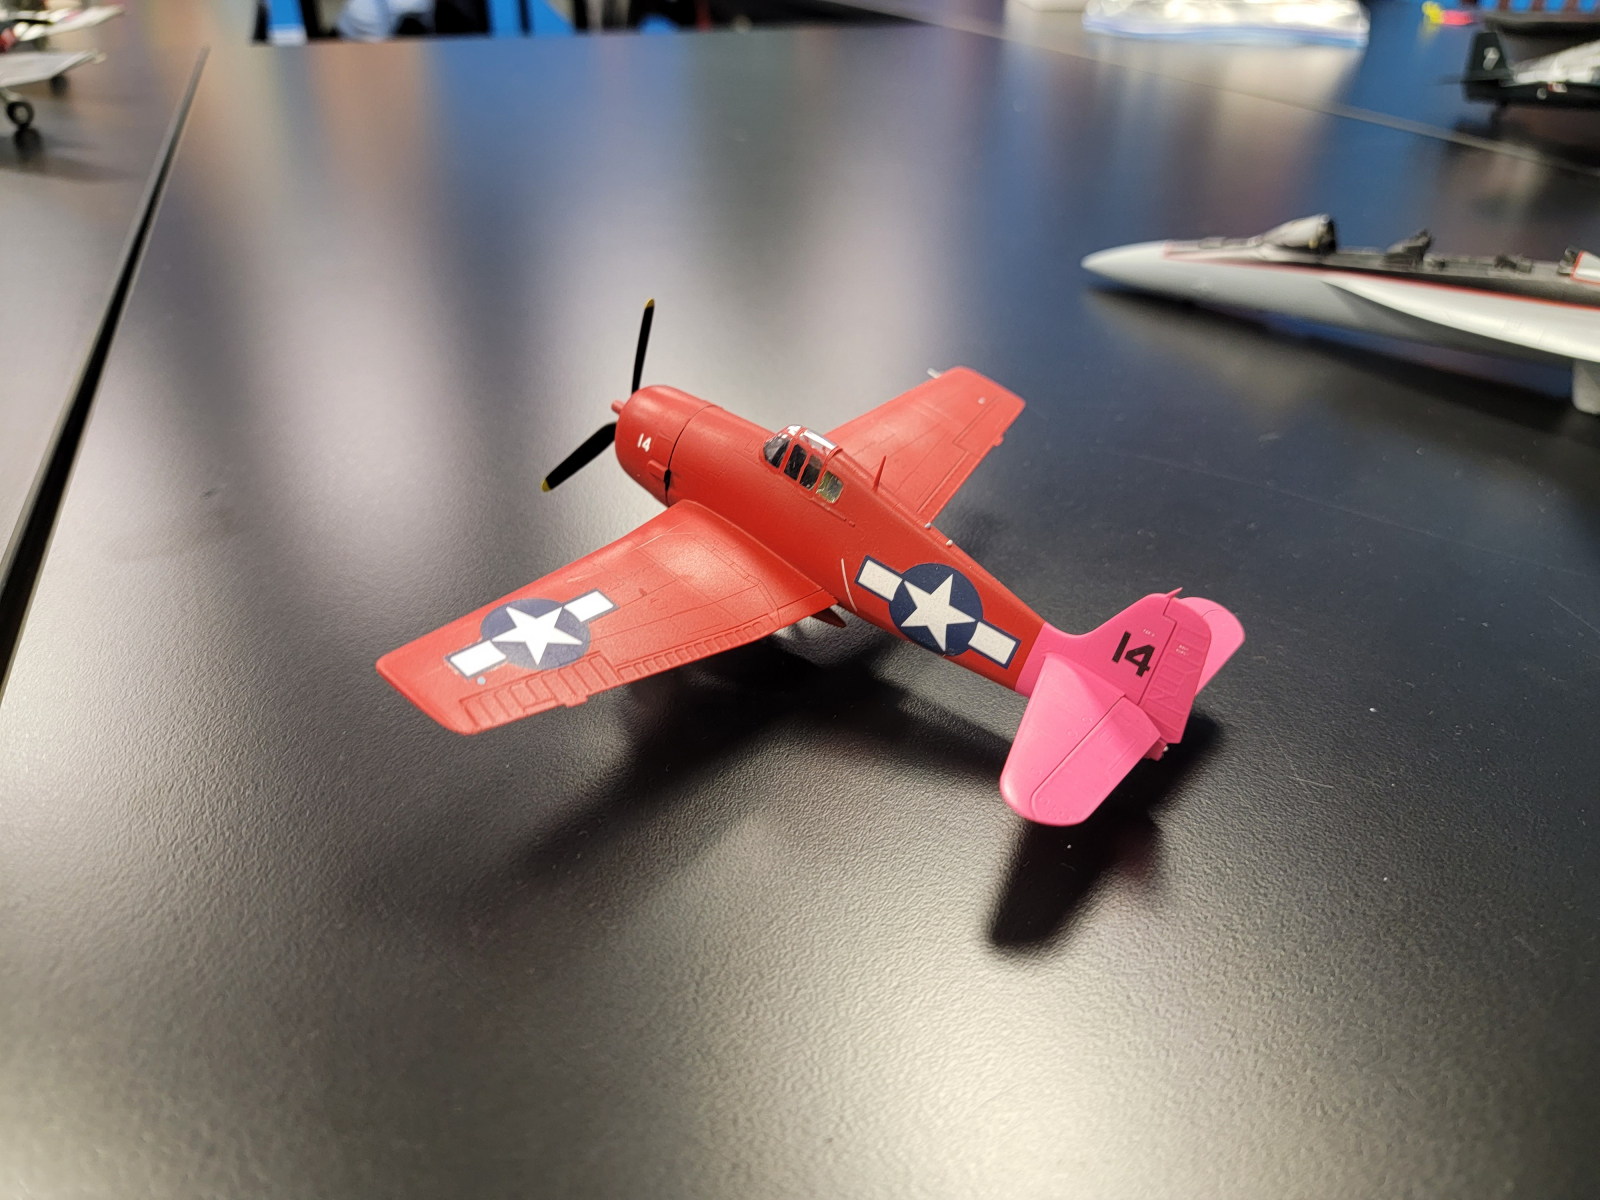 Gerry Whiteside – Revell 1/48 F/A-18 and Hobby Boss Hellcat
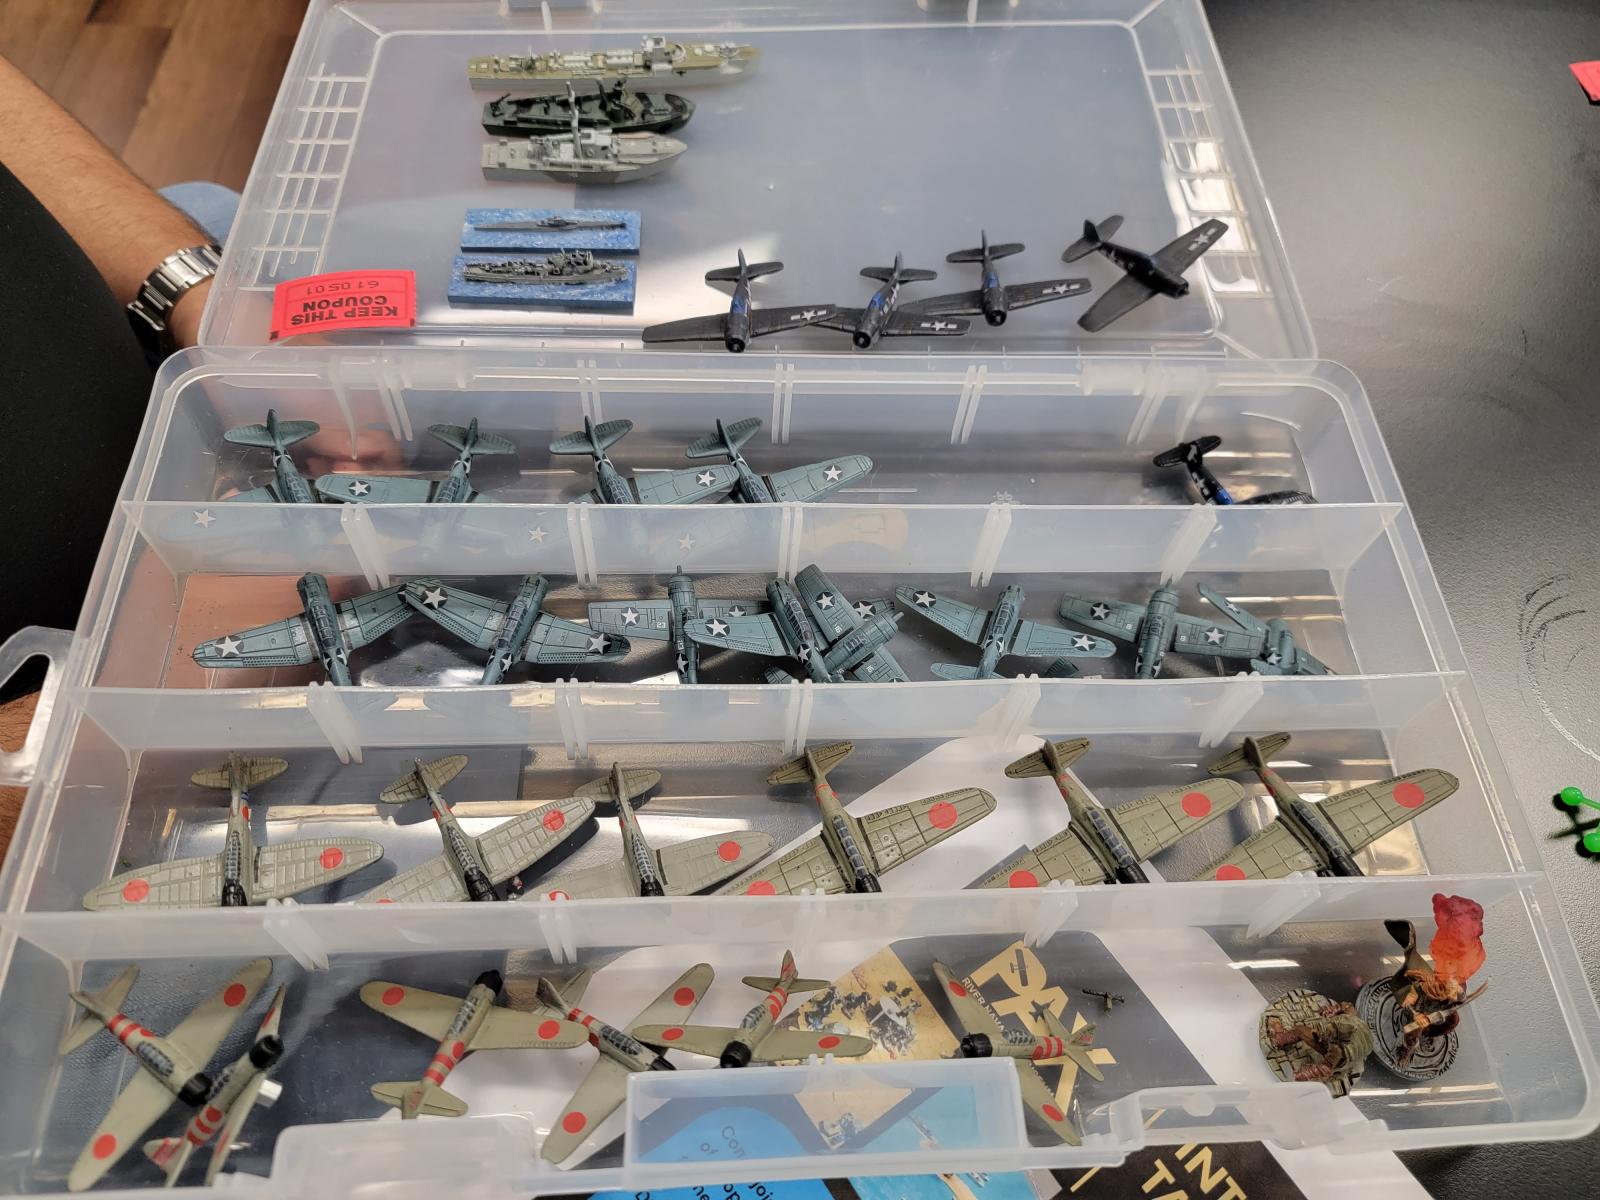 Joe Nevis 1/56 scale Comet war gaming stuff and 1/144 US WWII aircraft for war games.
 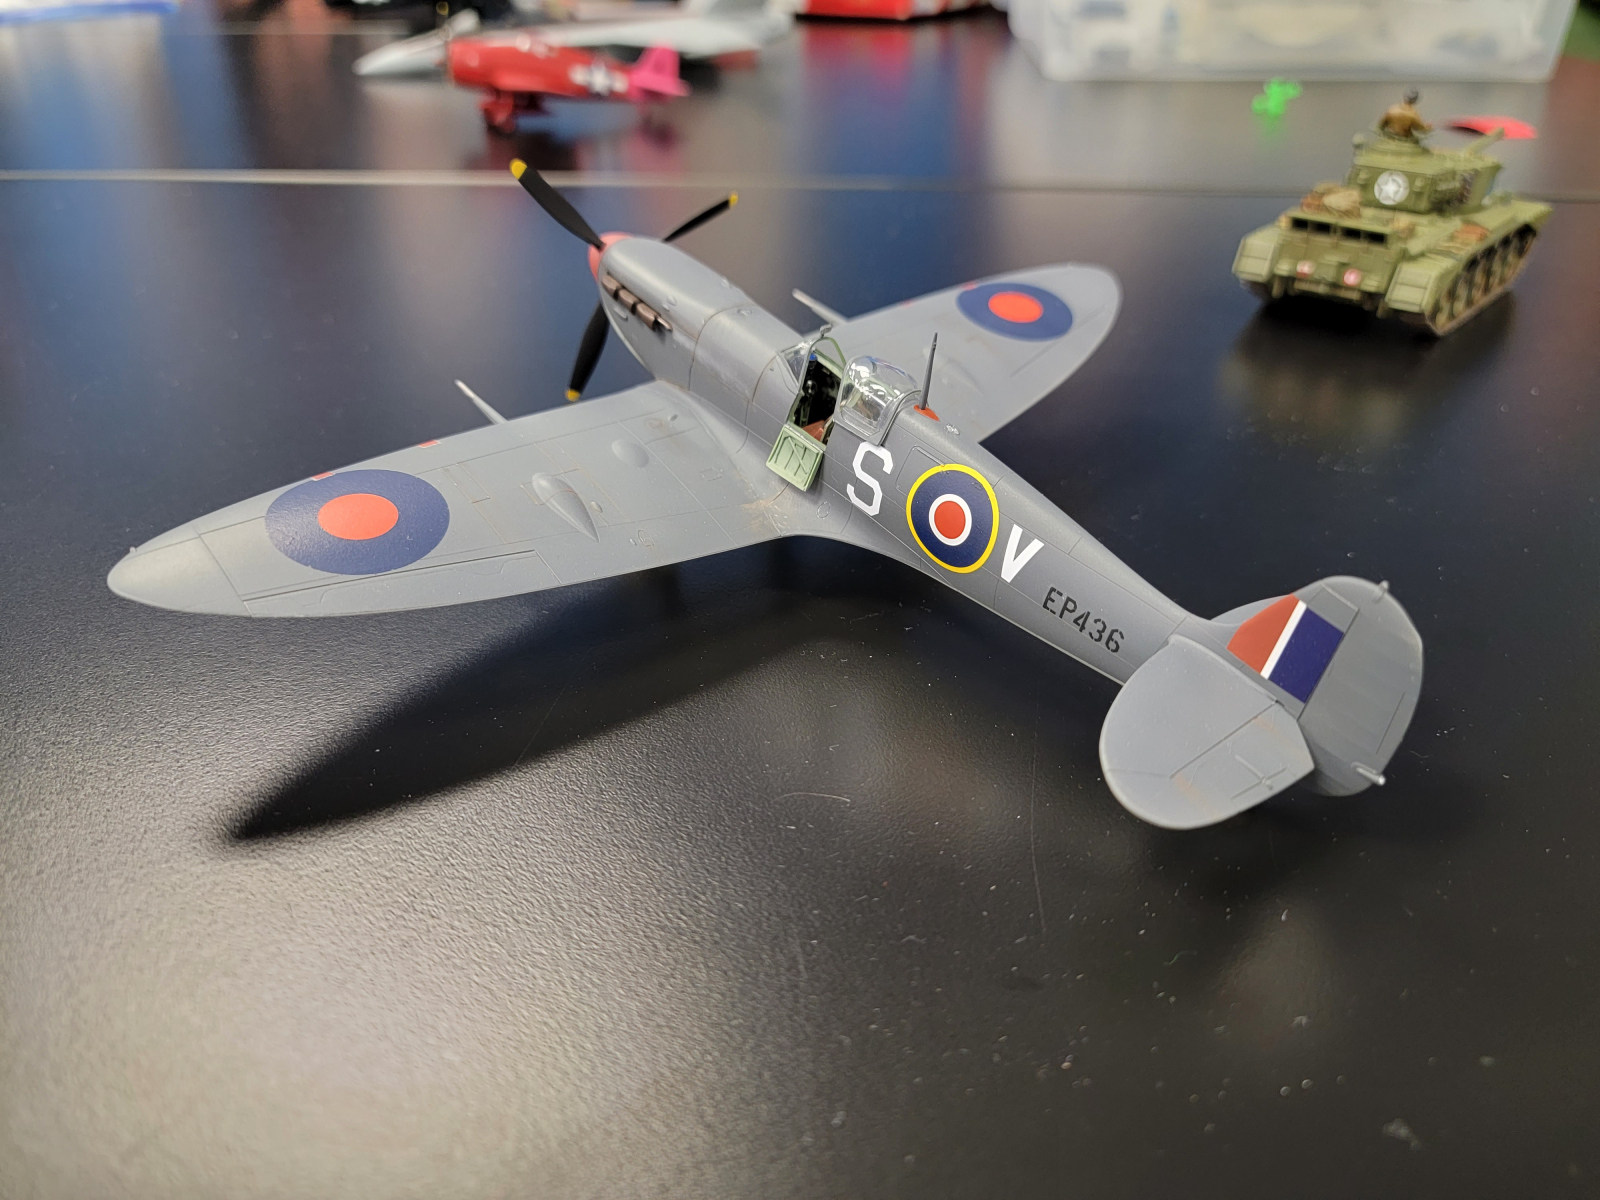 Bill Suggs – Hasegawa 1/48 Spitfire Mk.Vb on Malta 1942 from profile in reference book.
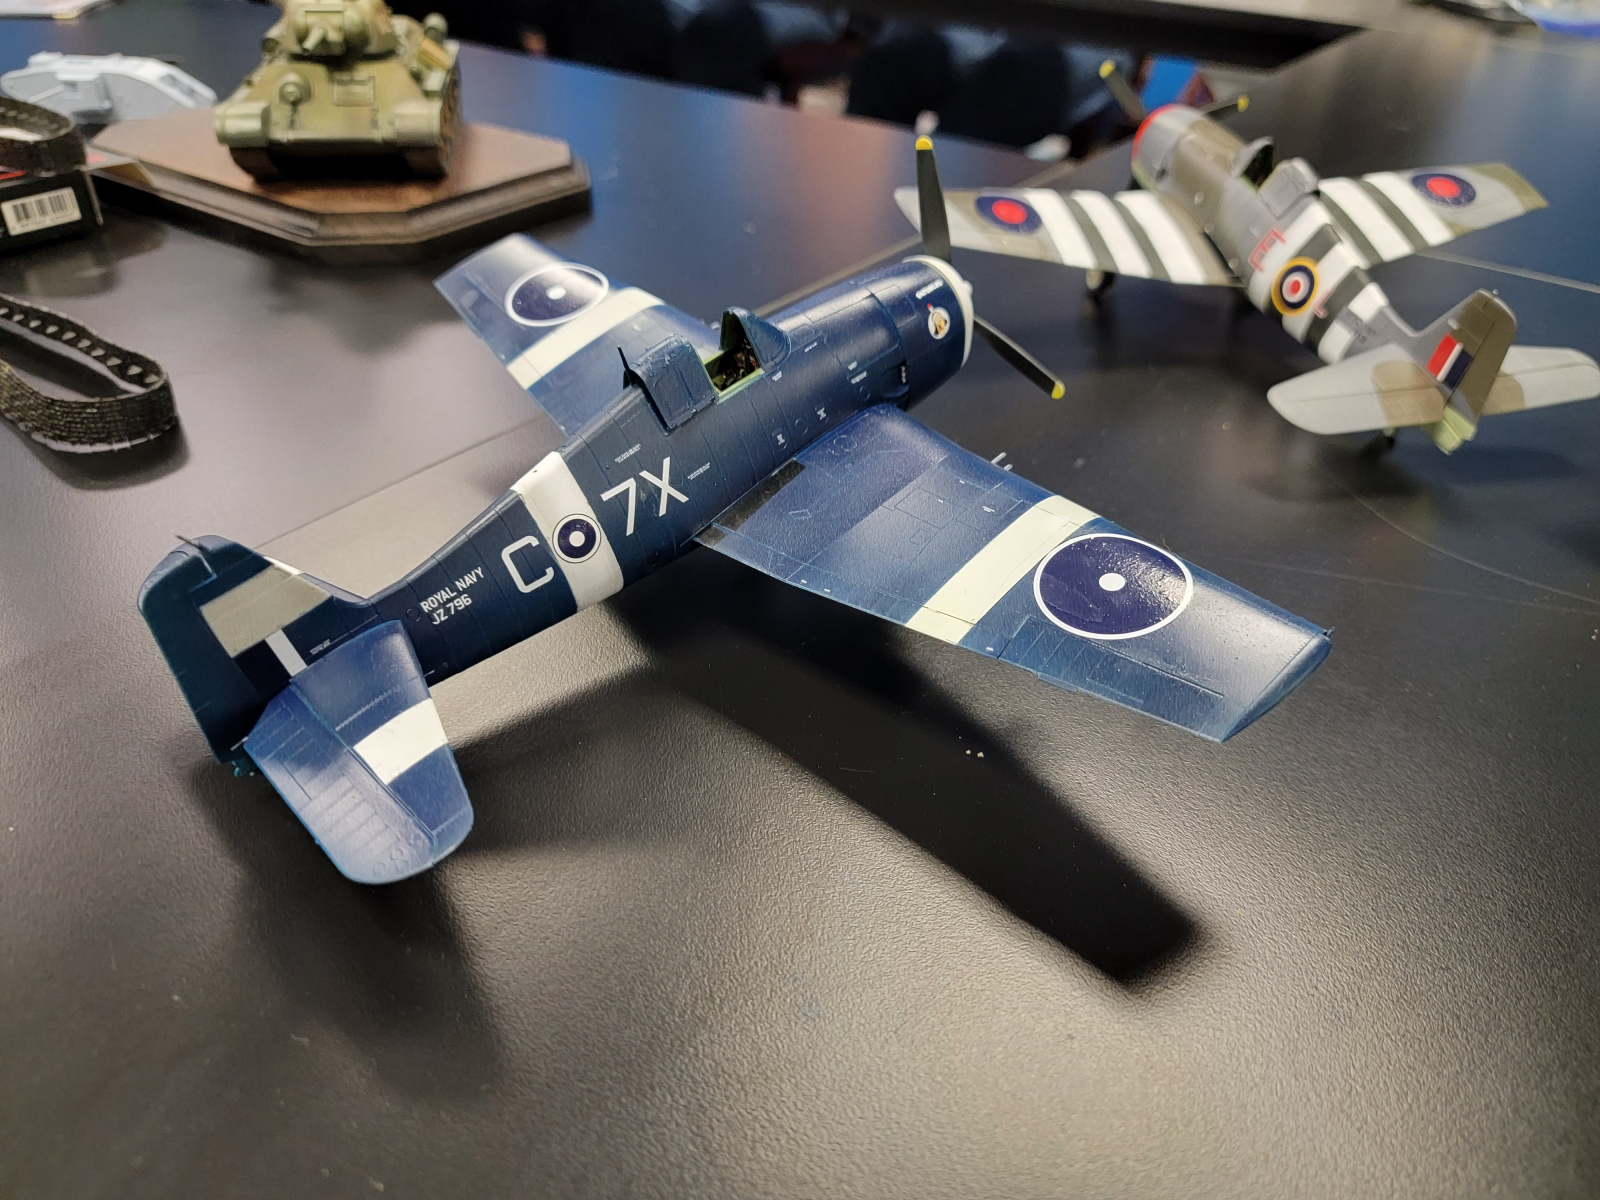
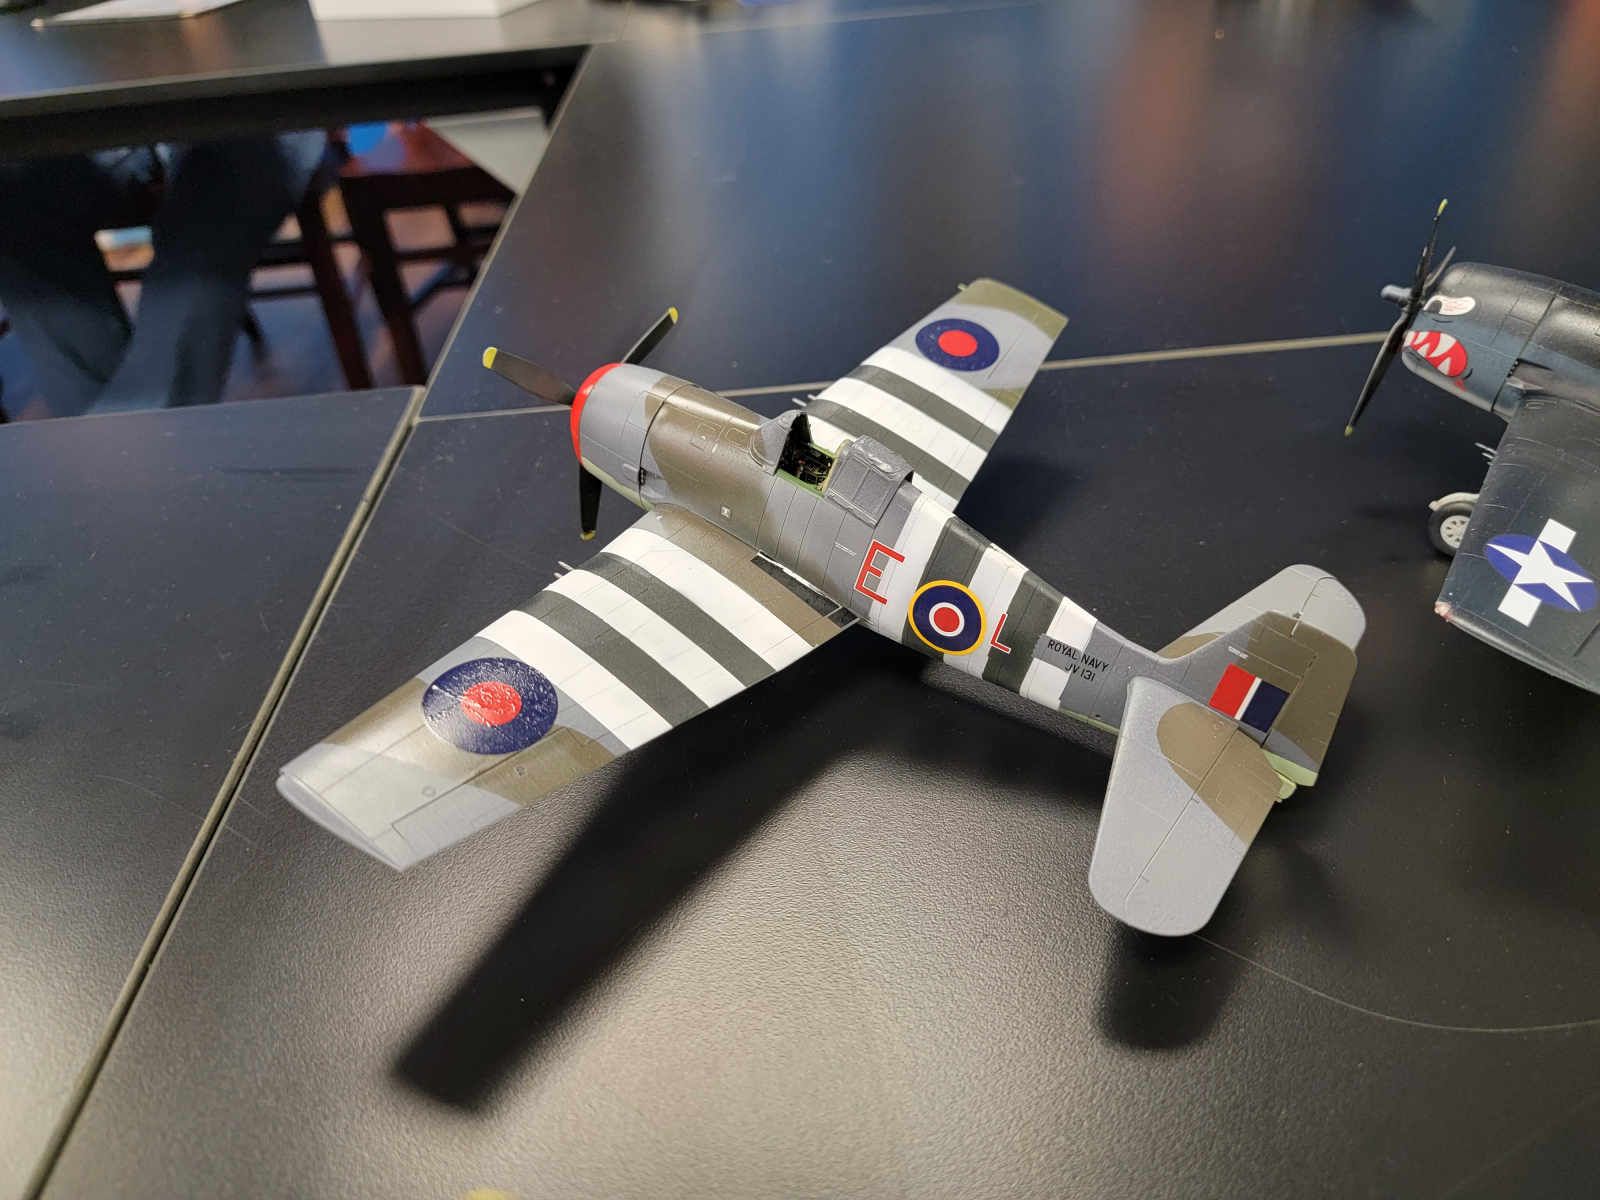
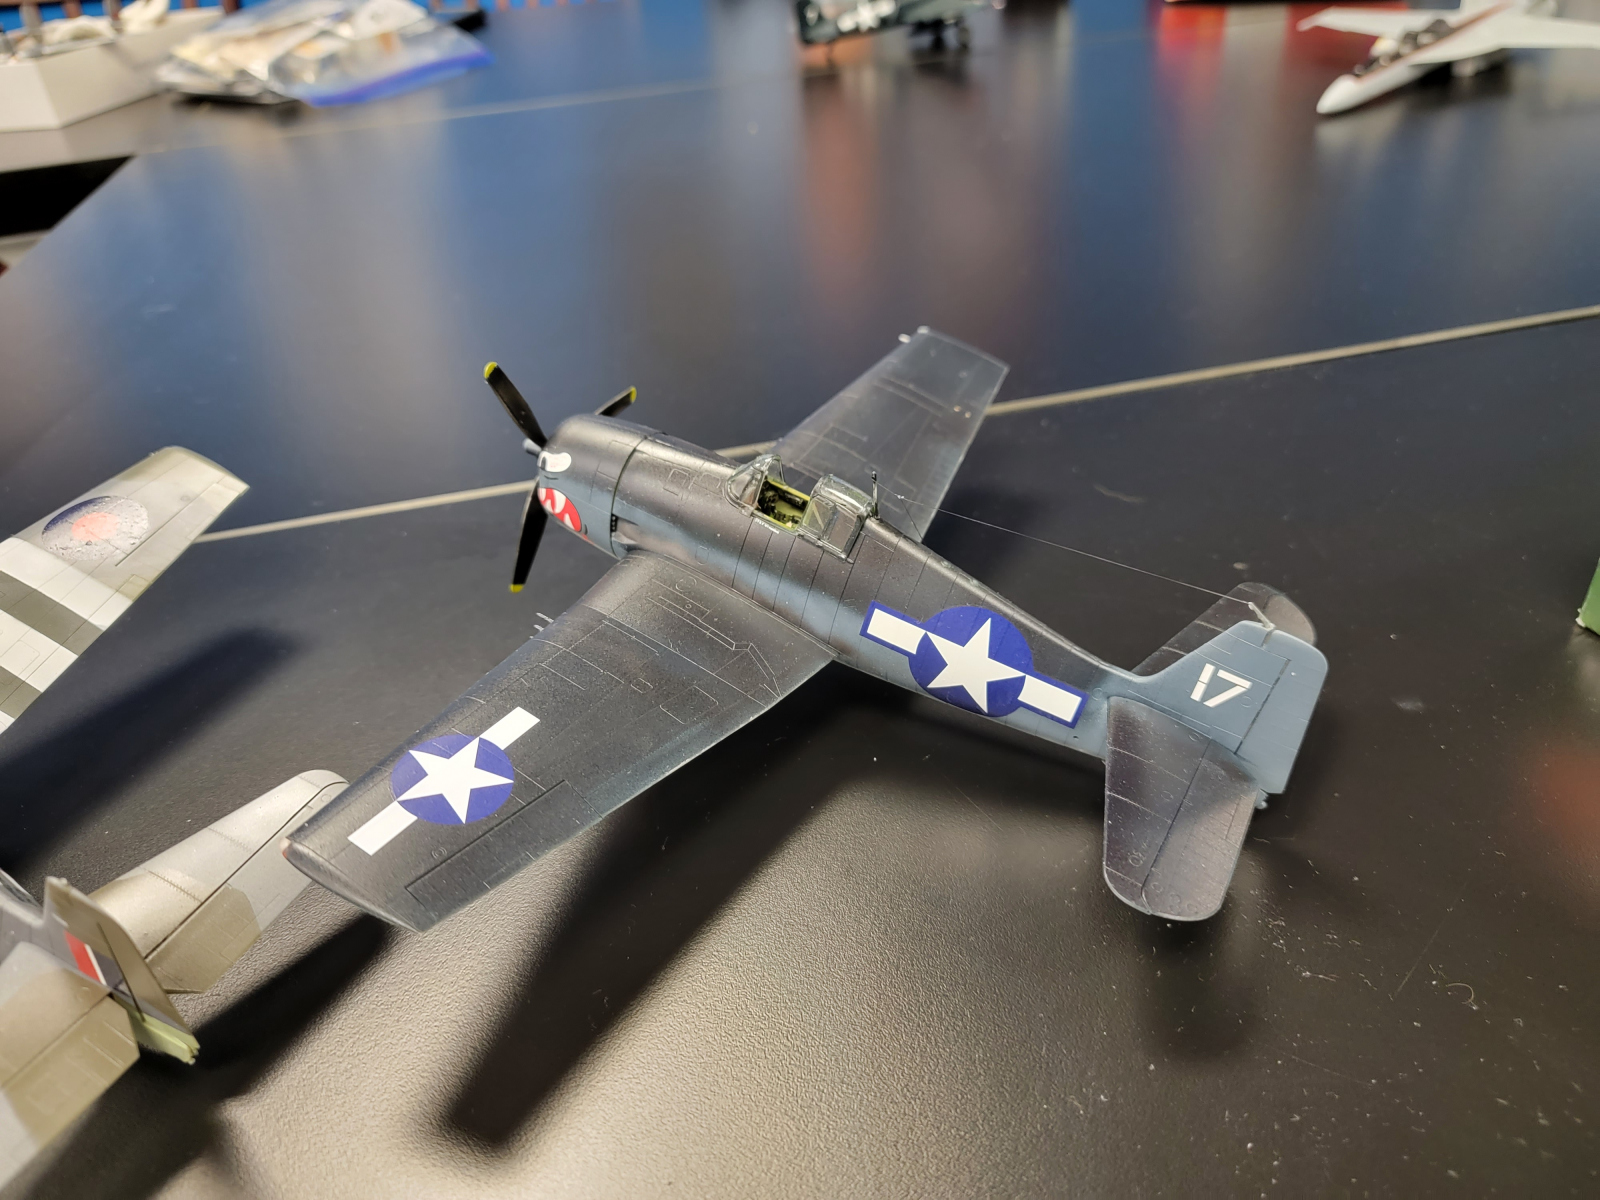
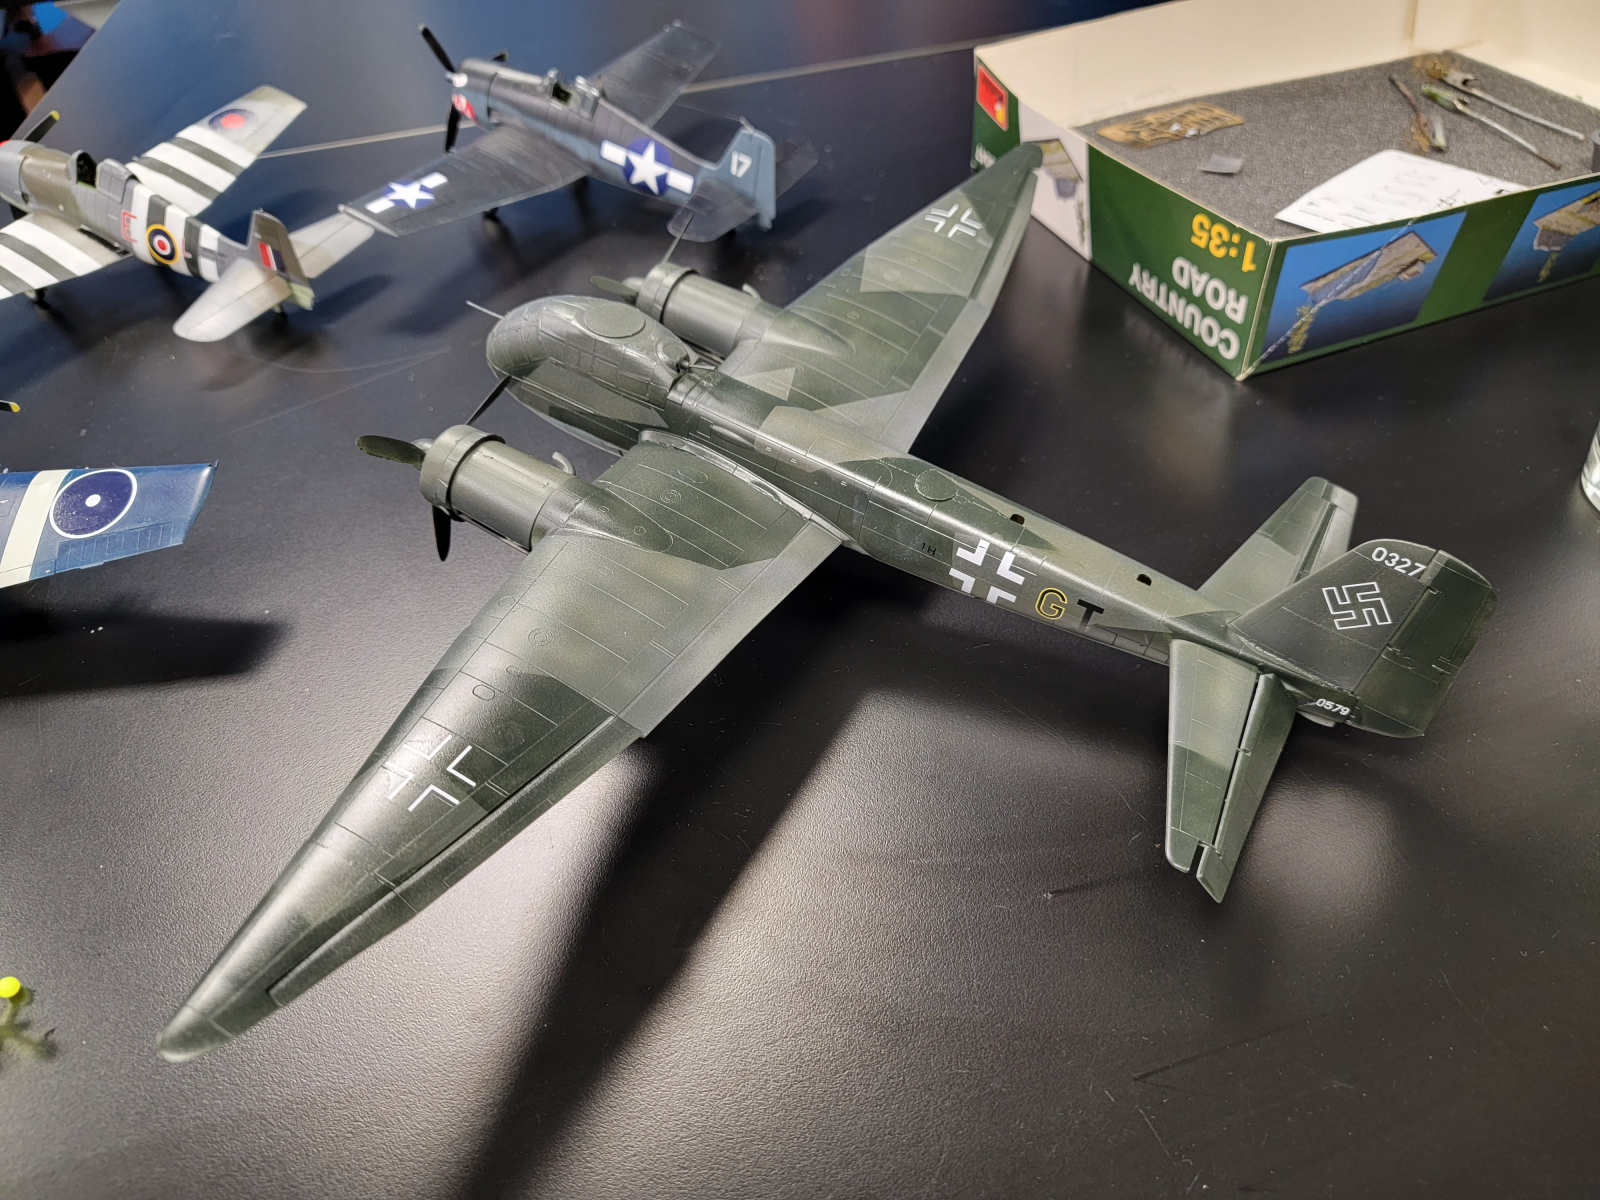 Doc Haugh – 3 Eduard 1/48 Hellcats. Mk.2, Mk.1, F6F-3 USS Indy. Dragon 1/48 Ju-188 torpedo bomber.
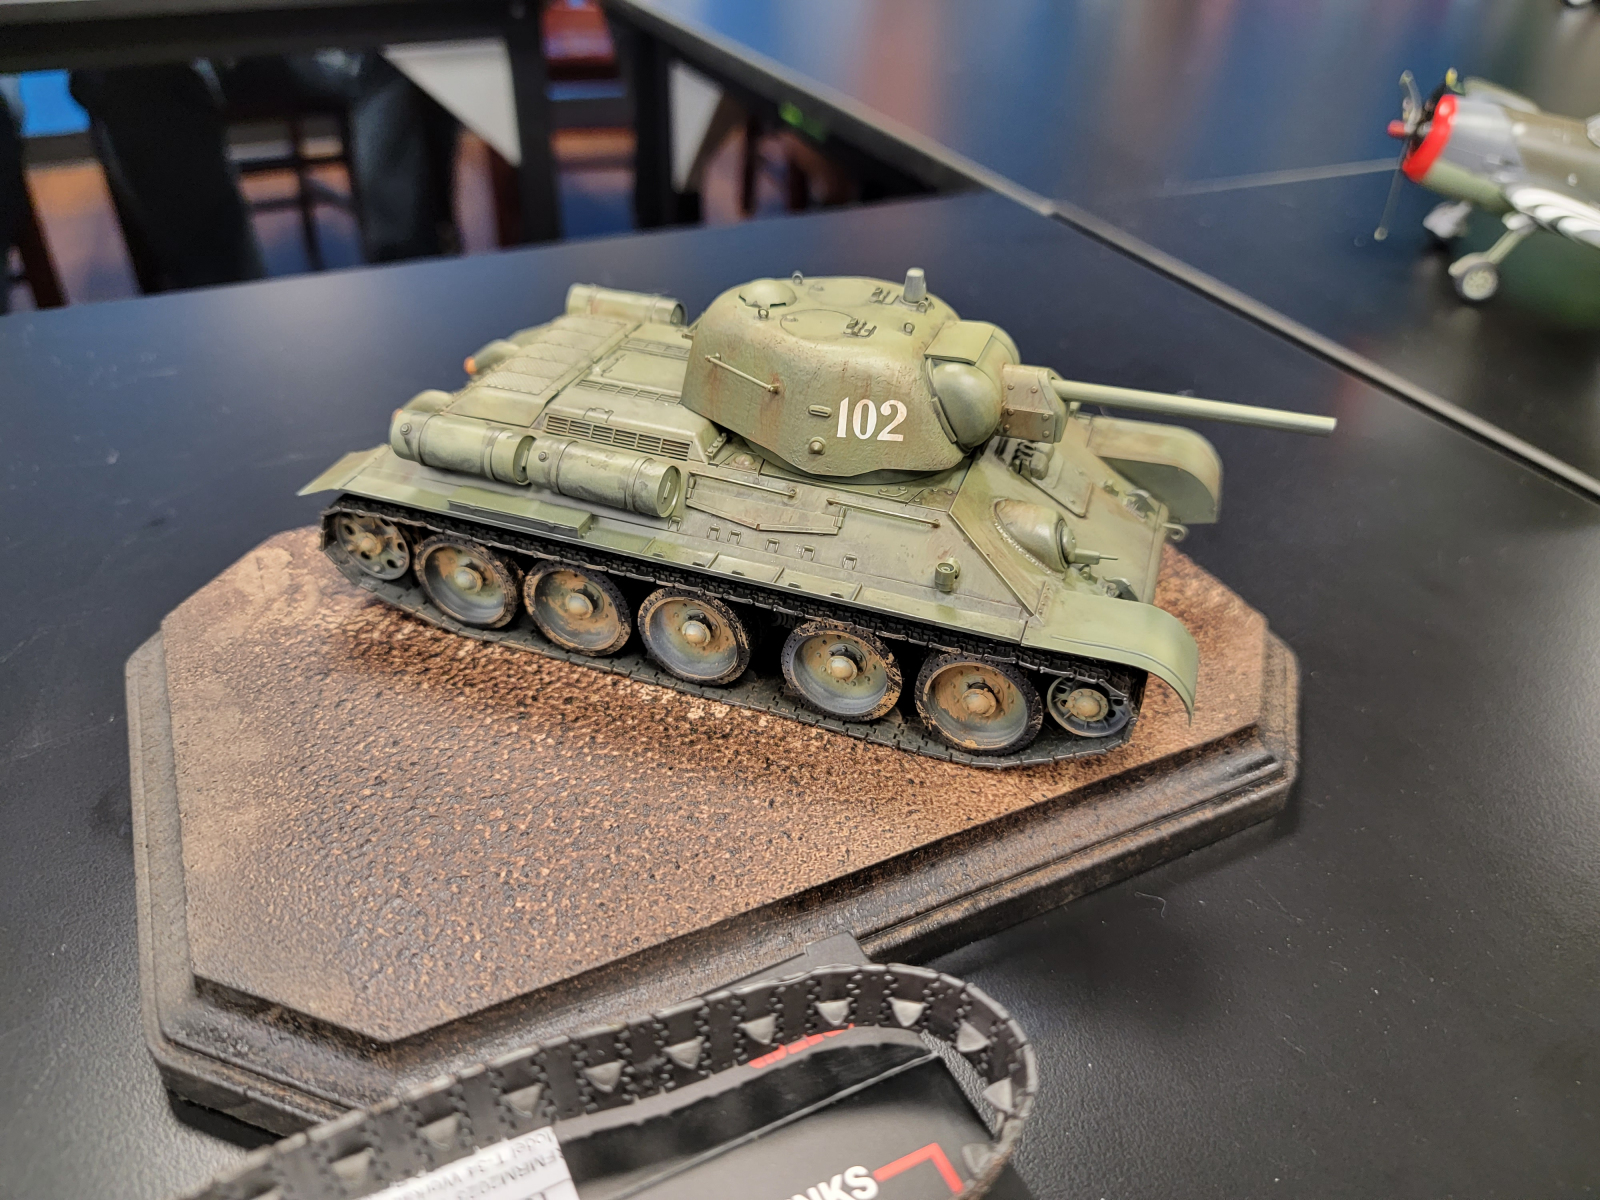
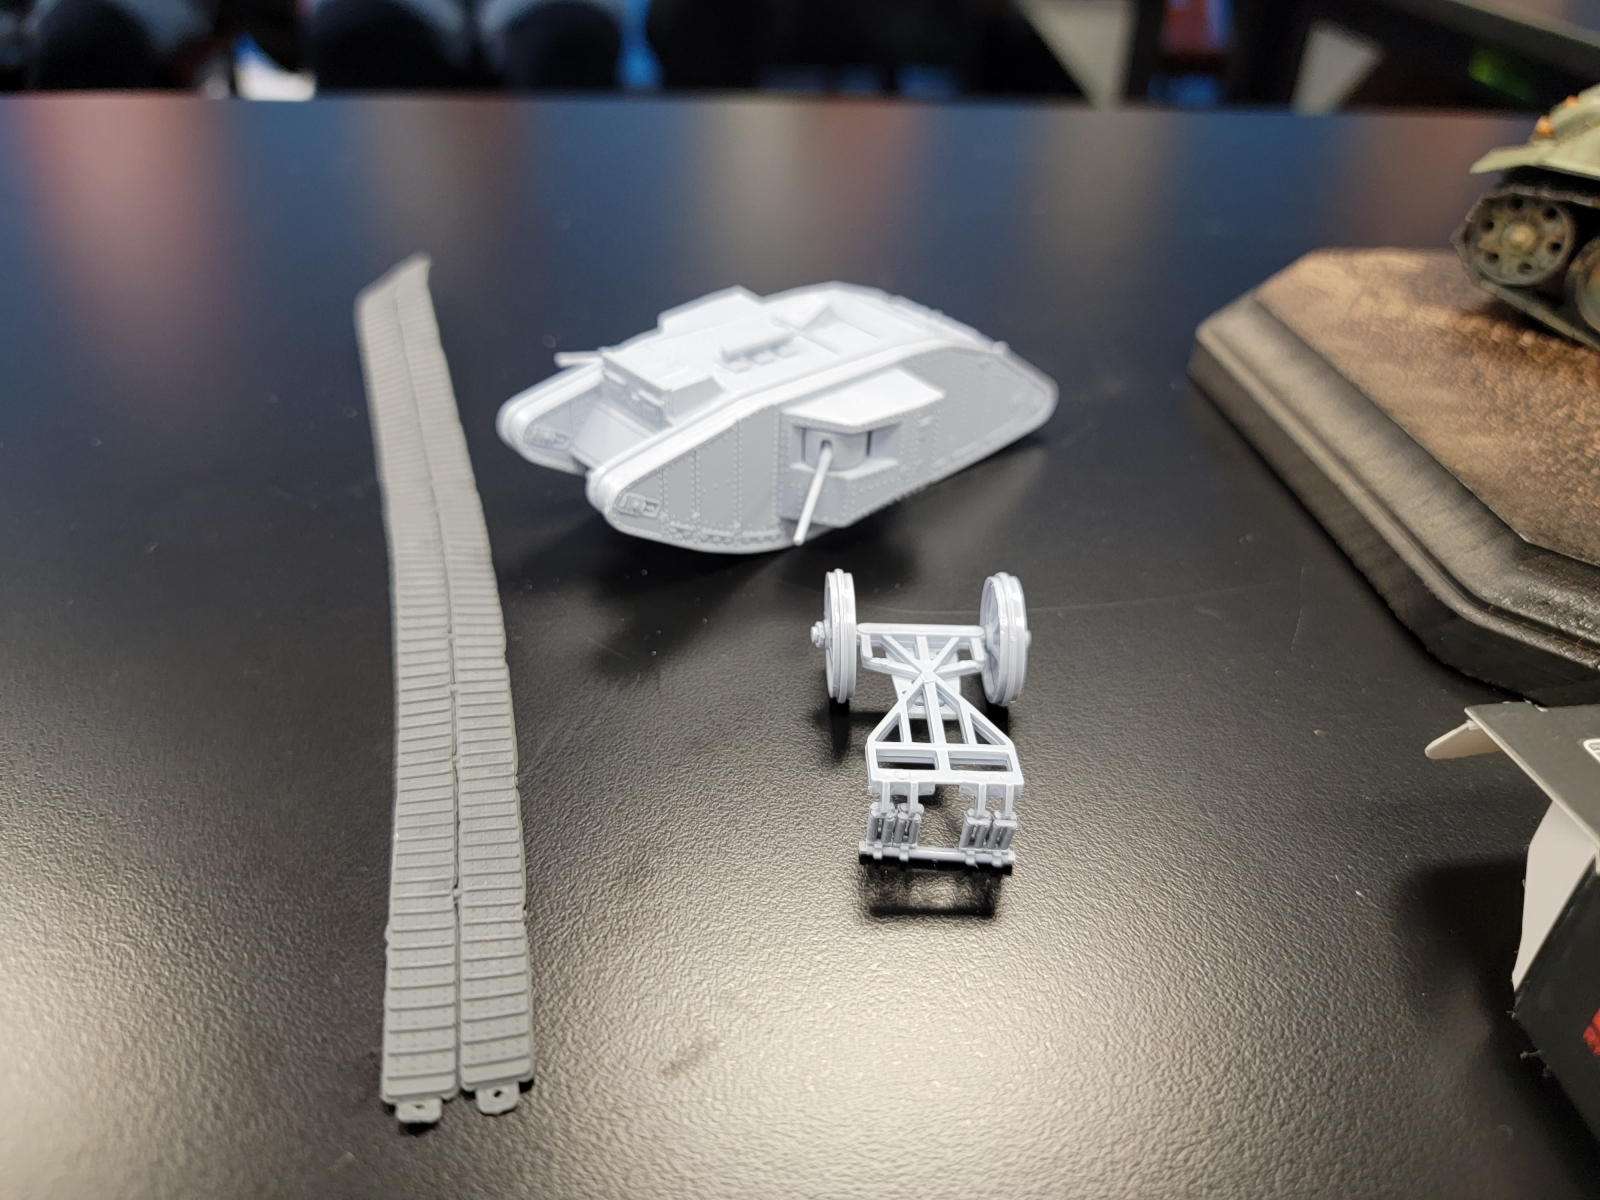 Justin Reed – Tamiya 1/35 T-34 with Rye Field Models tracks. AIRFIX 1/76 Male Mk.1, however Covid brain caused missing assemblies so well be fun to fix.
 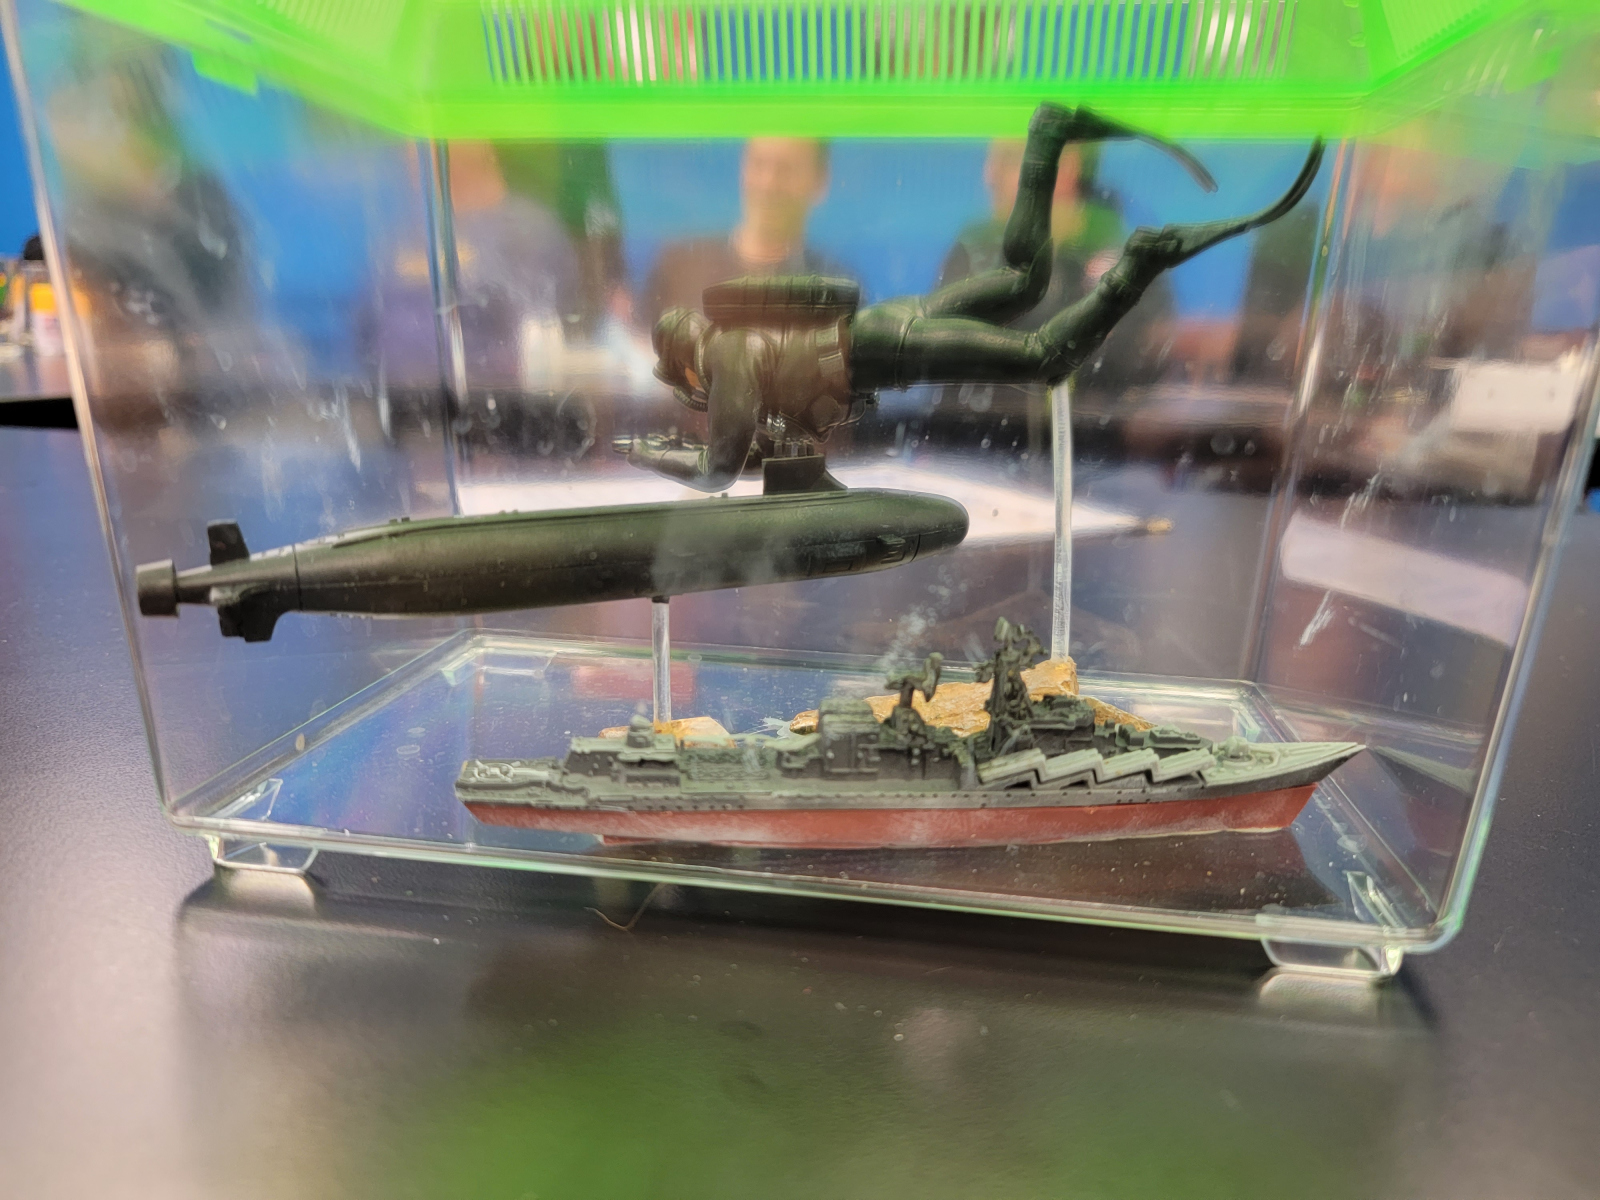 Carey Marrinan – a “Diverama” made with a Moskva and LA class sub, and a divert from the free figures last meeting
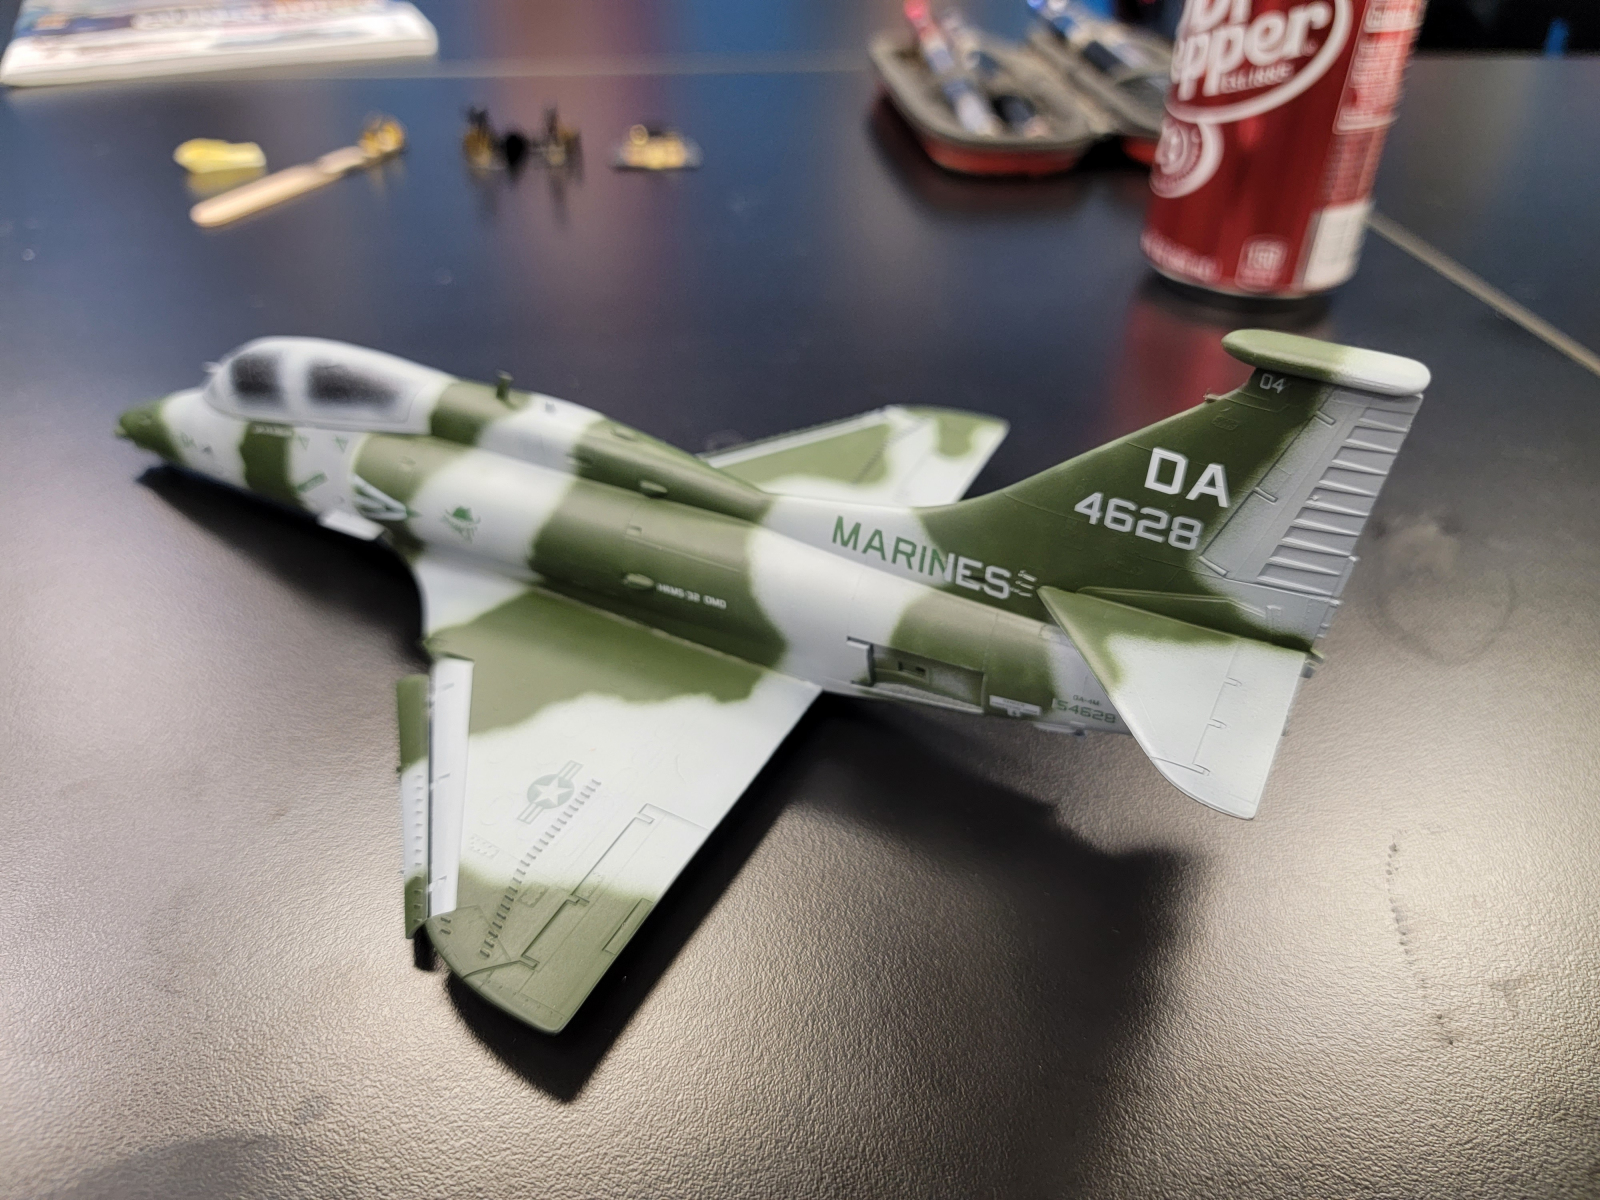
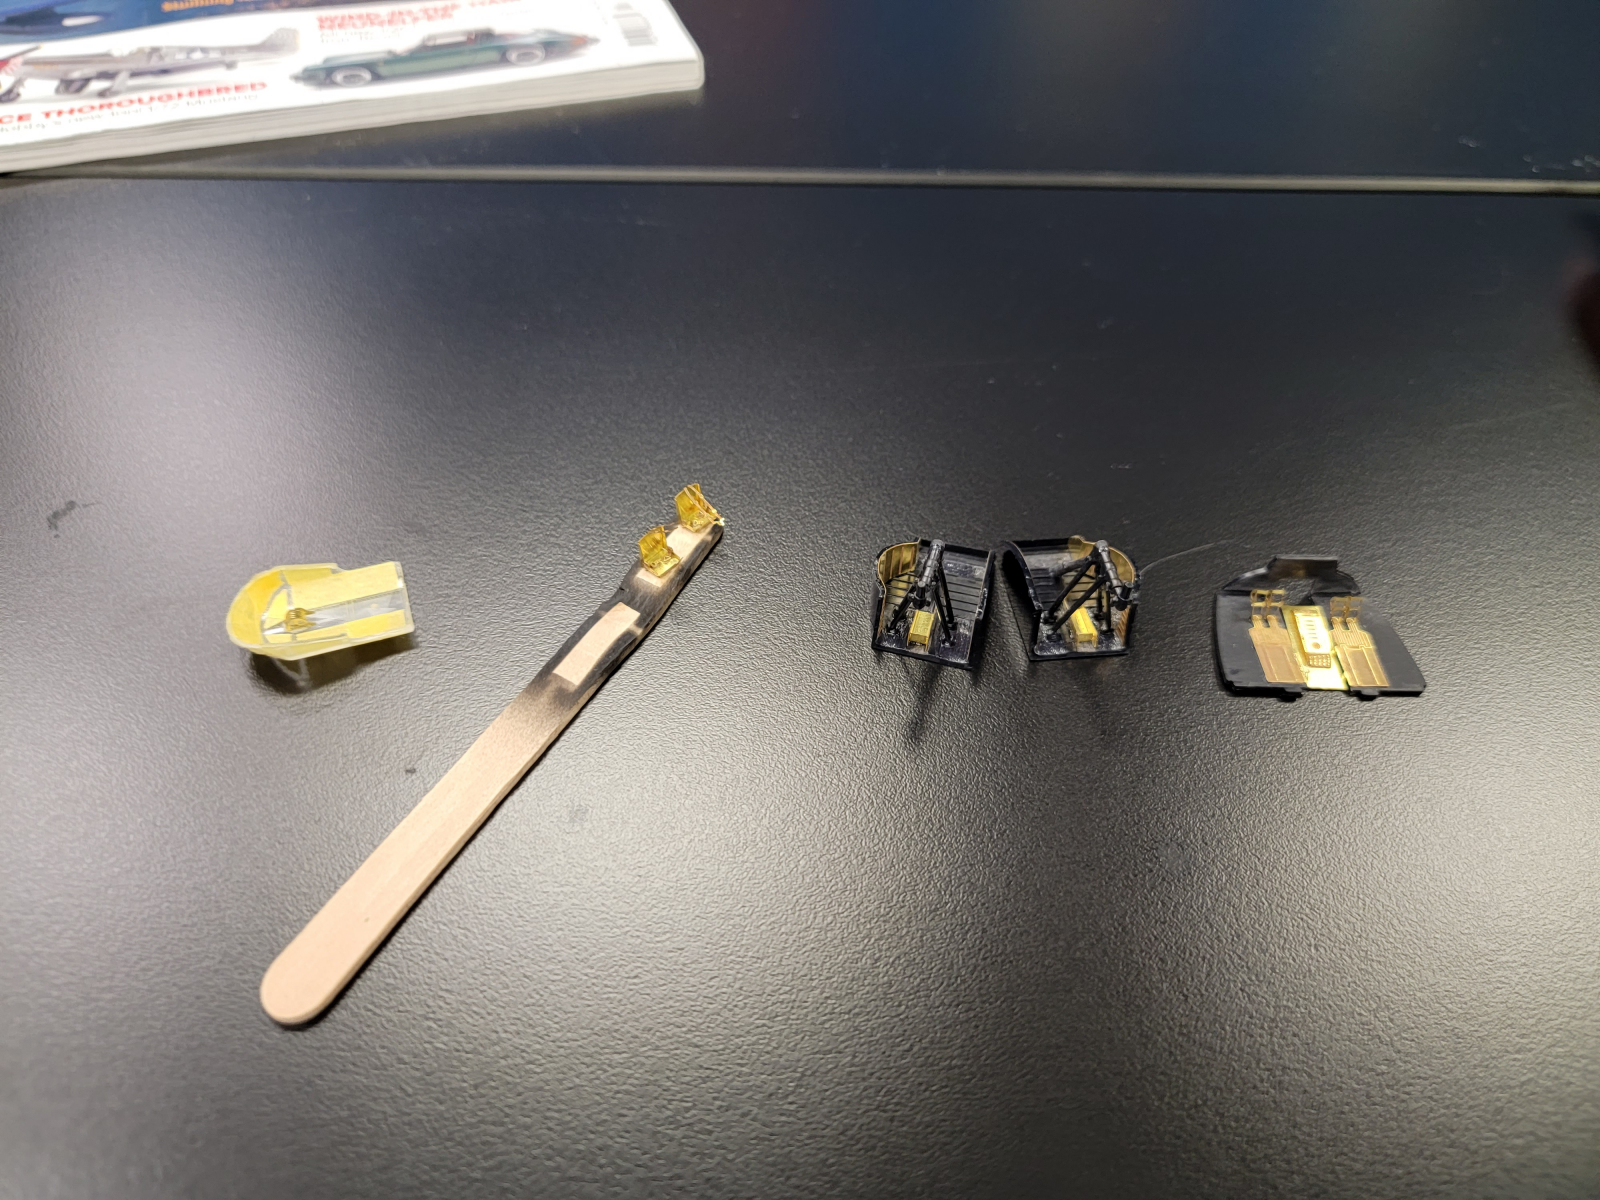 Vince Mankowski – 1/48 OA-4M nearing completion & PBY-5A brass origami in work!
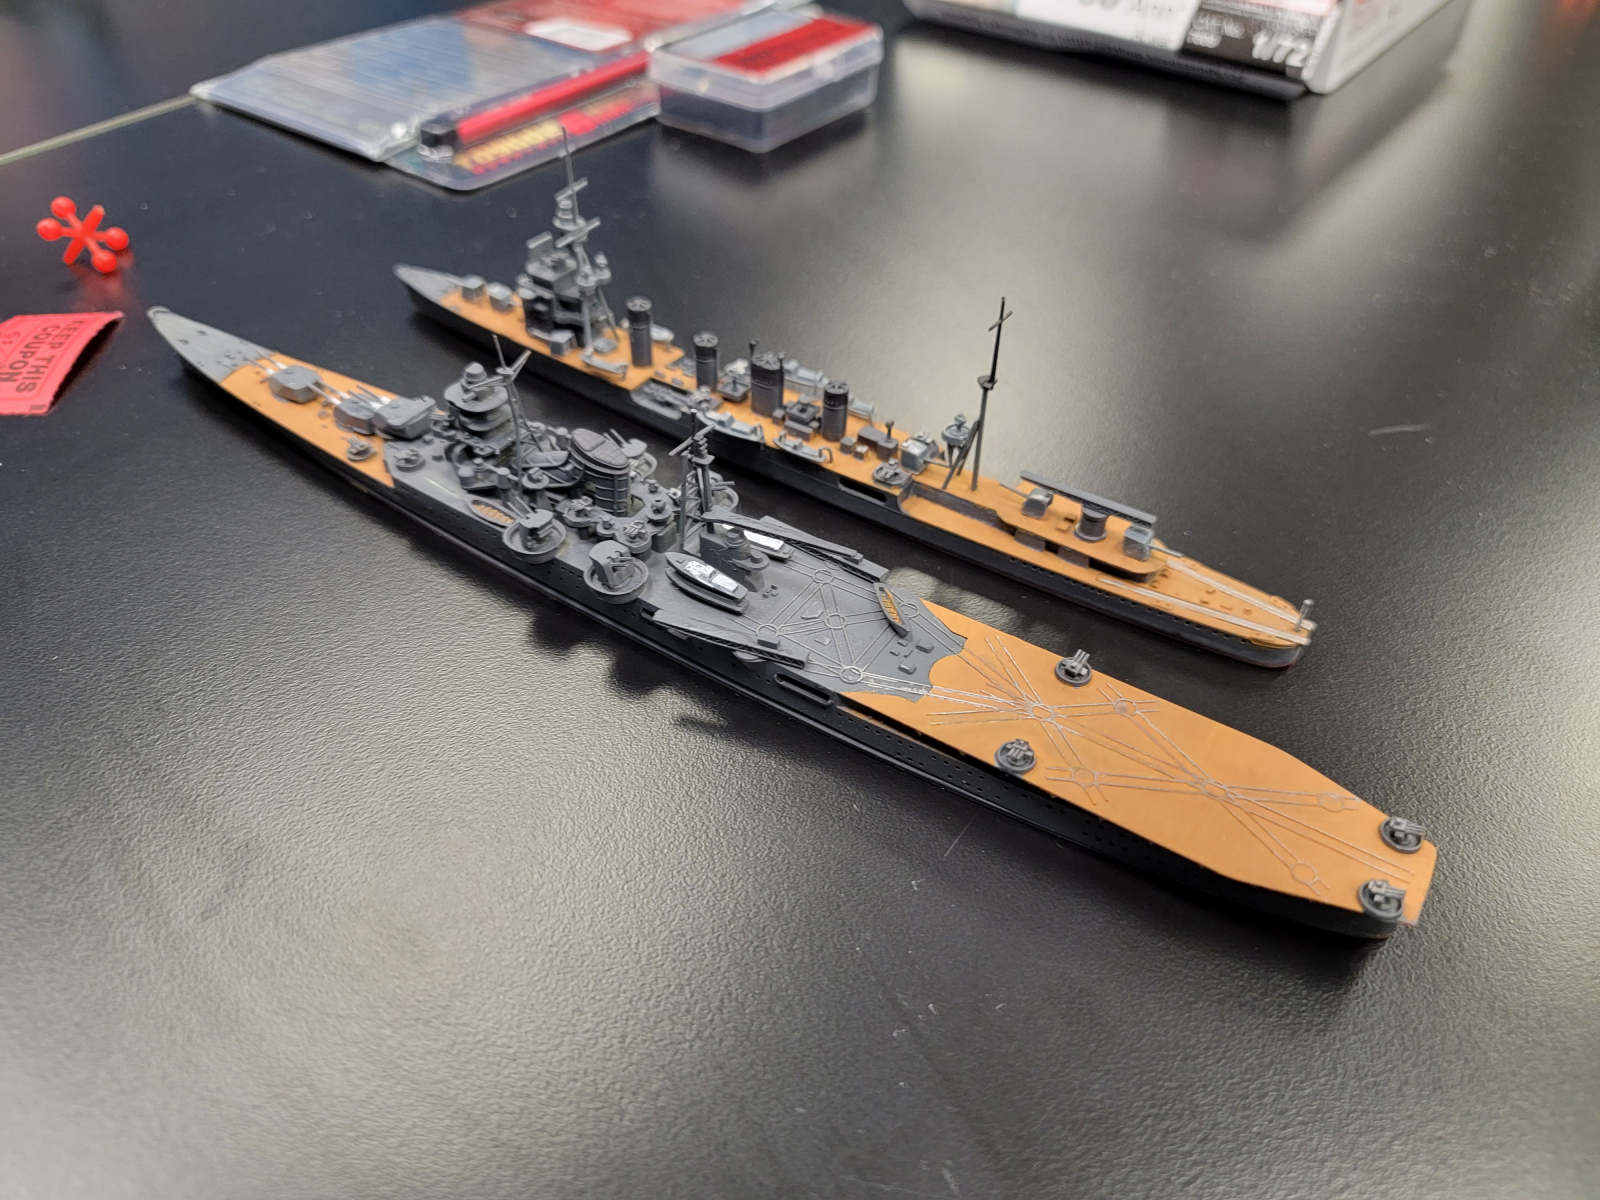 John Williamson – Tamiya 1/700 Japanese heavy cruisers converted to baby carriers, and a light cruiser.
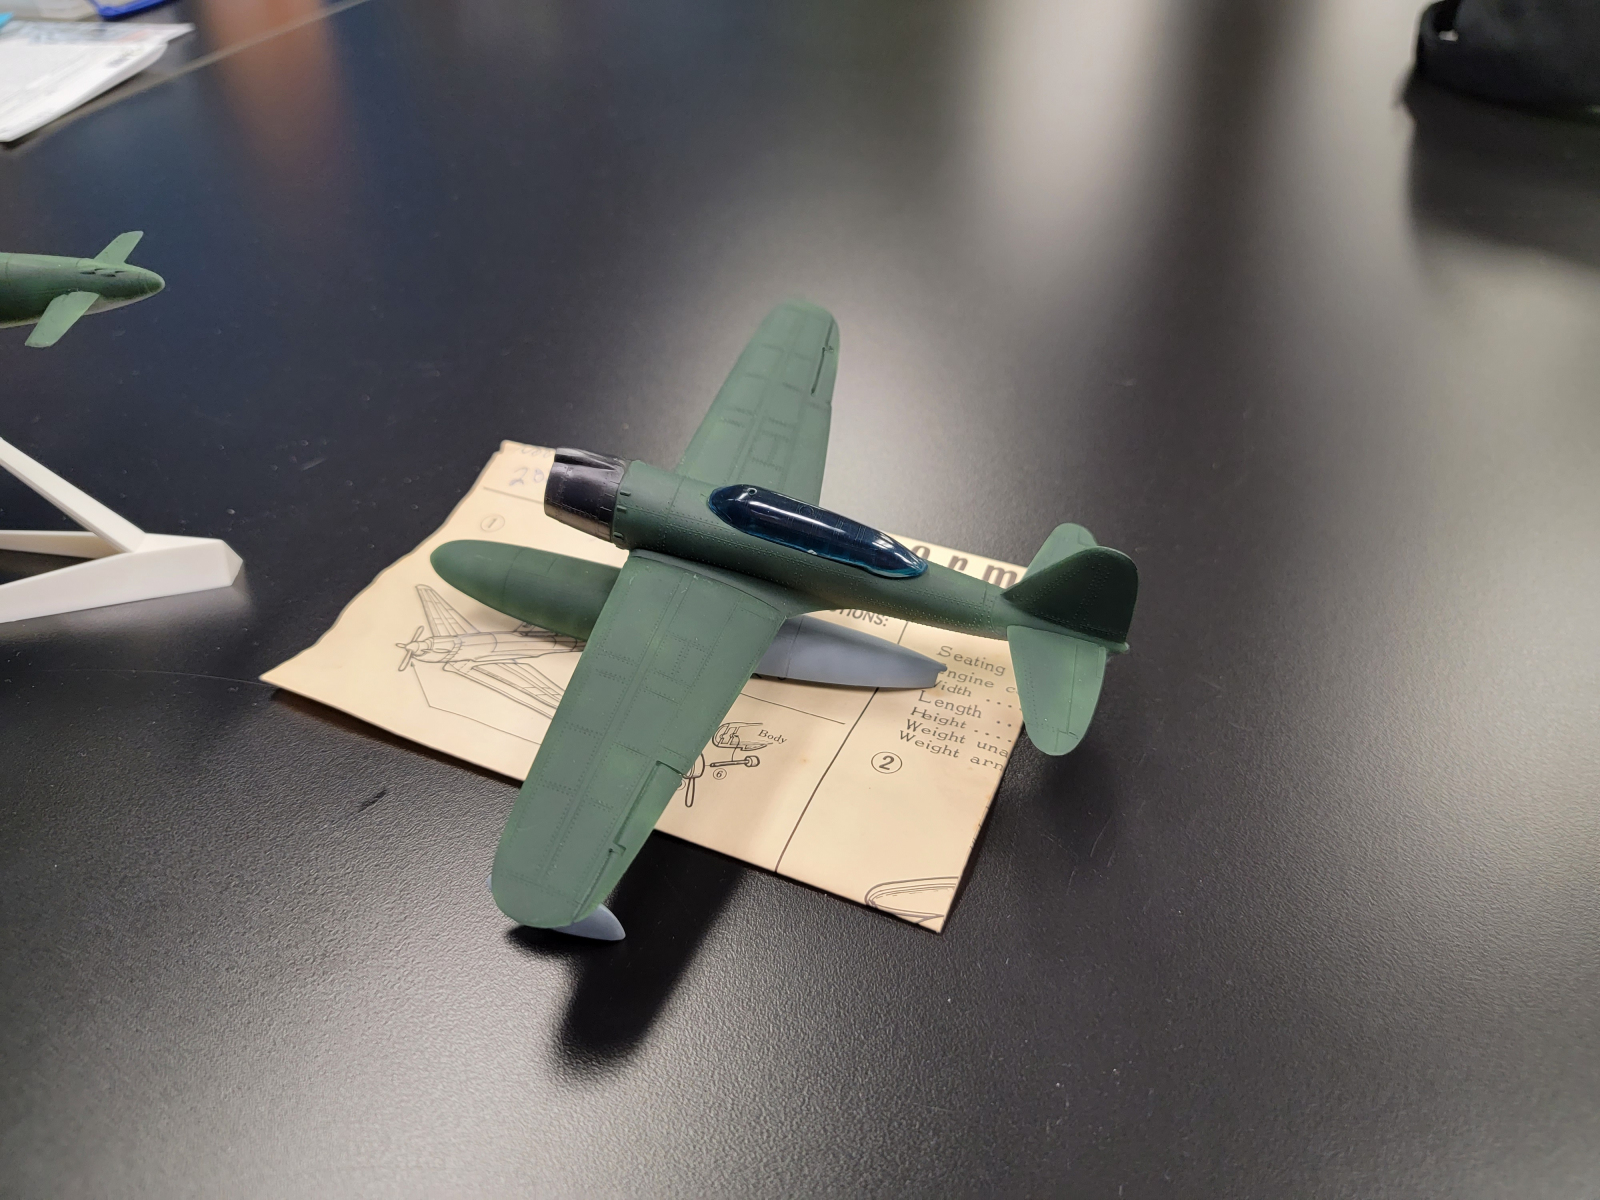
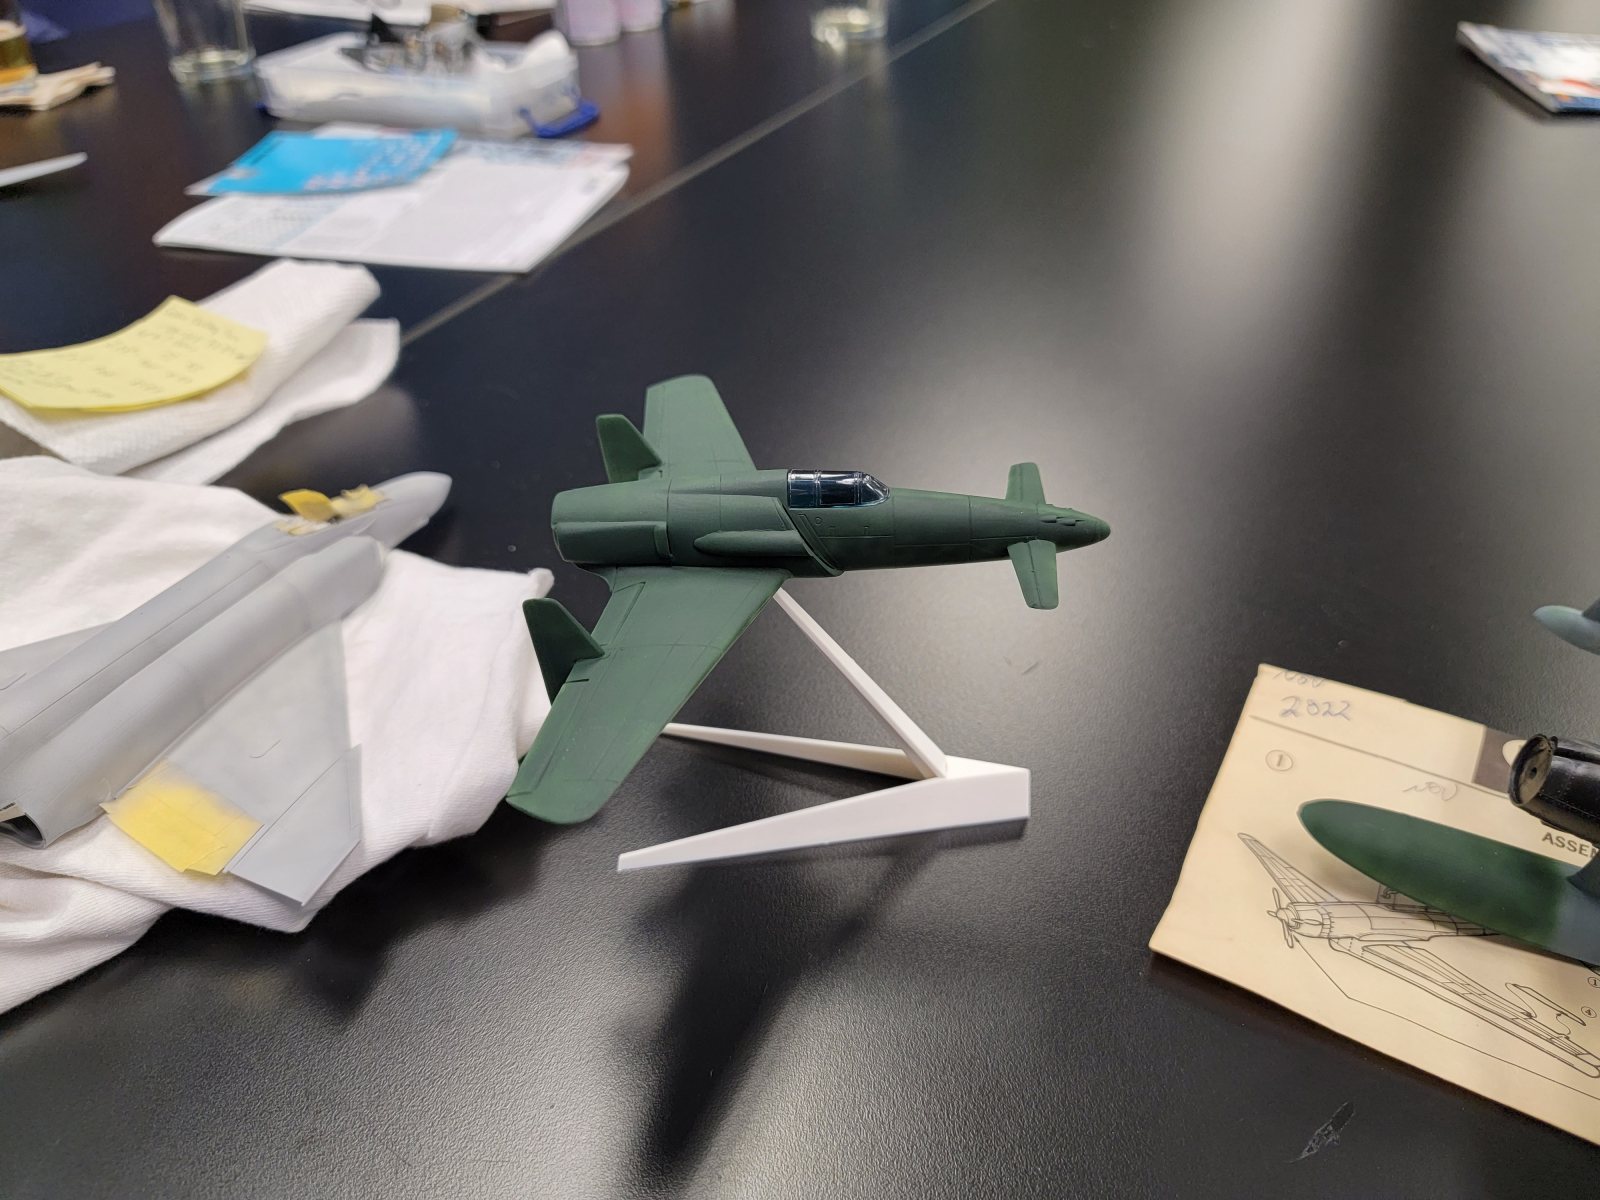
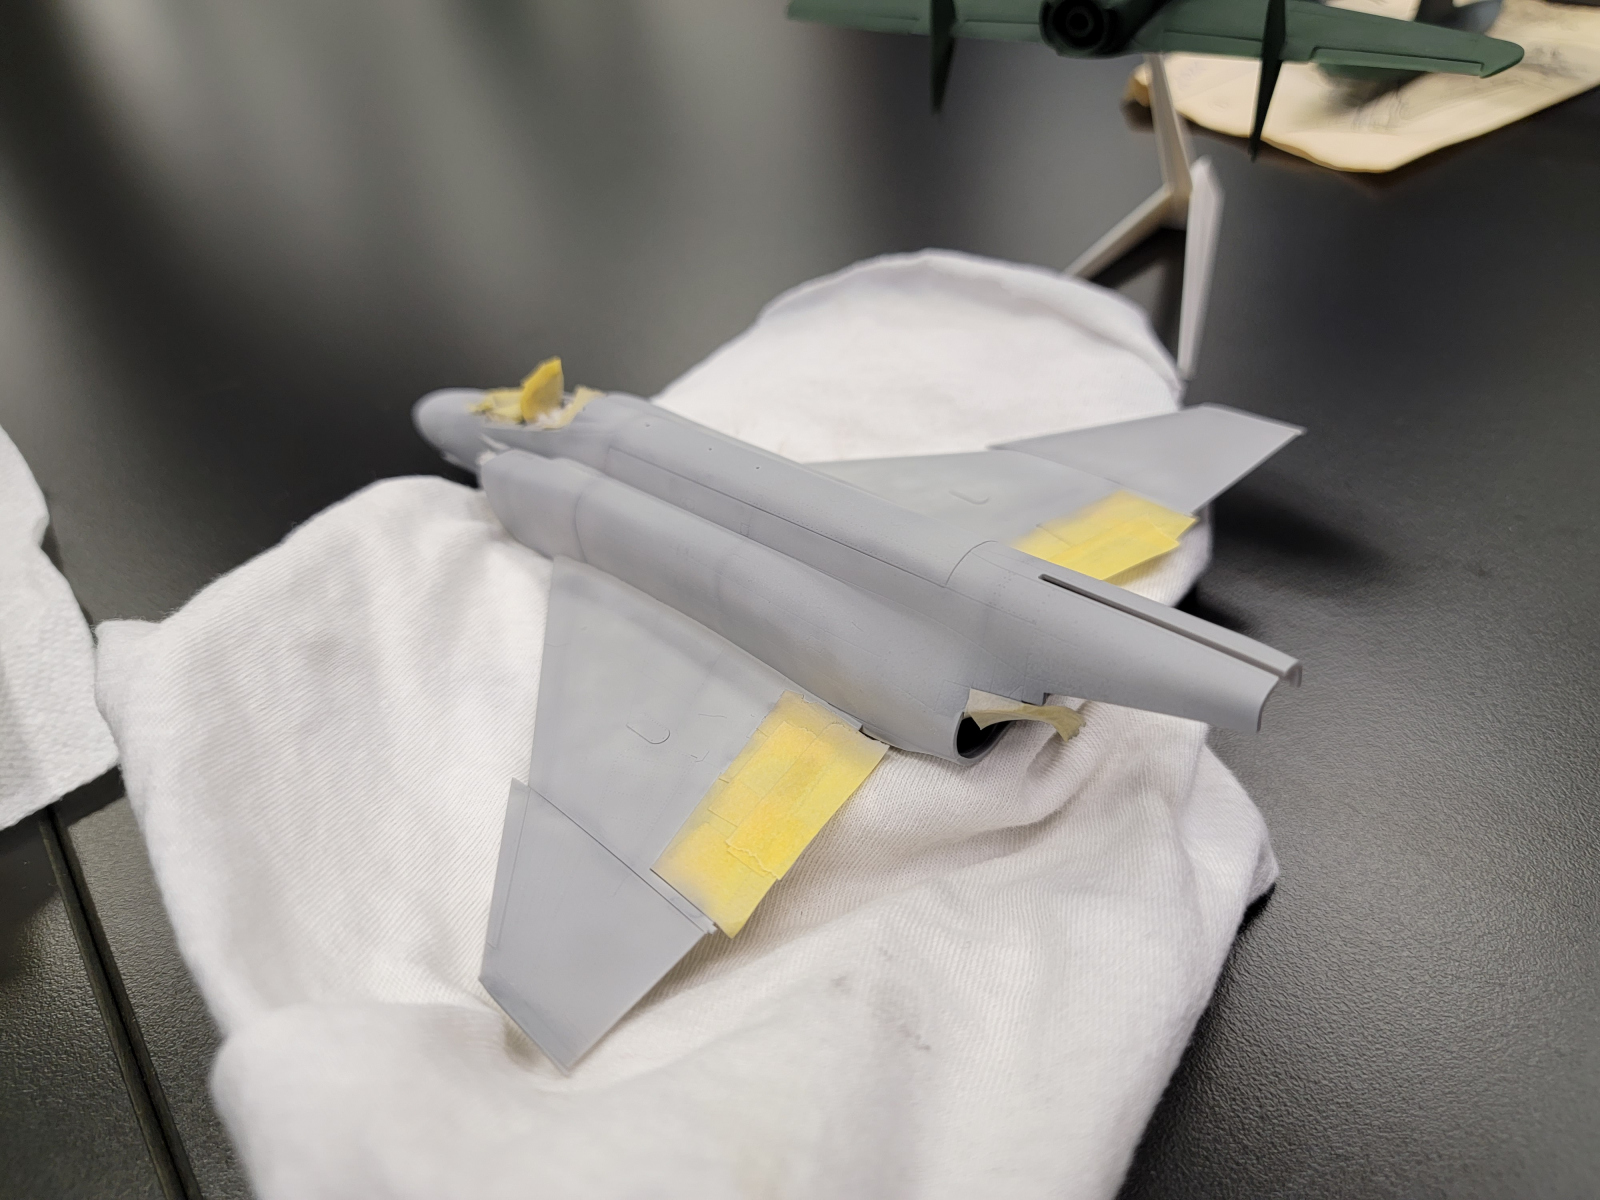 Tim Holland – UPC 1/72 “Norm” and Tamiya J7W1 Shinden, kits of the 60’s so lots of raised details. Had to remove alignment pins to get them together. Fine Molds 1/72 F-4J Phantom II. Using Tamiya paints and pre-shading (which hides things!).
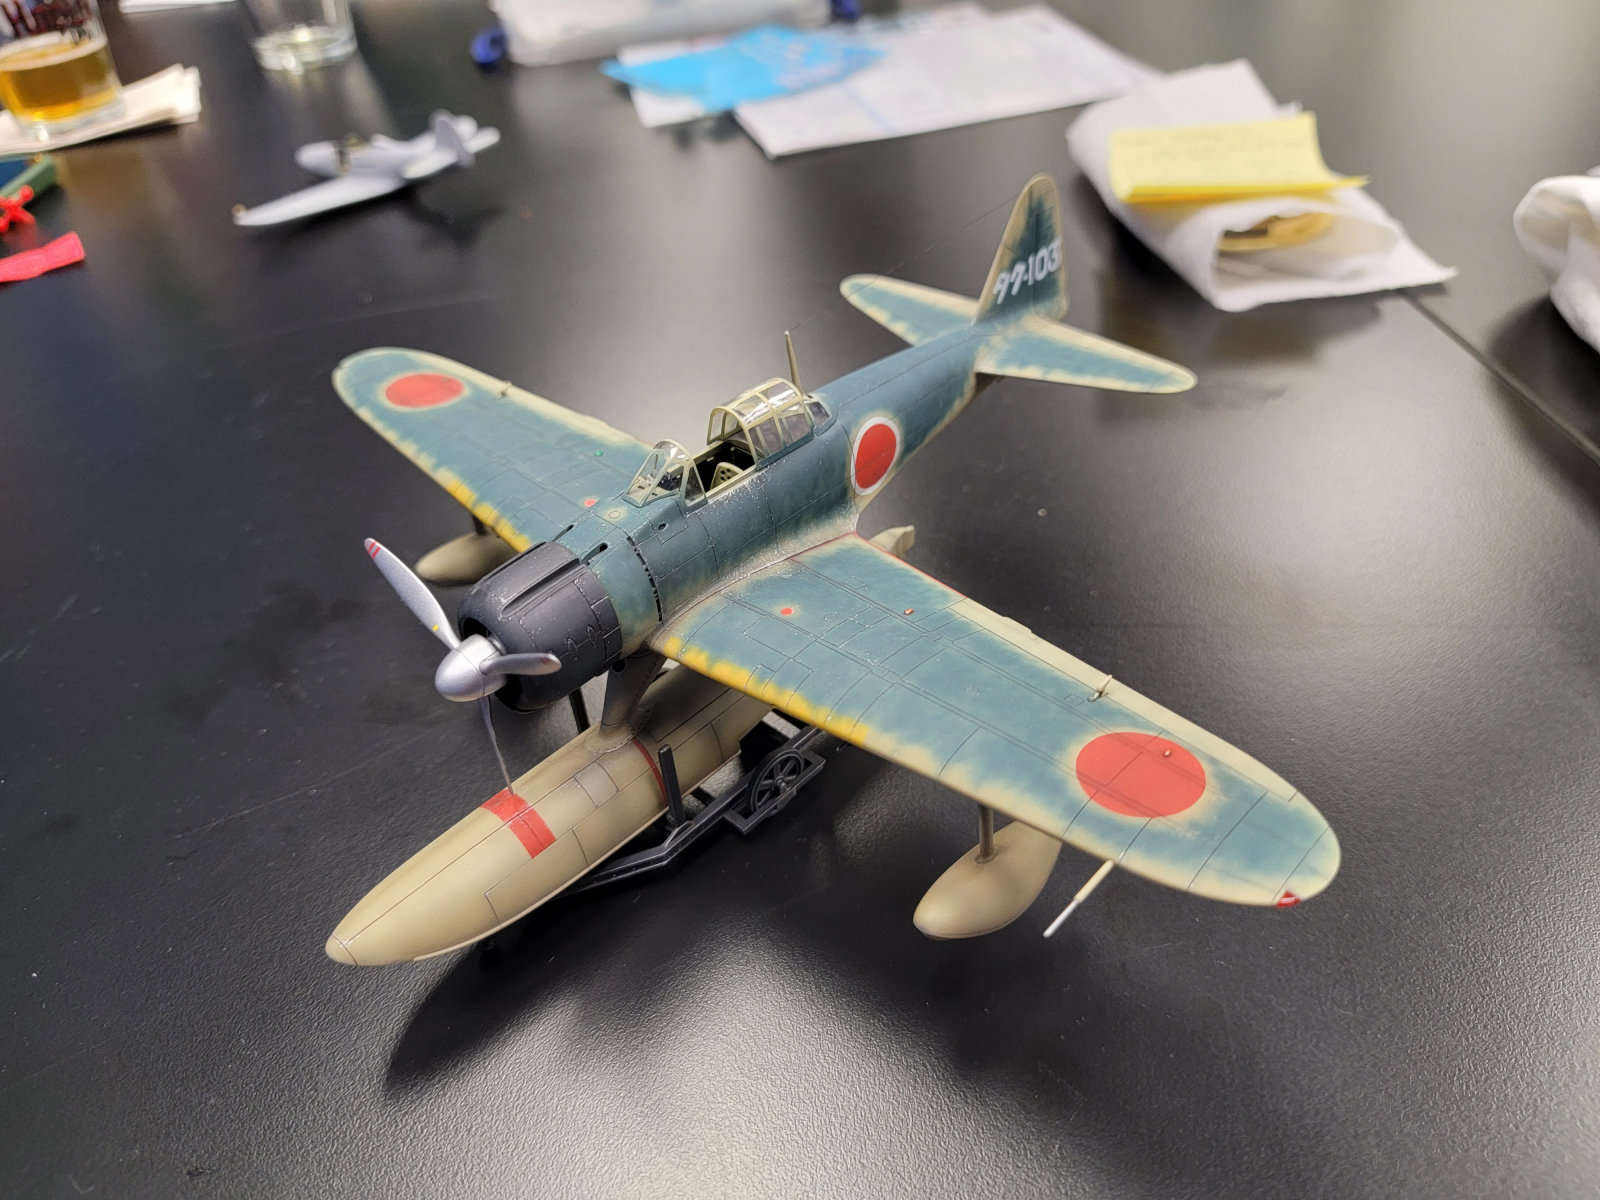 Scott Samo – Hasegawa 1/48 A6M2-N Rufe. Added punched dials to the cockpit, the rest is out of box.
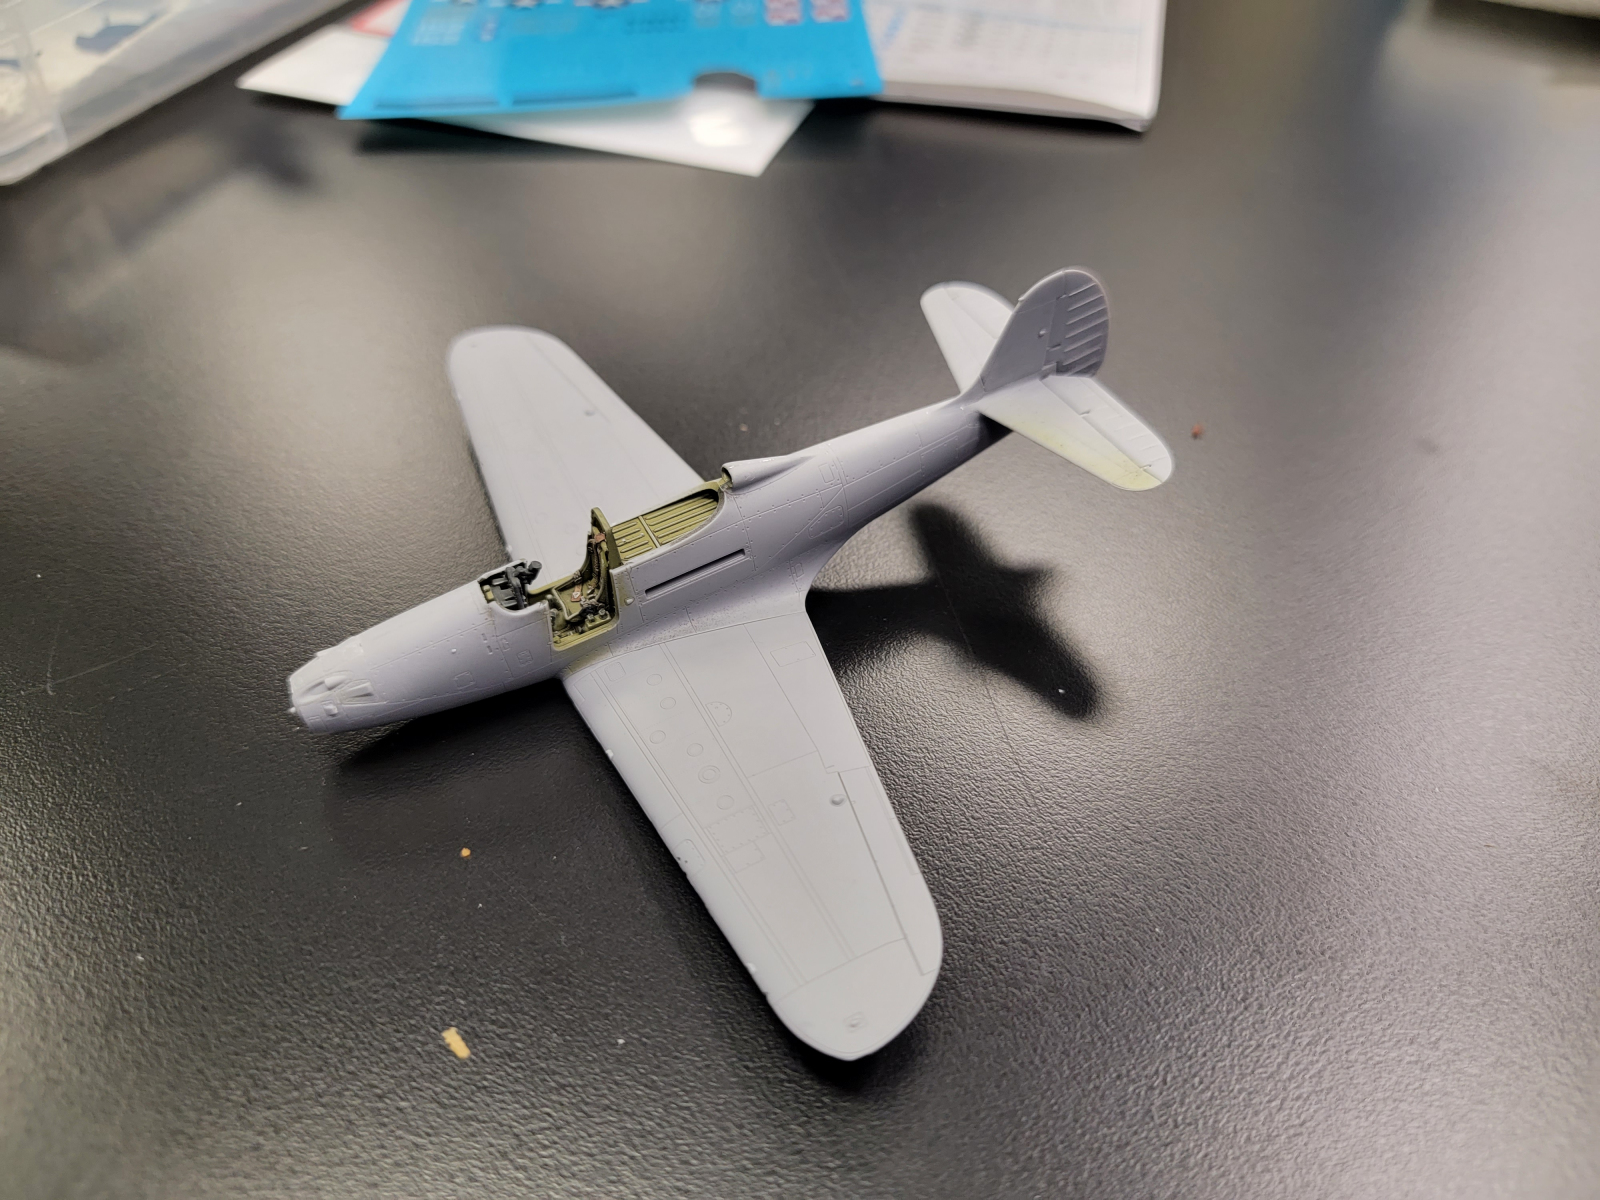
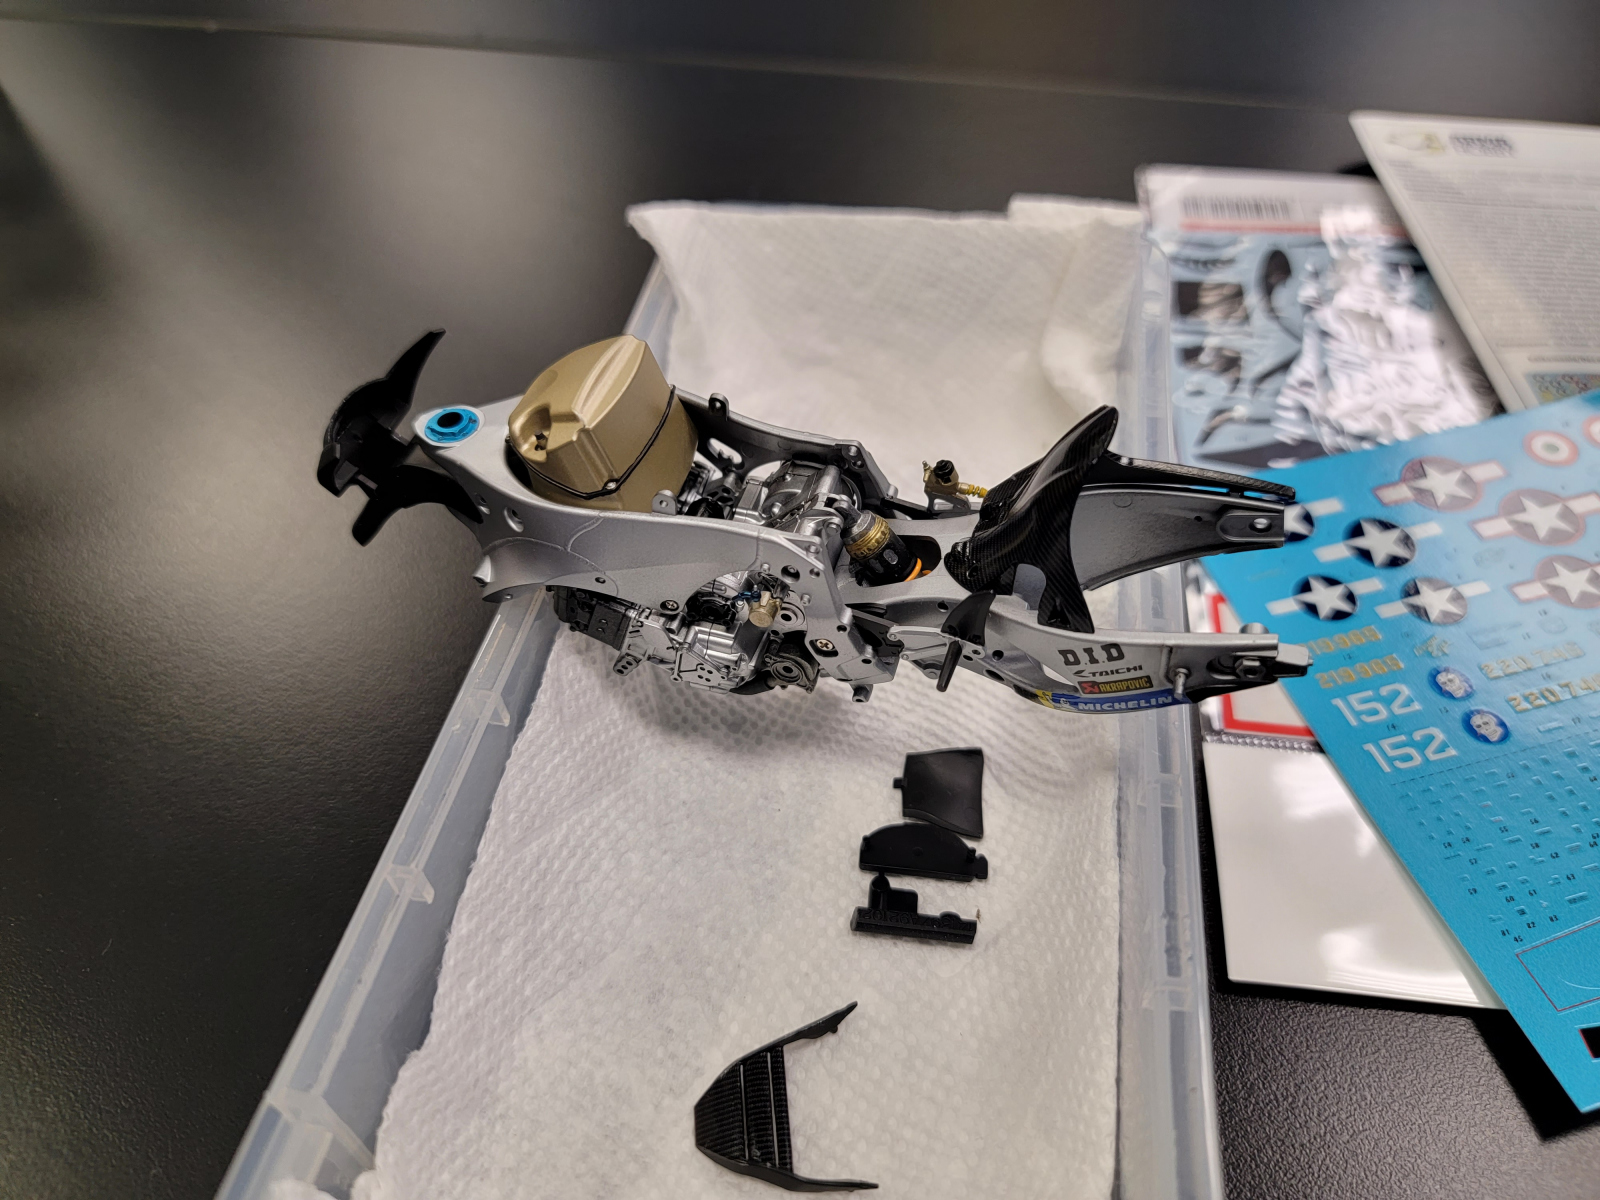 Darrin Cook – Arma Hobby 1/72 P-39. Tamiya 1/12 Suzuki GSX-RR.
 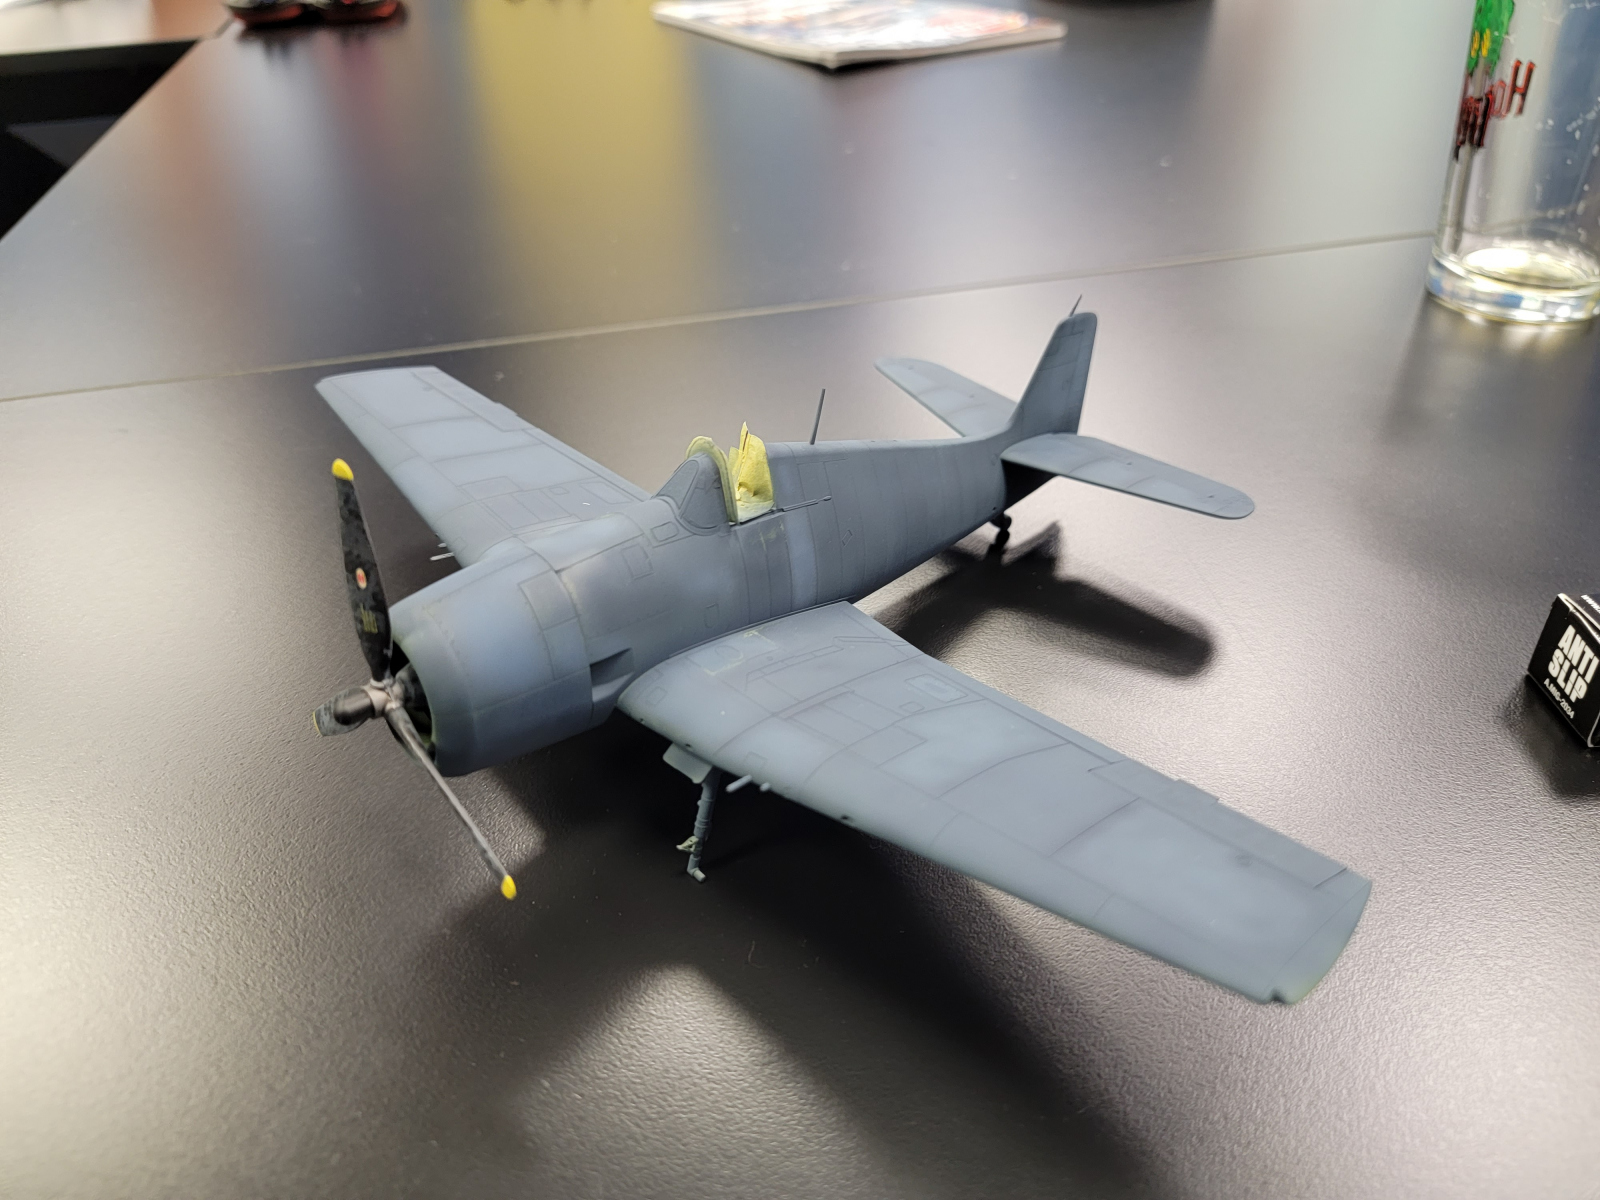 Paul Warren – Eduard 2/48 F6F-5 Hellcat.
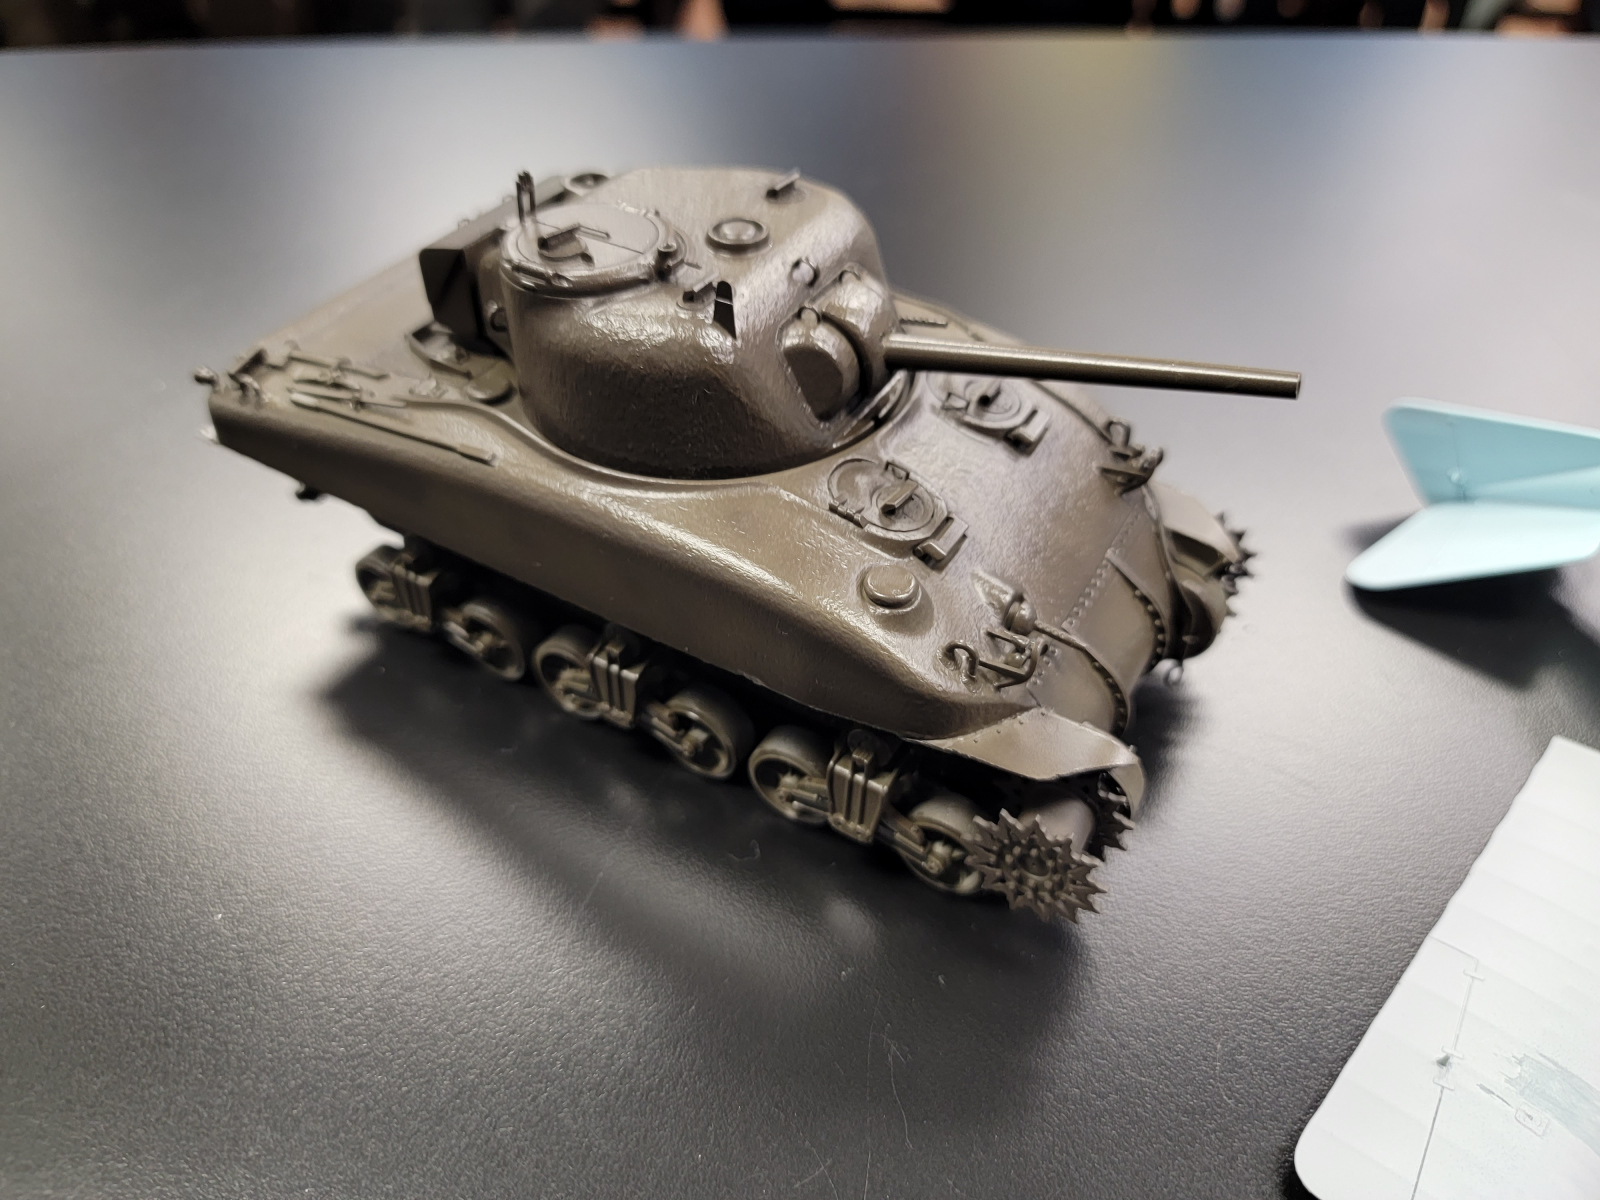
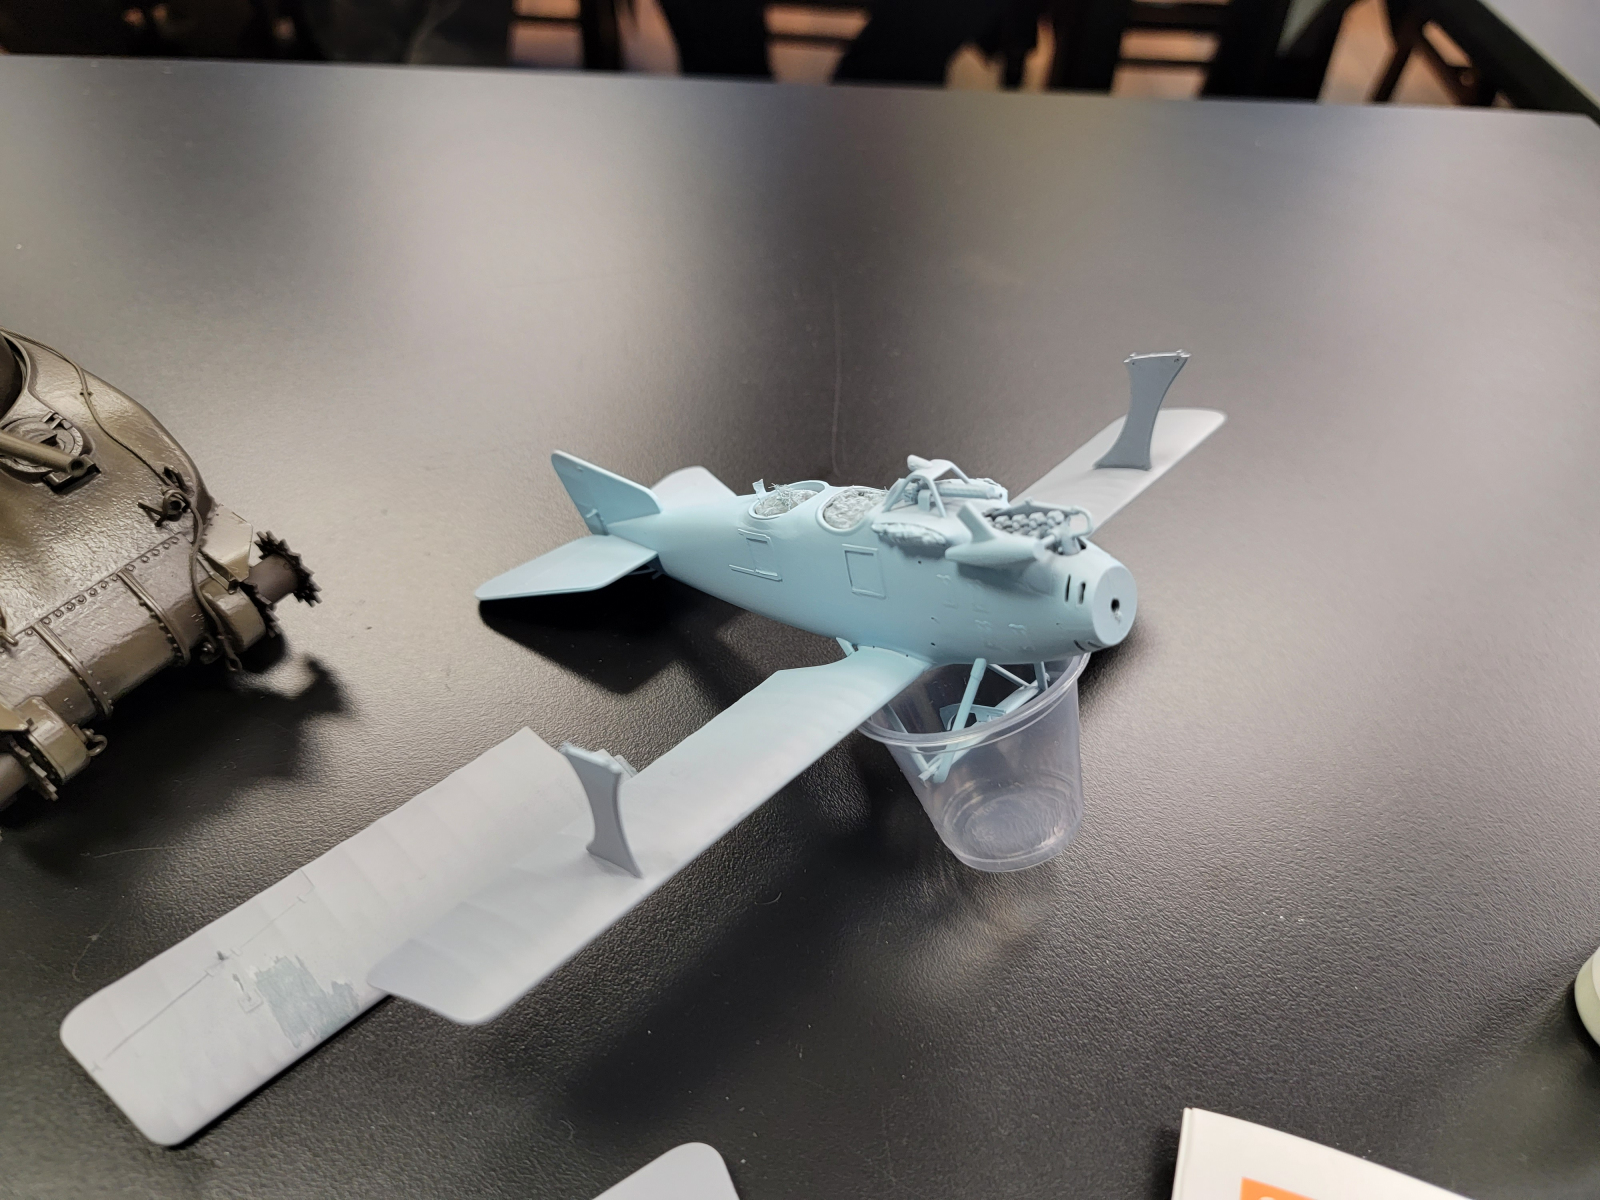 Dan Yakel – Dragon 1/35 M4A1 DV (direct vision) from N Africa campaign. Eduard 1/48 Roland C.II. will finish as aircraft of Jasta 2.
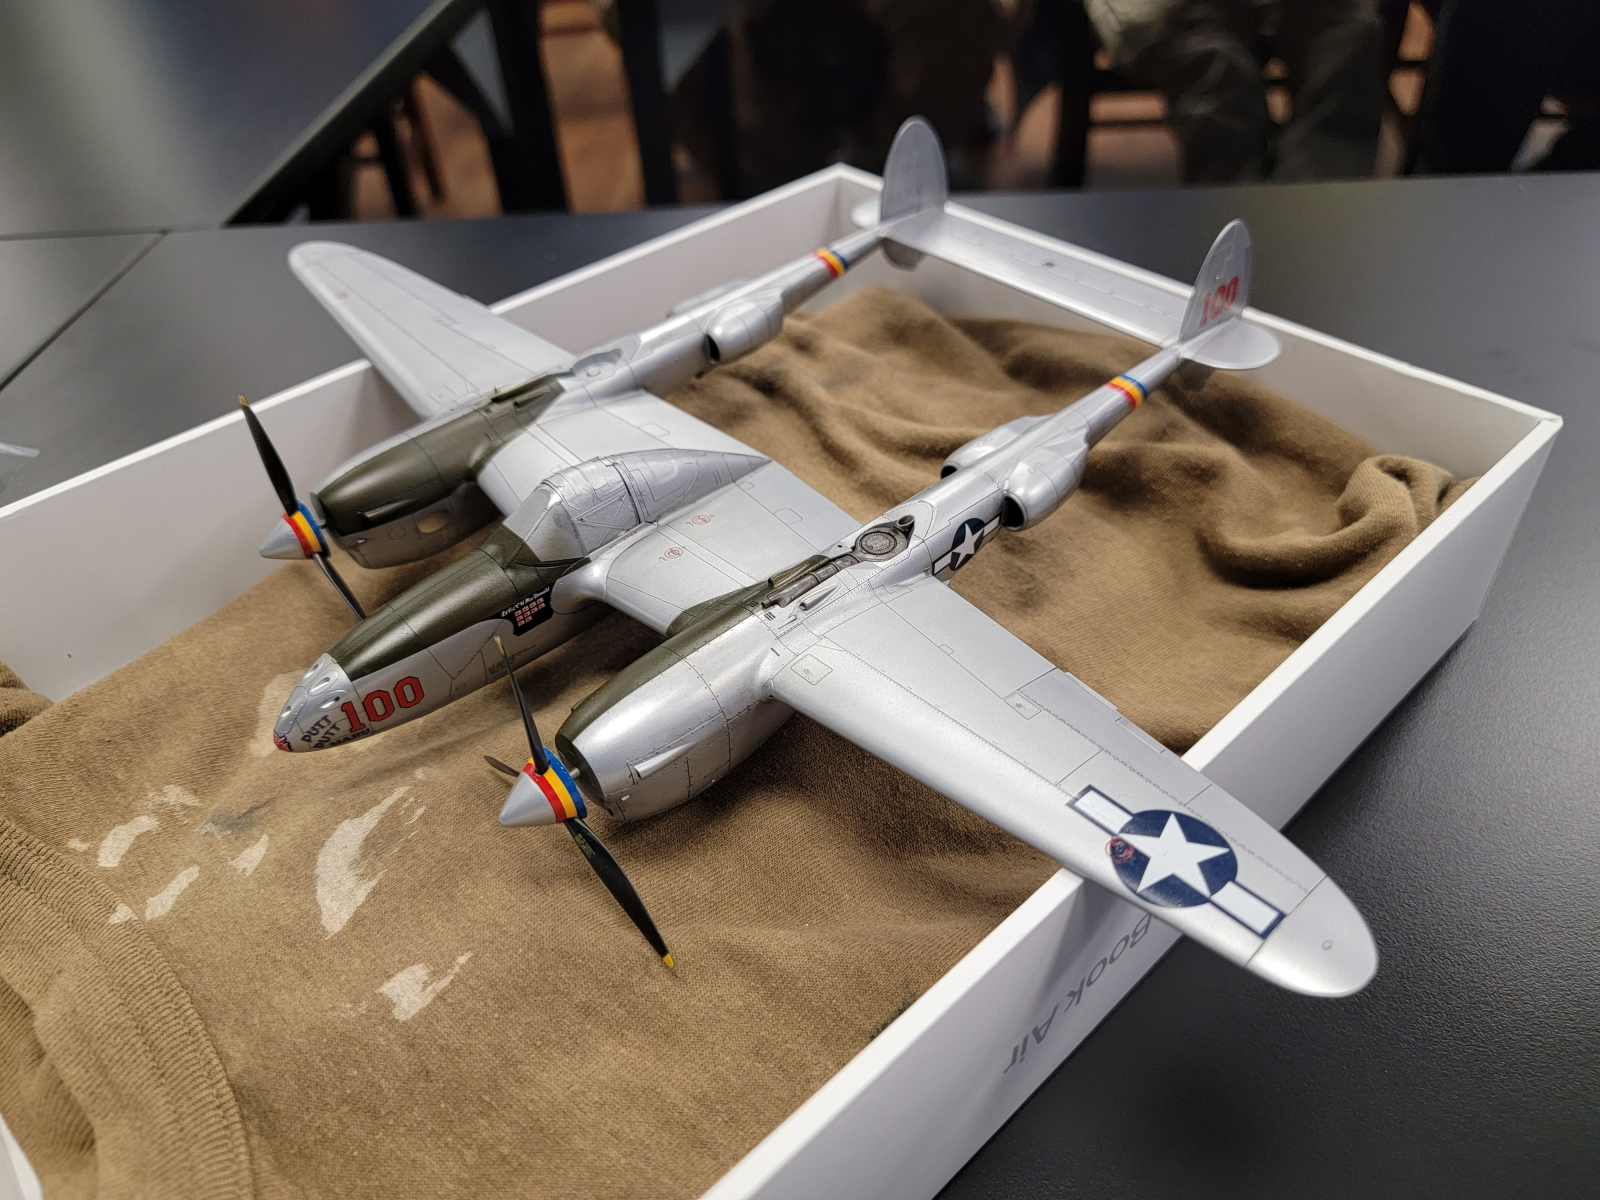 Andrew Frill- Tamiya 1/48 P-38J, and the decals amazingly went down beautifully. Painted with Tamiya LP11, then different metalizers on various panels.
 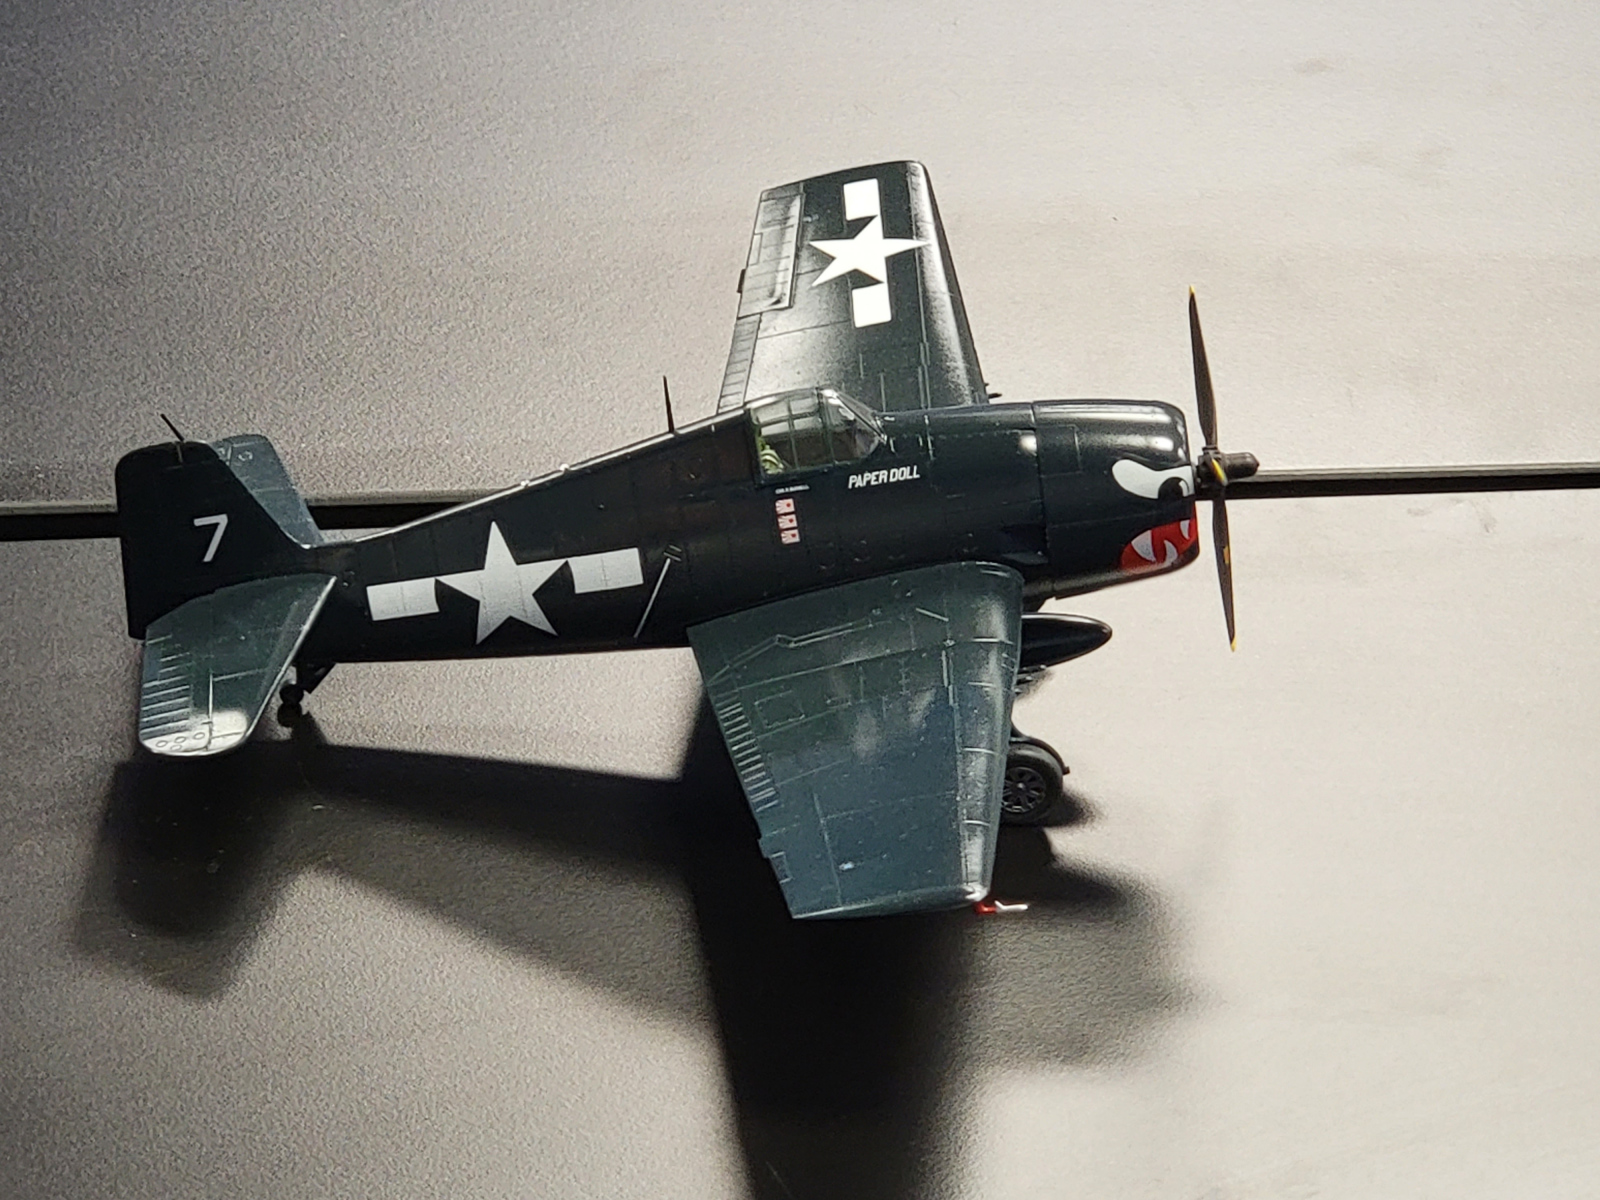 Joe Hegedus – Eduard 1/48 F6F-5 weekend edition, finished with an Otaki propeller, drop tank, and How may have replaced the wheels. Finished in M/M GSB, using a mix of decals to build Paper Doll.

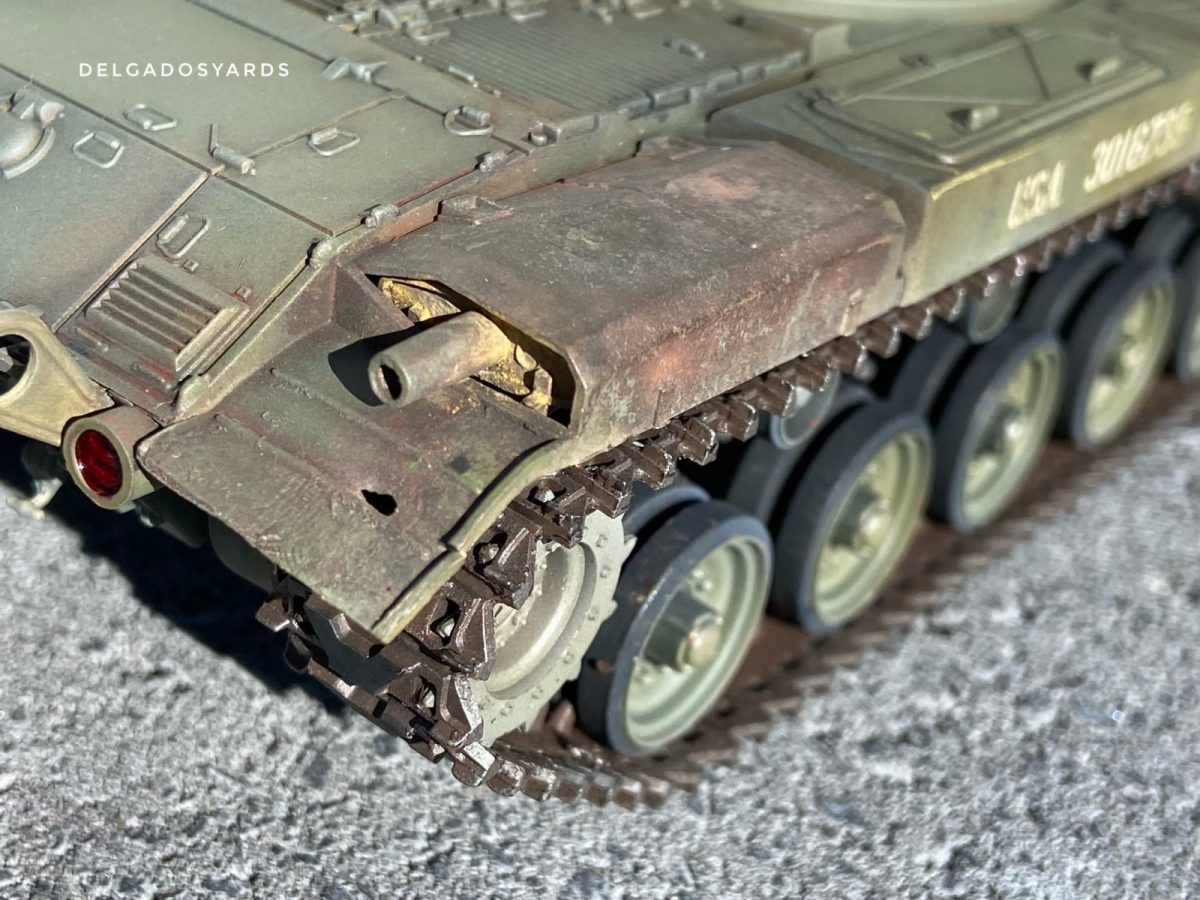
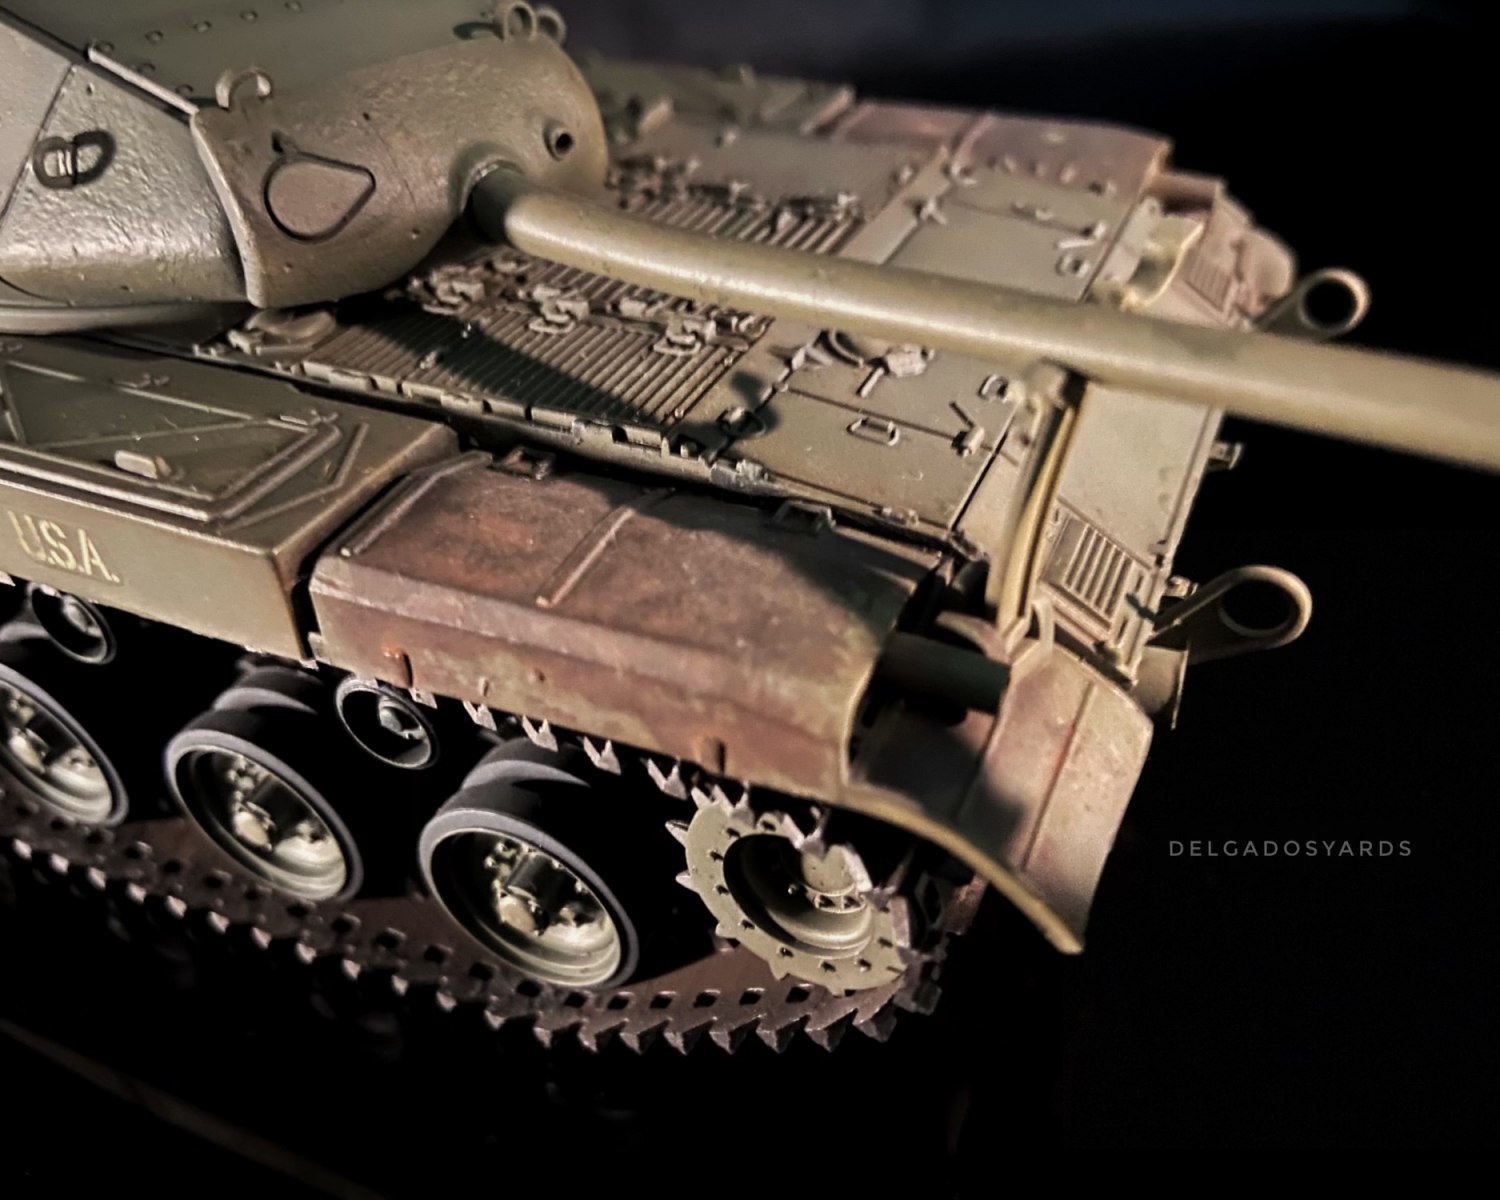
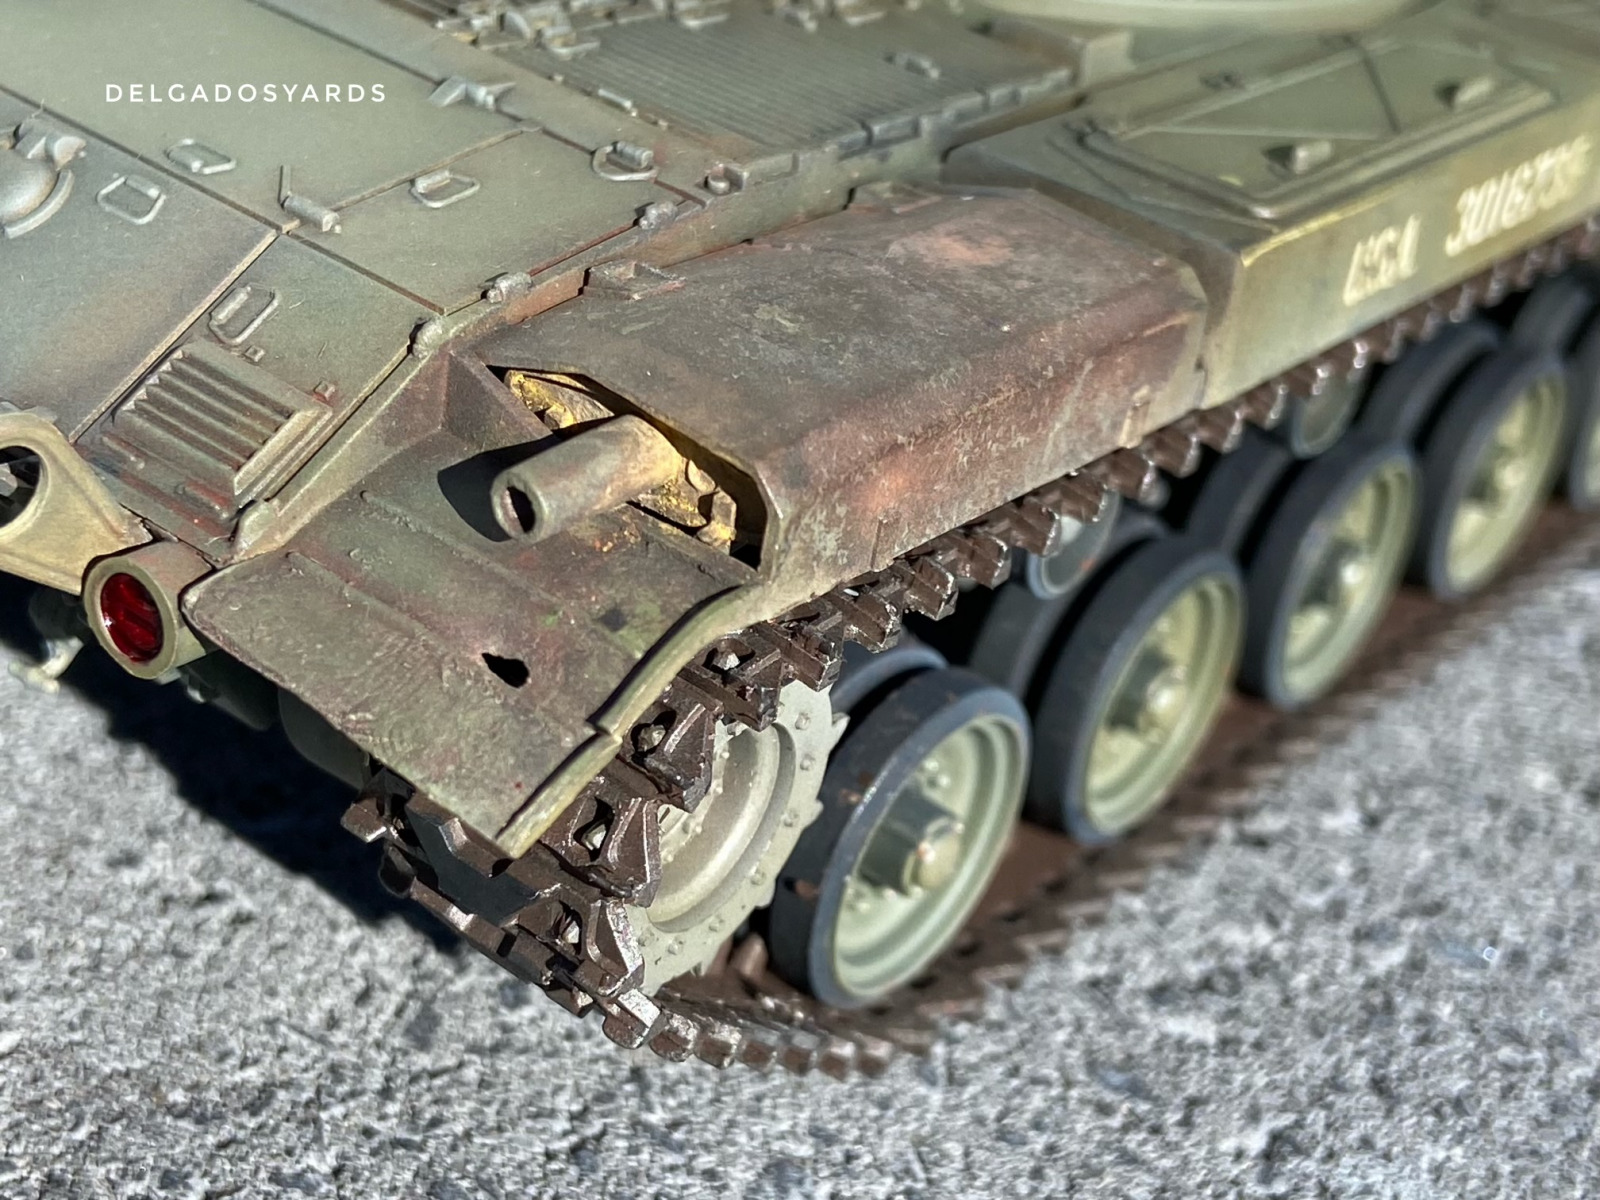
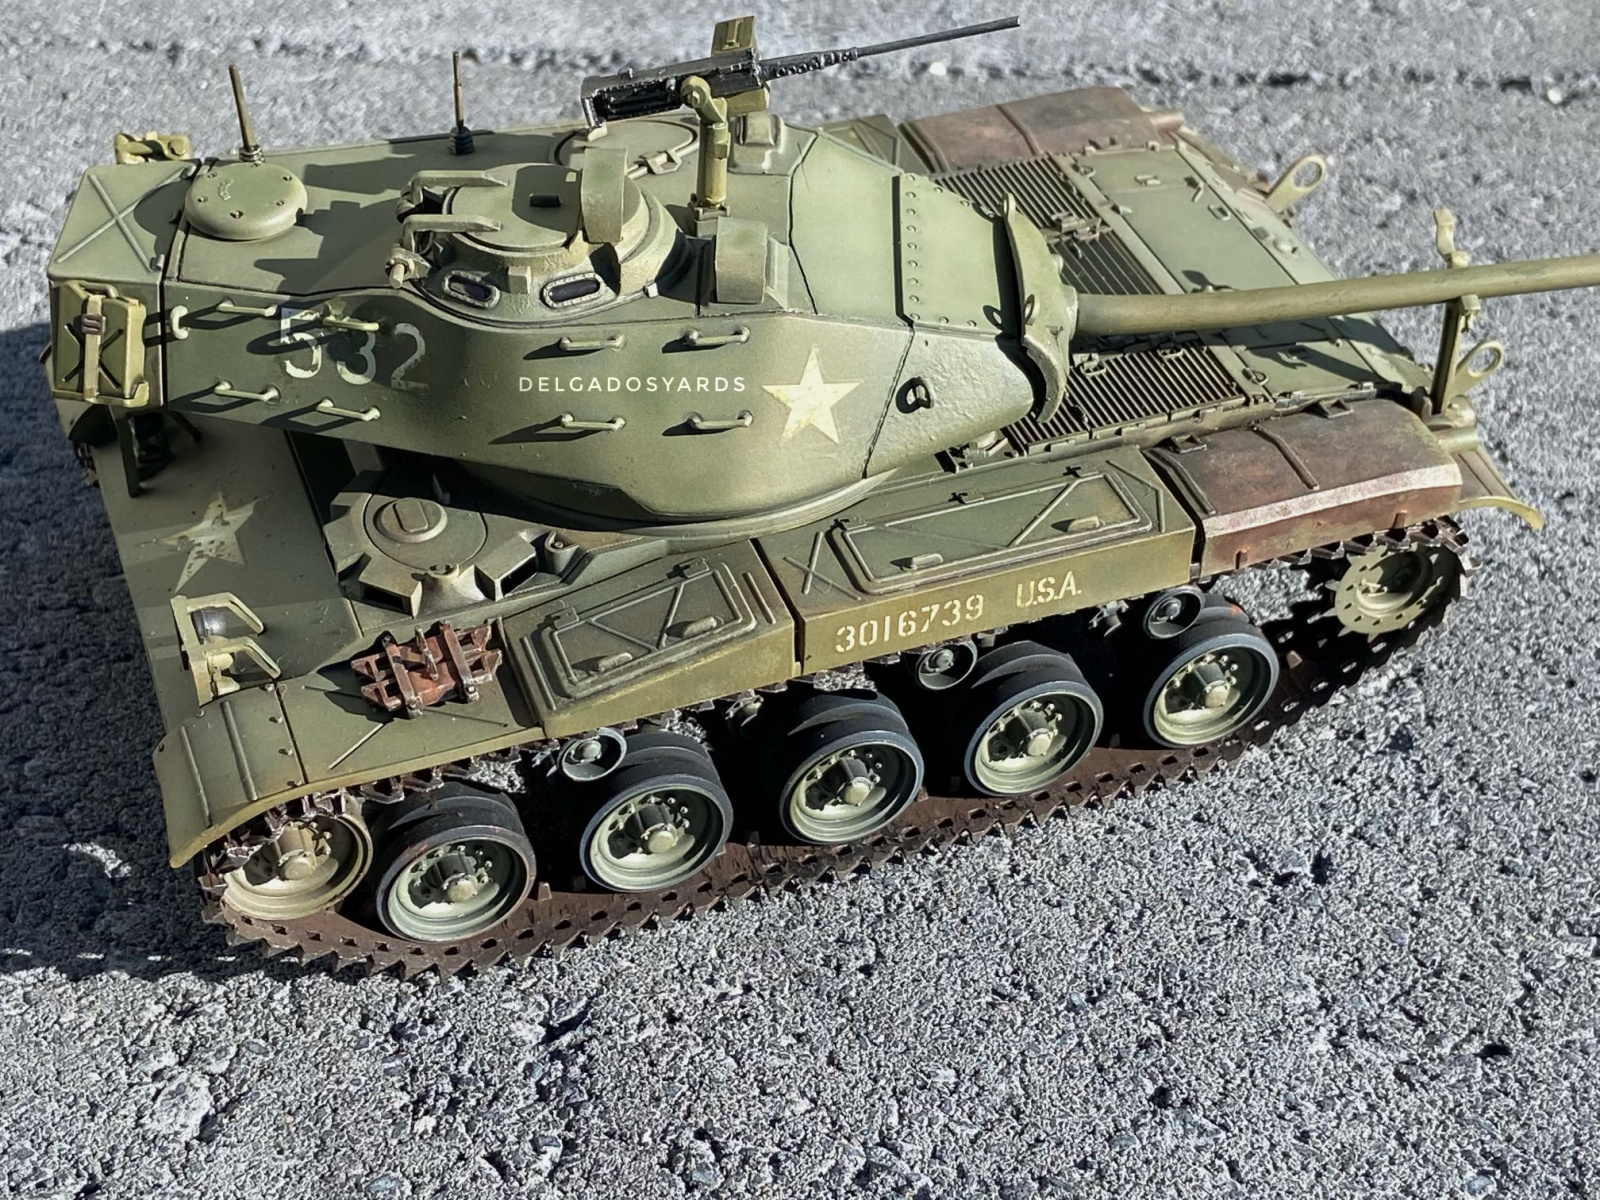
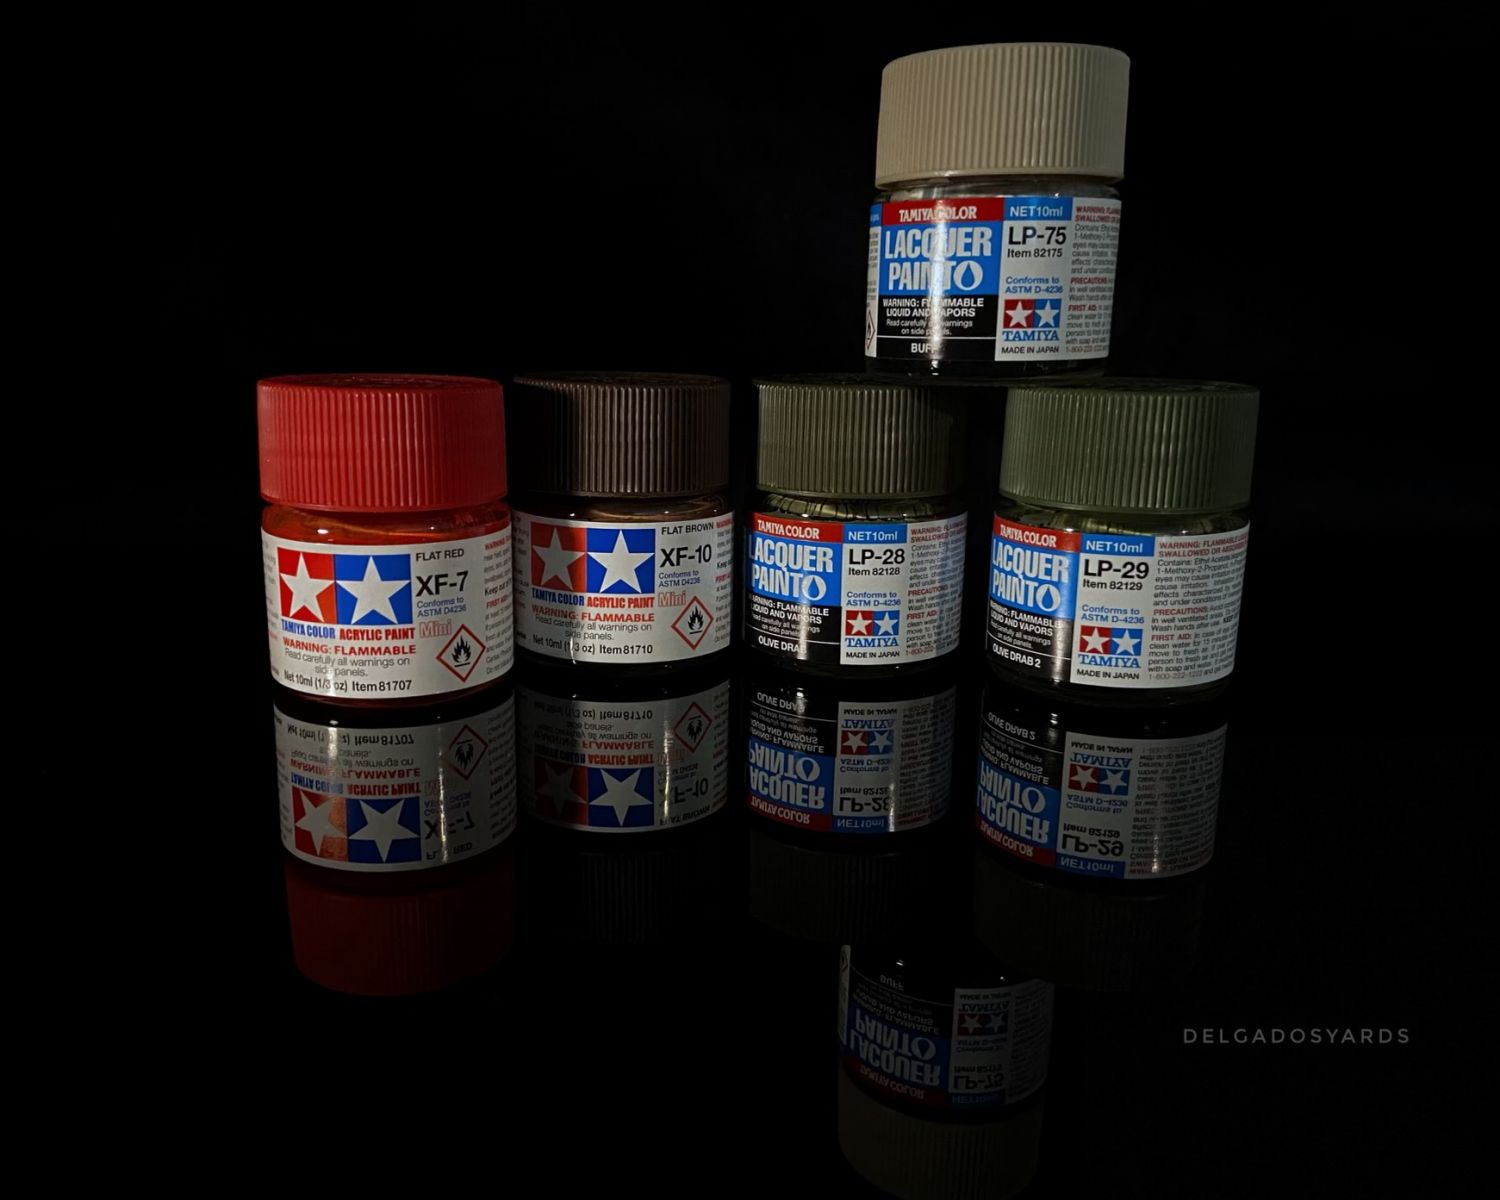
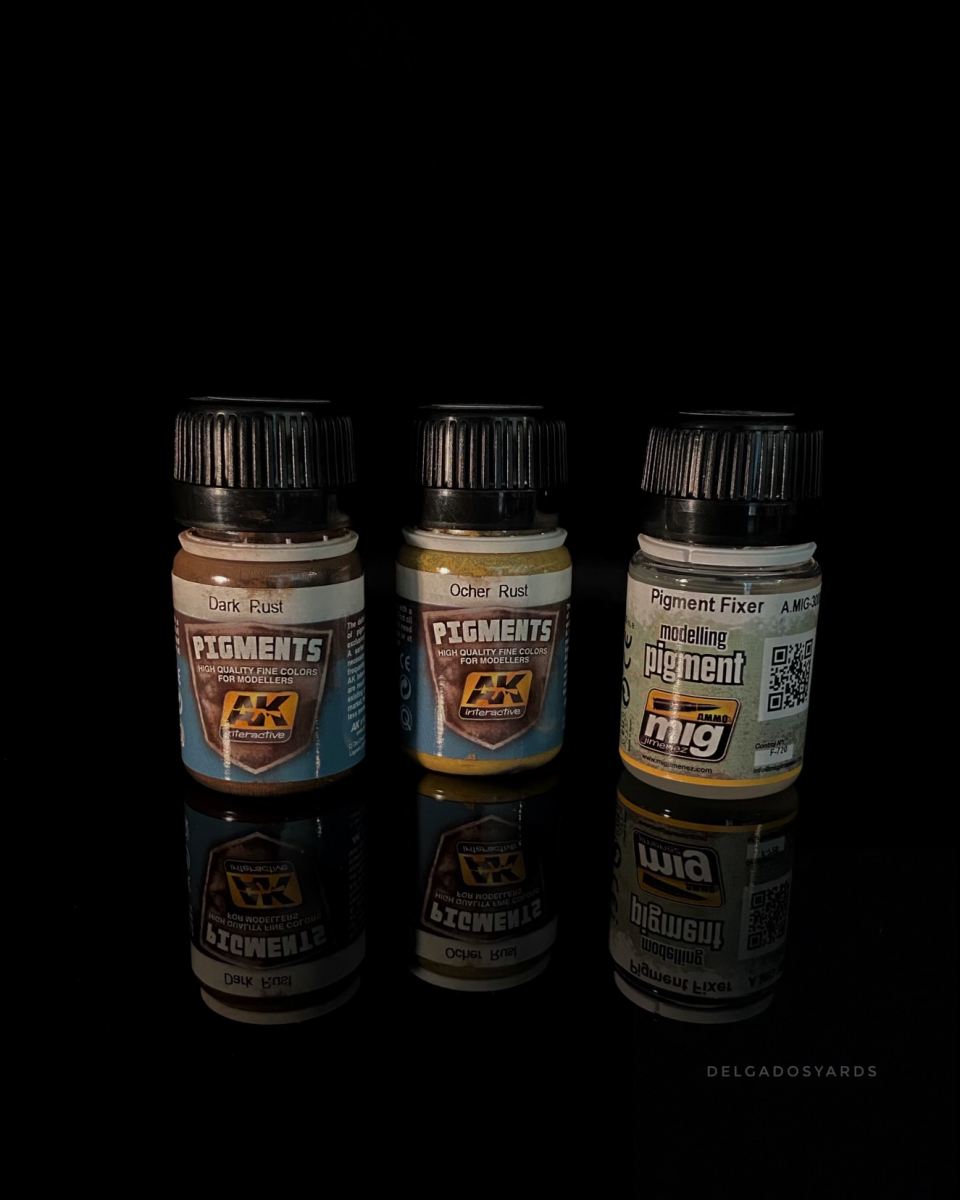
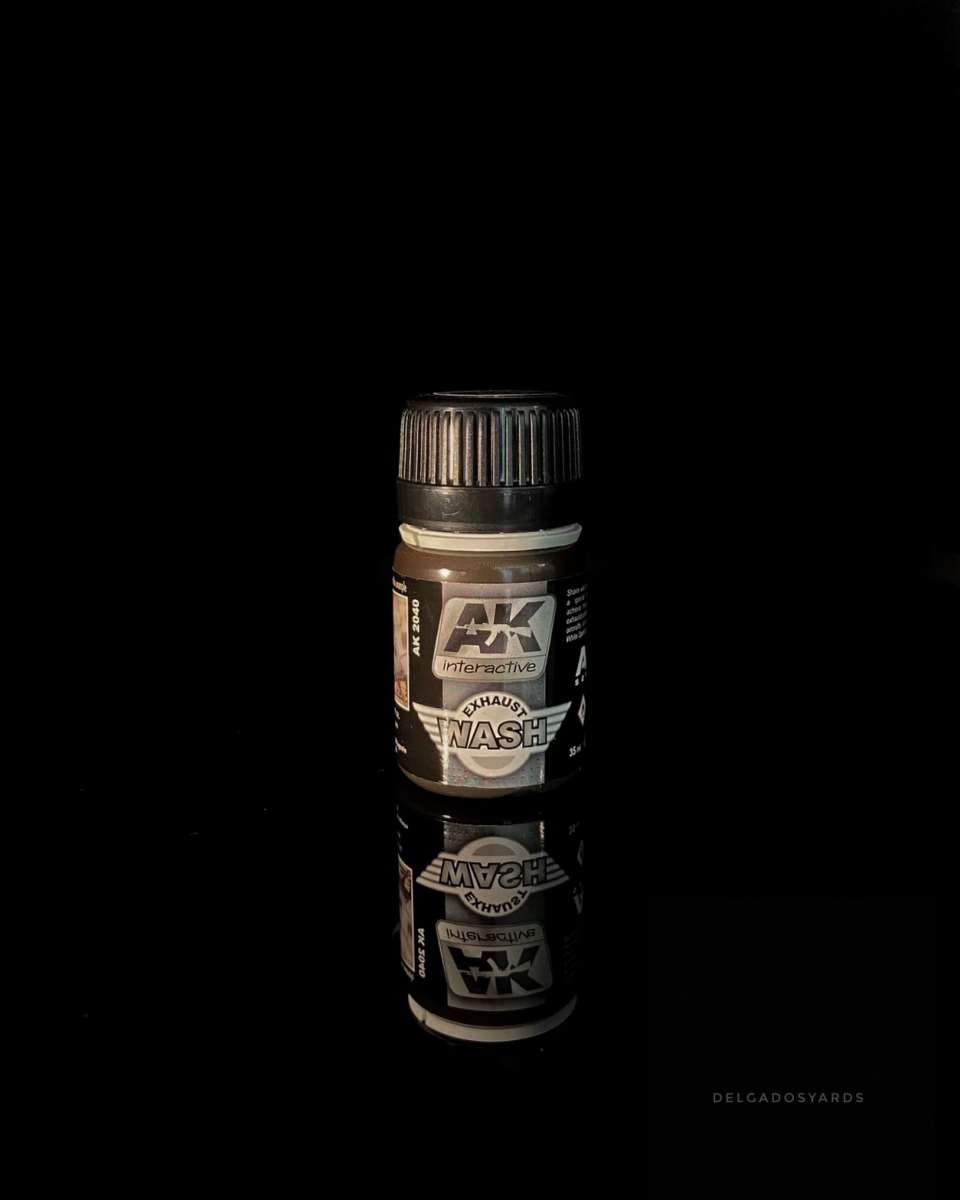
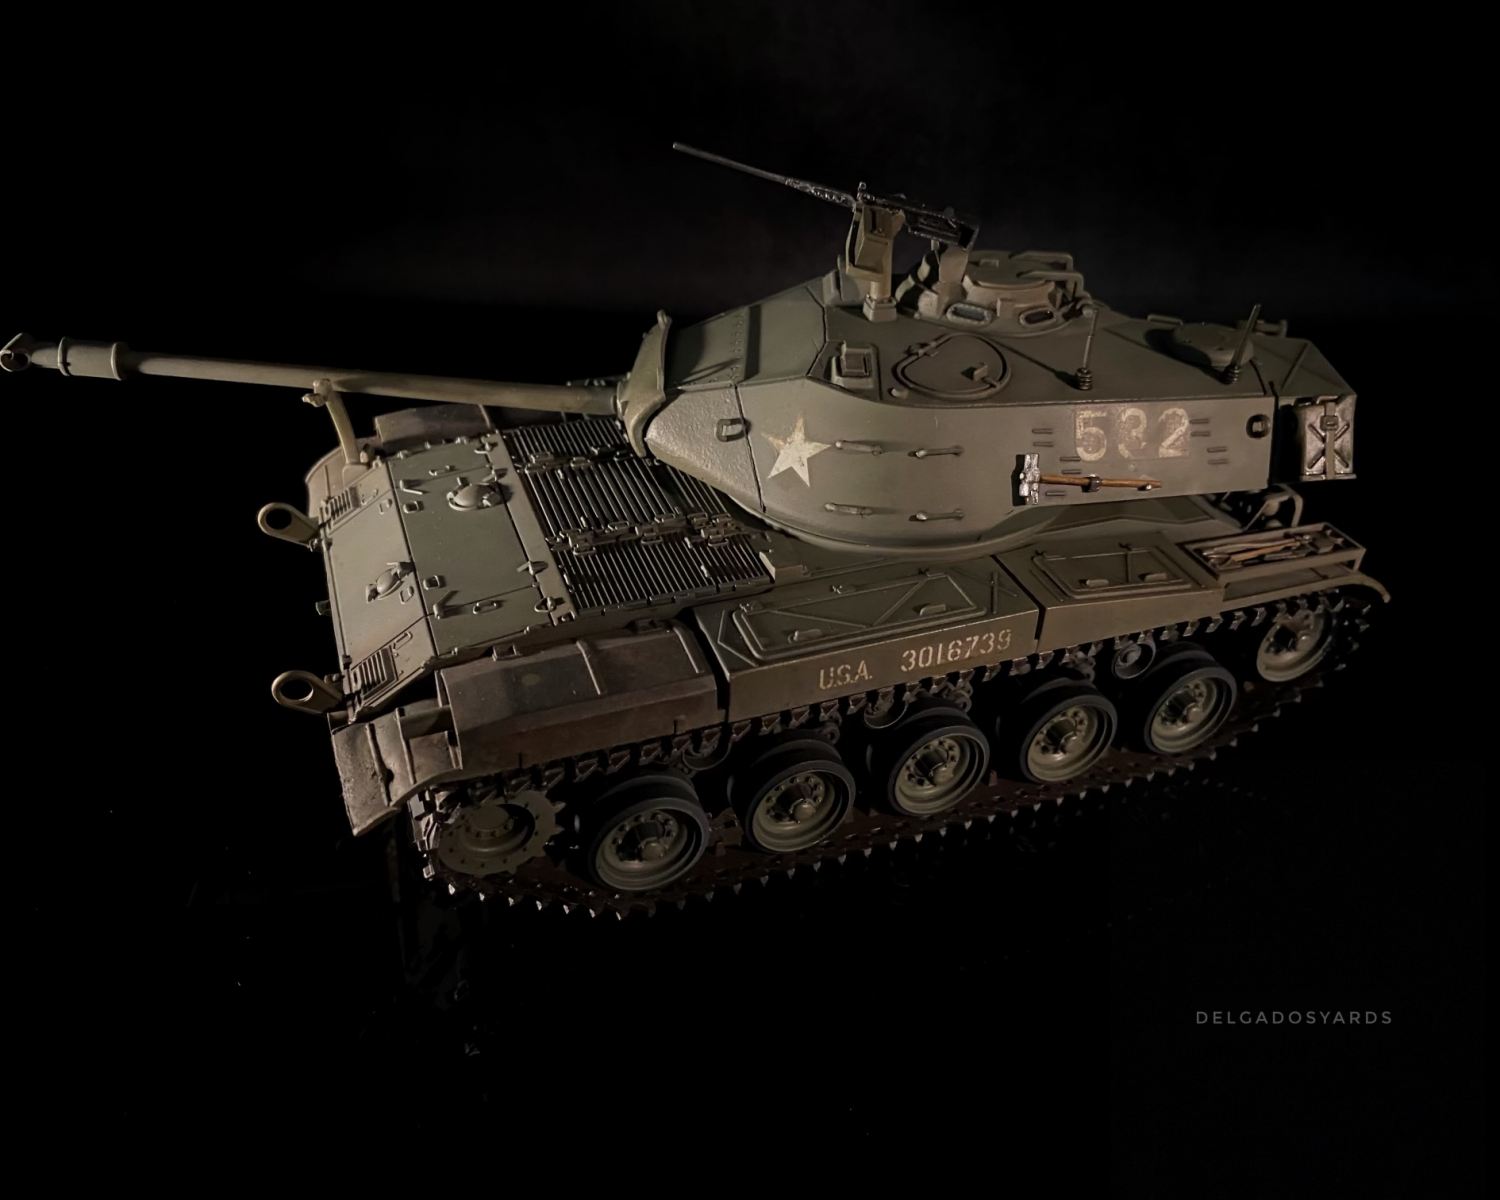 Below are my steps used to achieve a realistic rusty appearance to the exhausts on the Tamiya M41 Walker Bulldog kit.