
Tamiya M41 Walker Bulldog Project — Exhaust Heat Shield Rust & Weathering Technique
 Below are my steps used to achieve a realistic rusty appearance to the exhausts on the Tamiya M41 Walker Bulldog kit.
- Airbrush a base of red-brown per your liking, but aim to simulate a rusty tone. I used a mix of Tamiya Flat Red (XF-7) and Flat Brown (XF-10).
- Spray/Airbrush on a chipping medium. I used Ammo by Mig brand.
NOTE 1: “Ammo by Mig” are my preferred weathering products b/c application matches expectations
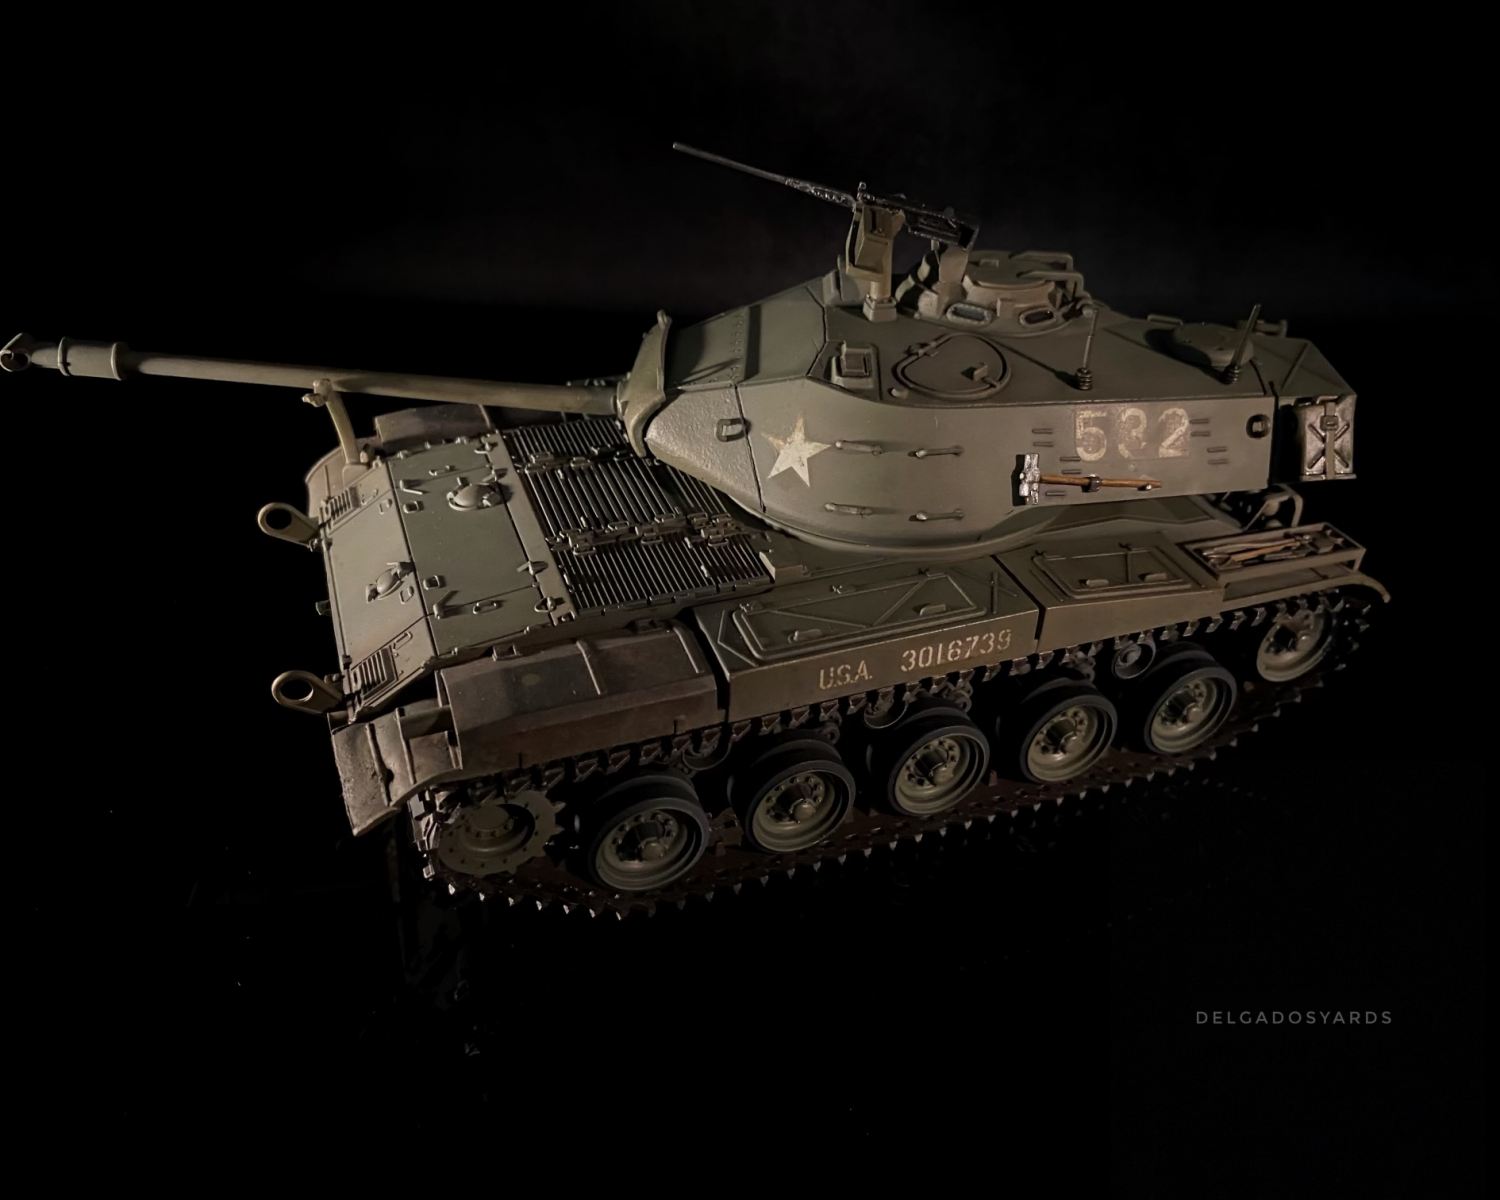
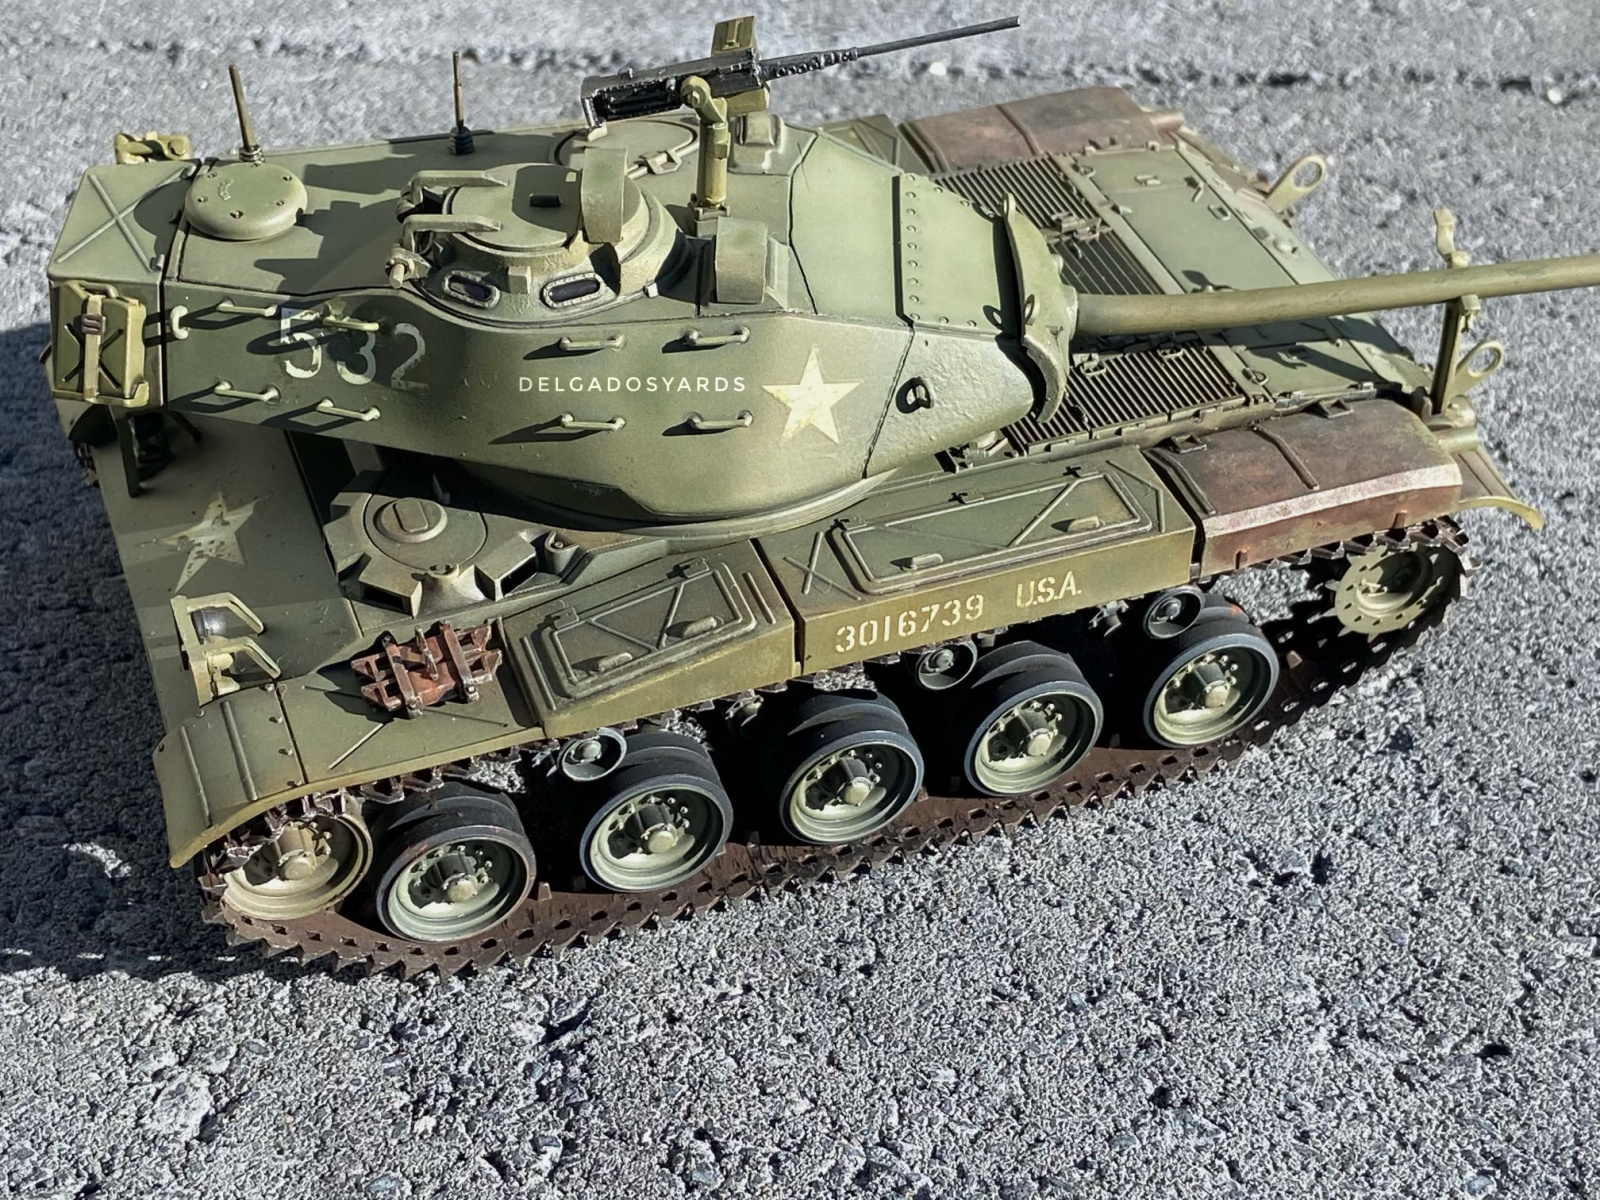
- Base coat OLIVE DRAB to match the muffler to the rest of the vehicle’s base color.
-
- I’m assuming but didn’t verify, this was how these units came from the factory. Likely a bad assumption.
- My O.D. was a custom mix of the new Tamiya Lacquer Paint Olive Drab (LP-28), Olive Drab # 2 (LP-29) and a splash of Buff (LP-75) to lighten it.
- I lighten all my Tamiya mixes with buff instead of white to keep it on the warmer, dustier side. I feel like I can always coat with a thin layer of buff for a dusty look as a much needed blend layer if contrast is suddenly too stark.

- Chip off the Olive Drab.
-
- Using a damp sponge and a cheap, stiff paint brush (I trim some of the bristles as required to stiffen)…I slowly chipped away the outer O.D. layer.
- I used the sponge more than the brush.
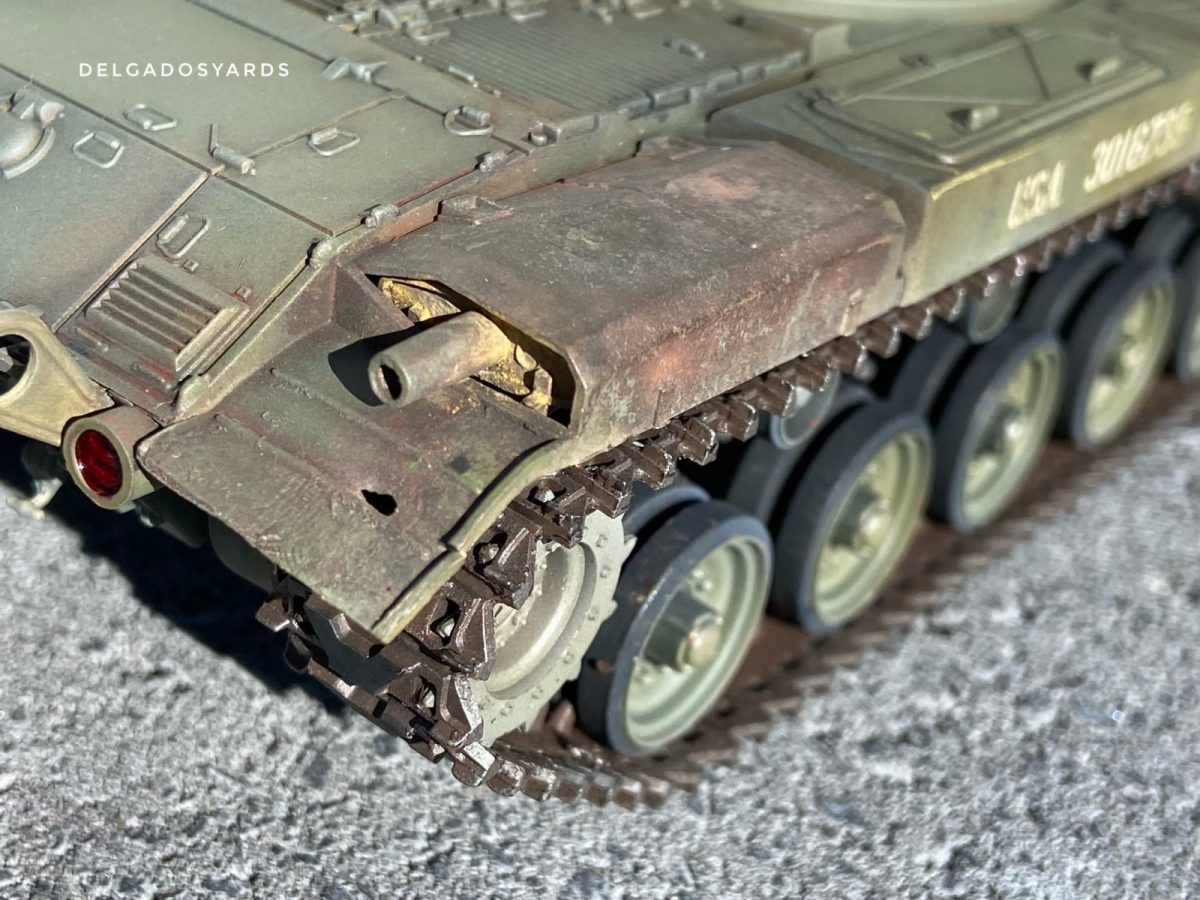
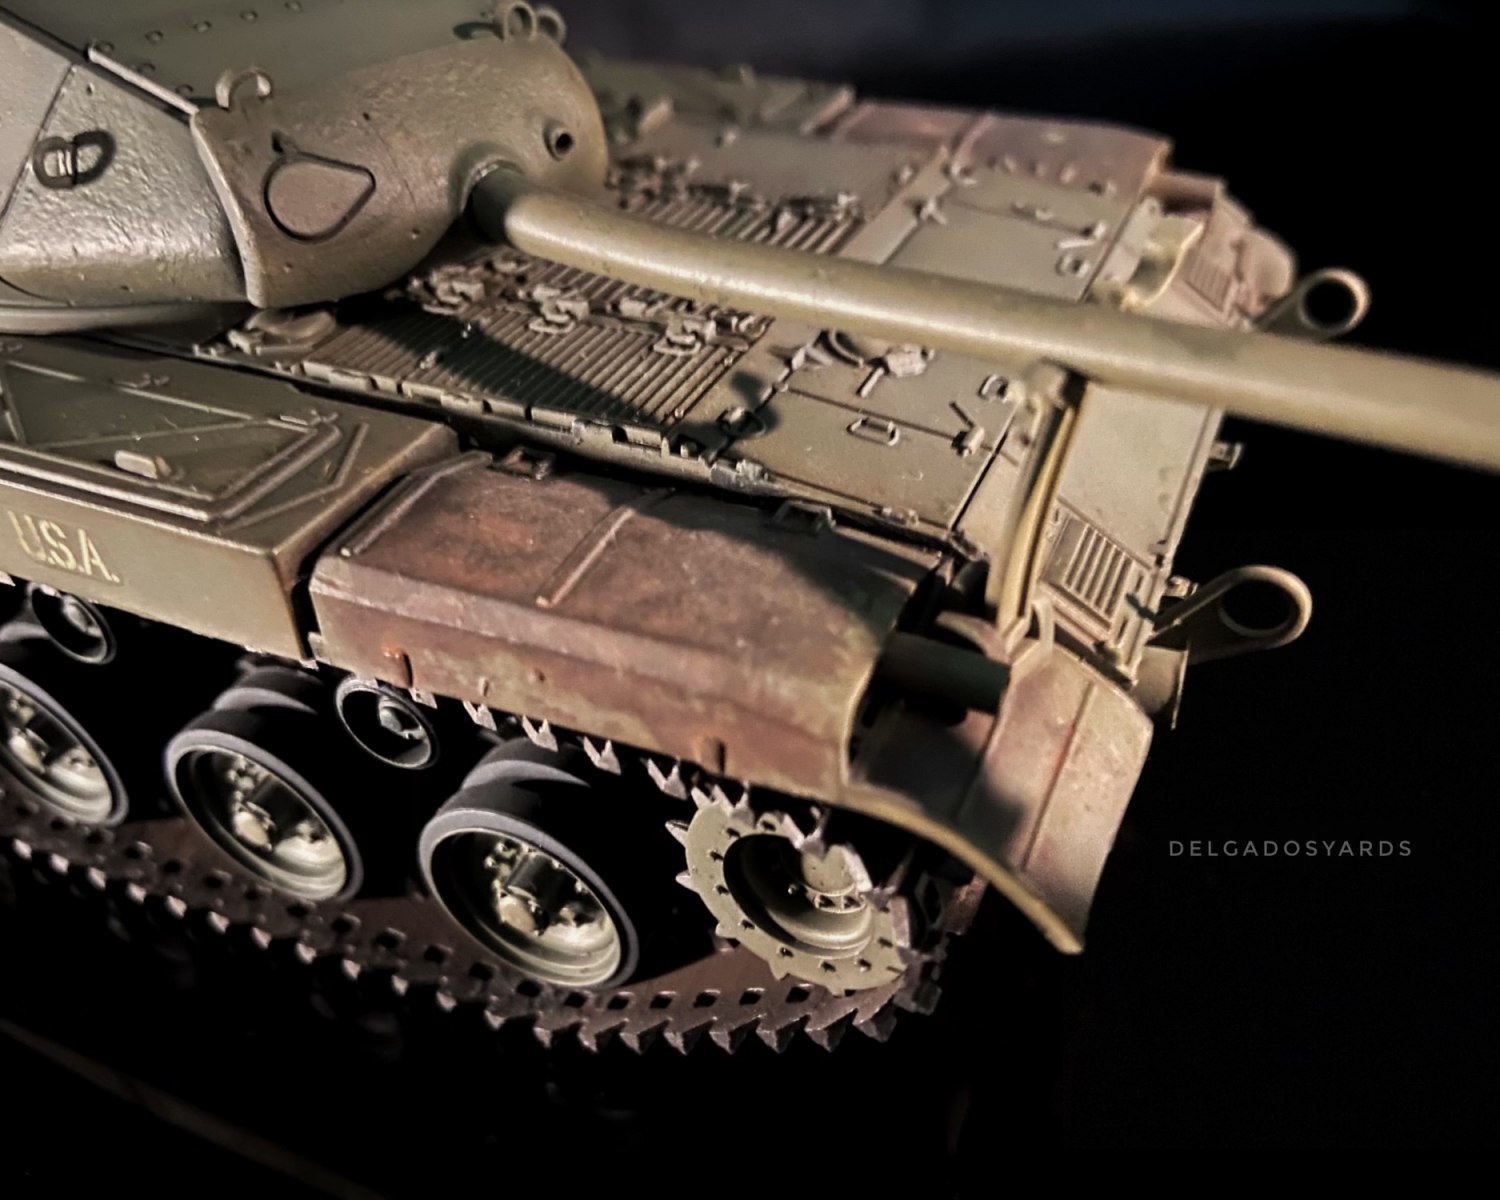
- My goal was to try to leave some of O.D. around the outer edges to look like overspray had built up on the muffler and started to bake off.
NOTE 2: Again, I didn’t reference and verify this…its just how I’ve seen mufflers and heat shields age from other real world examples.
NOTE 3: The rest of this involves pigments, and I make sure to put down a disposable drop cloth to catch the mess…more pigment ends up under the model than on it
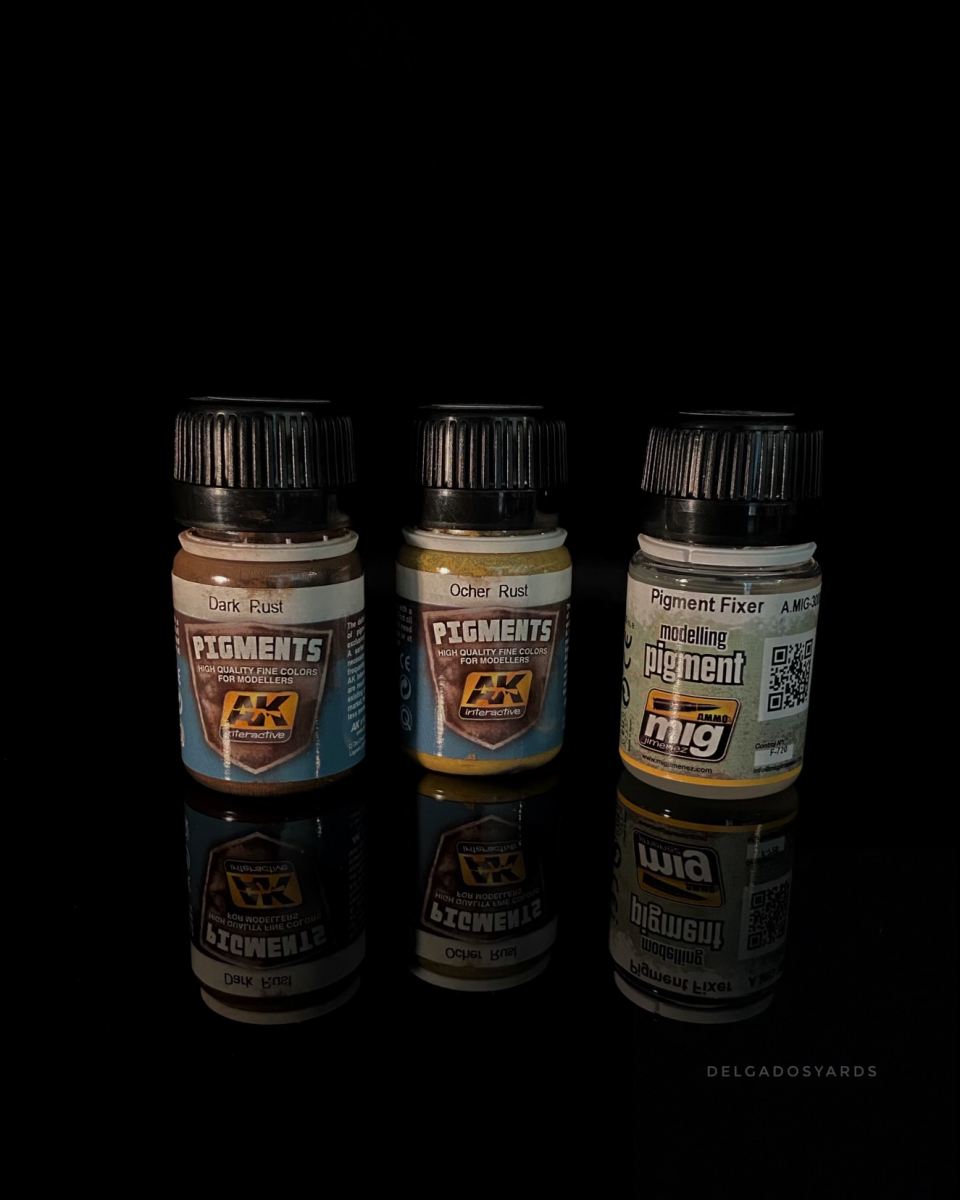
- I applied AK Interactive, Dark Rust pigment Powder with my stiff brush, stippling back and forth with pigment and then a little bit of pigment fixer.
-
- I used Ammo by Mig fixer but IPA will work.
- The Fixer product was hotter than the IPA so keep that in mind with the base finish you are working with when selecting a fixer.
- I only use 91% IPA…not sure if this makes a difference, but its my only IPA data point
- I applied sparse amounts of AK Interactive Ochre Rust (aka Yellow) pigment in the same method for tone modulation.
- Proceeded to apply various combination of ground, soft pastels using brown, orange, red and yellow to please my Mark 1 eyeball. IPA as a fixer here works. Let the pigment dry and cure.
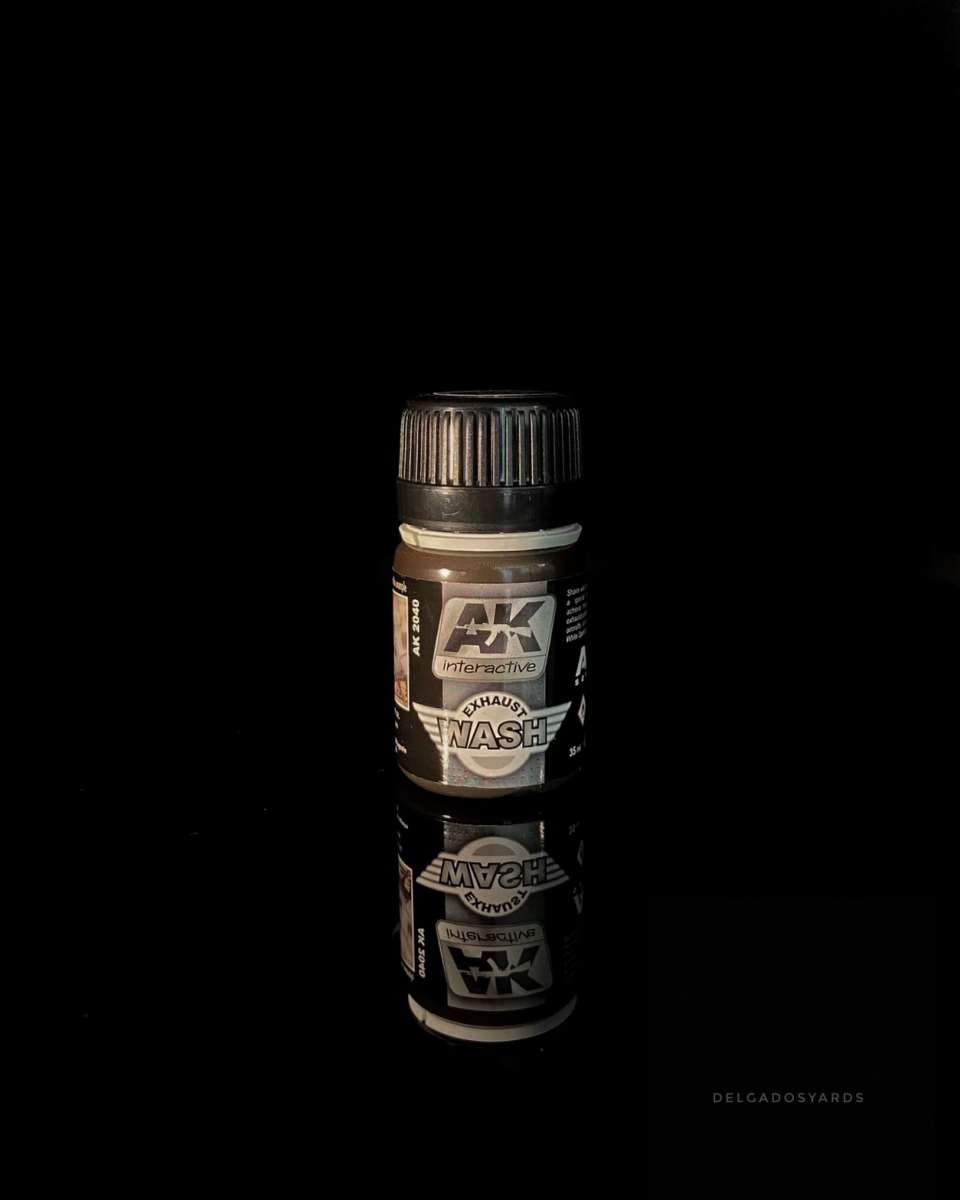
- I then applied a back-and-forth combo of AK Interactive’s Exhaust Wash and Ammo’s Fixer with more pigments to build a rusty texture to the muffler. I used a stippling action with my stiff brush to assist achieving my texture.
- Let dry, then inspect. Repeat until you have a color, texture you are satisfied with.
Paints & Pigments used: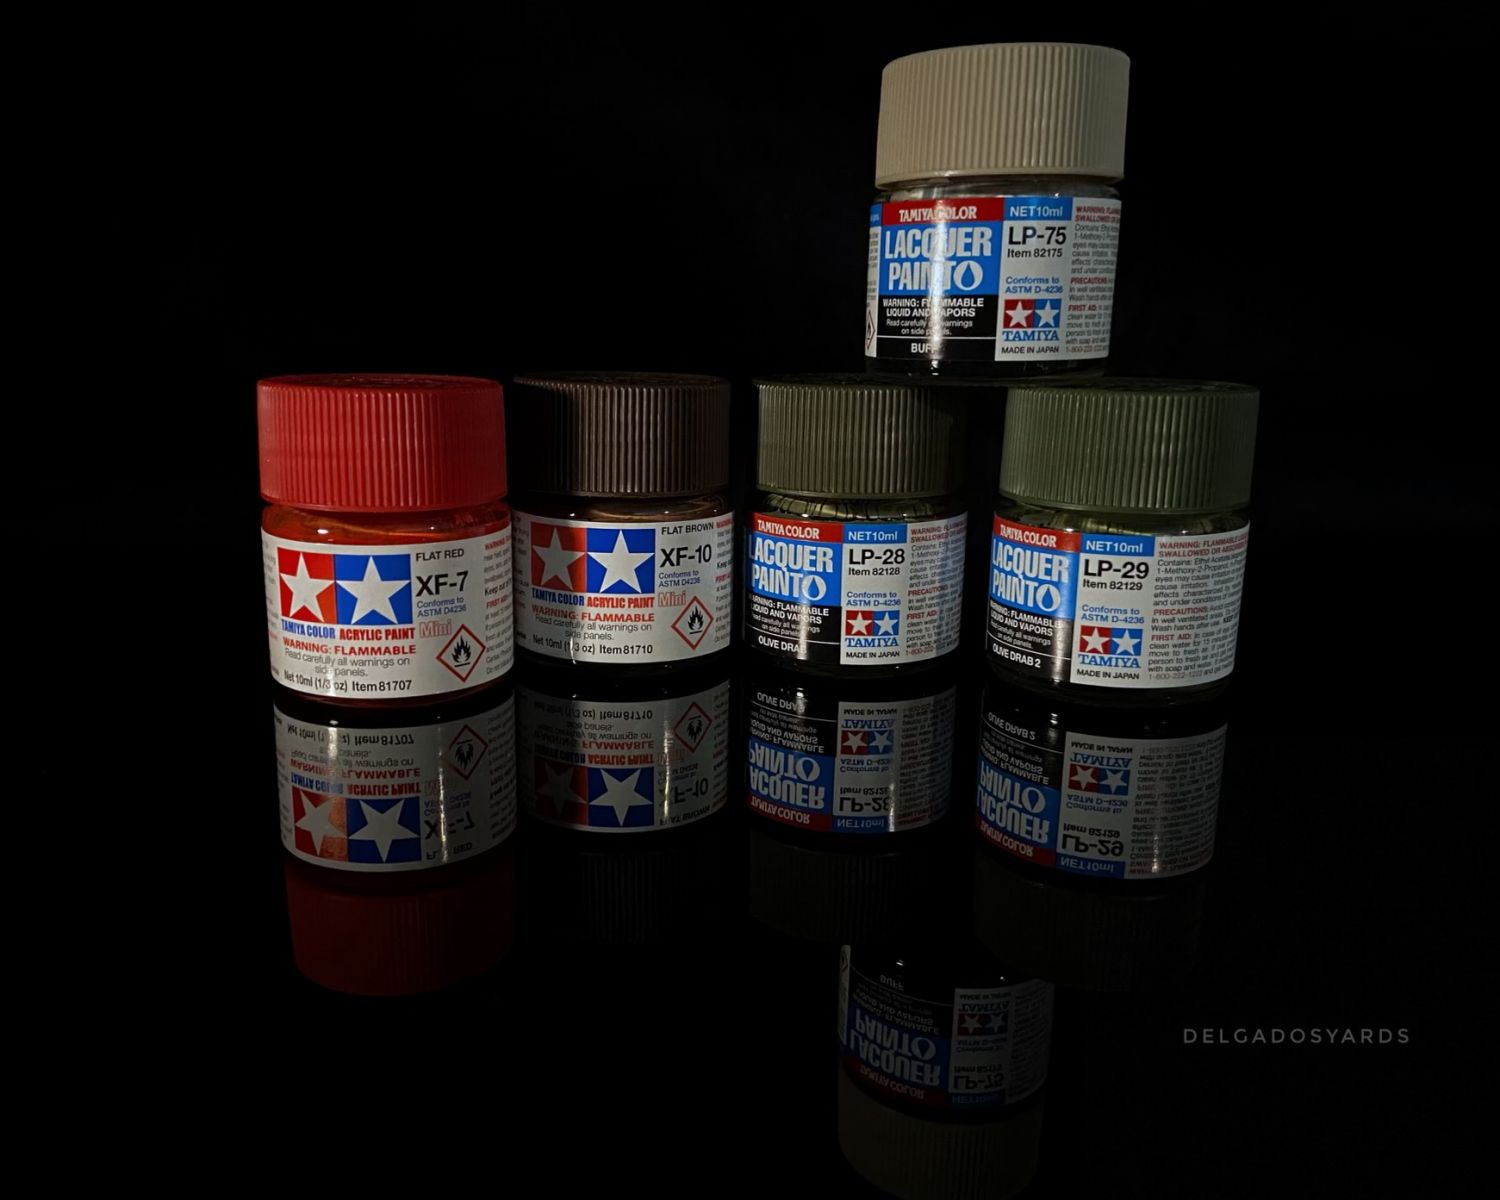
Subscribe to our newsletter?
Leave a Reply